

Daily news, dev blogs, and stories from Game Developer straight to your inbox
Sponsored By
Featured Blog | This community-written post highlights the best of what the game industry has to offer. Read more like it on the Game Developer Blogs or learn how to Submit Your Own Blog Post
Deploying Unreal 4 to the new Amazon Fire TV
A review of how to launch UE4 mobile projects to the Amazon Fire TV
8 Min Read

So I got a hold of an Amazon Fire TV this week, and wanted to see what it would take to get the new Unreal Engine 4 running on the device. As one would expect, new hardware and new software lack perfected technical documentation on how to accomplish an involved task between the two of them. Luckily, both Epic Games and Amazon had more than enough to get me started on the process. Here’s how I went about it and what I learned during the process. Hope it helps others in attempting the same.
Amazon Fire TV Setup
First, bookmark this link - https://developer.amazon.com/sdk/asb/connect-adb.html. We are going to be going over all of this, so no need to go there now, but hang onto it for future reference.
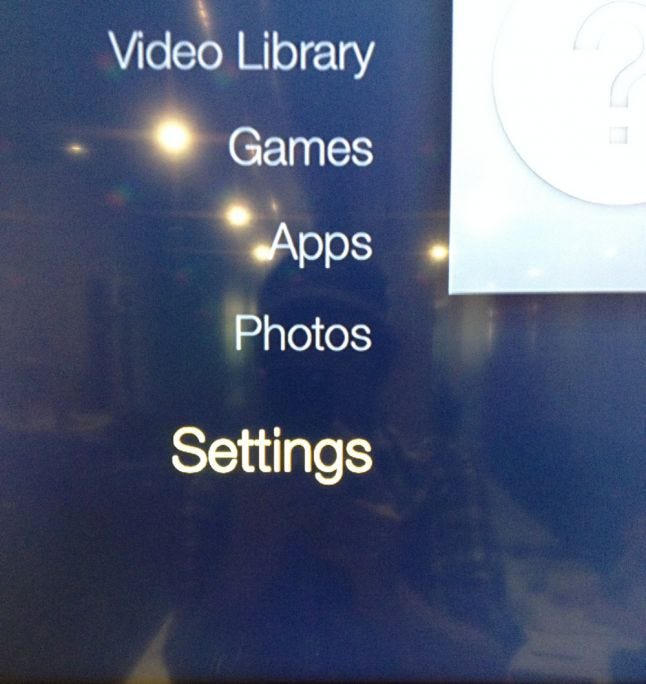
Setting up the Amazon Fire TV for development is fairly straight-forward. If you haven’t set the box up yet, go through the setup tutorial and platform overview that auto-launches upon first use. You will be prompted to connect the device to a Wifi hotspot. Do this, as Wifi it’s the required connection method for application deployment. Once your Fire TV is all set up, Head to the bottom of the list of options on the left and find settings. Click the button on the Fire TV remote to enter the “Settings" Menu
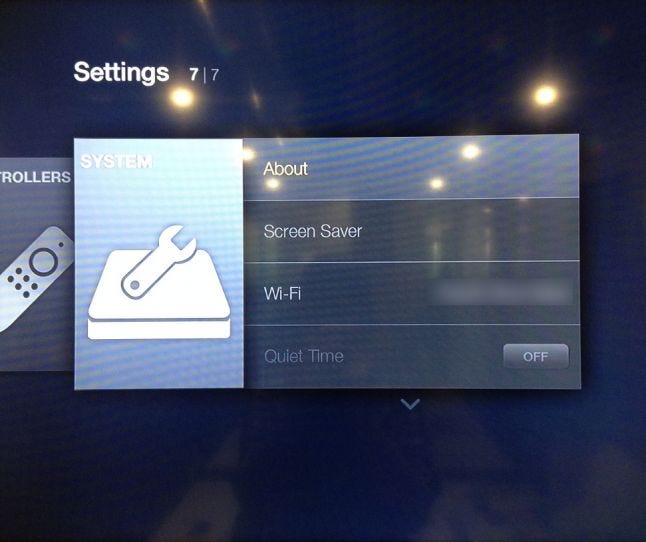
Scroll through the “Settings" Menu to the very end option, "System", and select it. Select the “About” section and scroll down to “Network”.

Write down your Fire TV IP address. You will need it when it comes time to deploy your UE4 App.
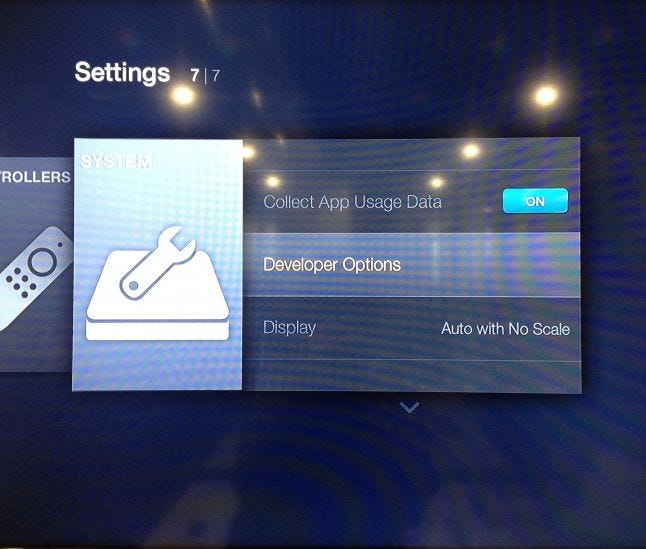
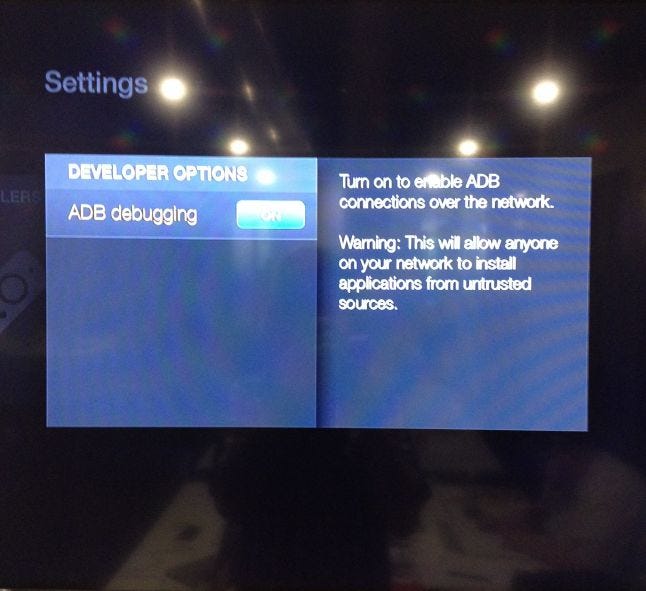
Next, hit the “Back” button to return to the “System” menu and head down to “Developer Options”. Inside “Developer Options”, turn on ADB Debugging. Remember where this is, as you may have to toggle this on occasion, I’ve had to a few times after failed deployment attempts.
And that’s it for the Fire TV.
Computer Setup
Go ahead and bookmark this link, too - https://docs.unrealengine.com/latest/INT/Platforms/Android/GettingStarted/index.html. As like before, we are going over it all, but you may want this for later.
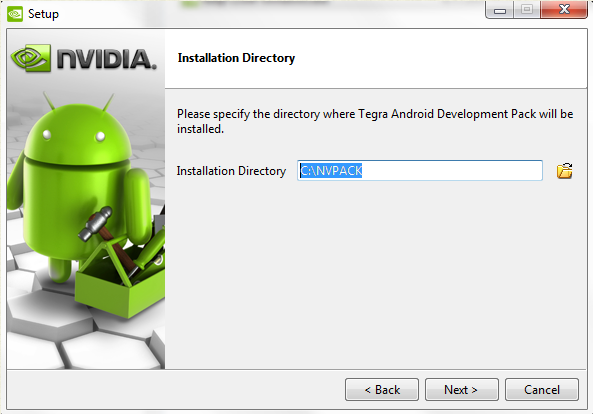
You’ll need a Windows computer, with the latest UE4 SDK installed. The Amazon Fire TV is an Android device, so we need to install the Android Development Tools. The easiest way to do this is using the TADP (Tegra Android Development Pack) found inside the UE4 install you have on your machine. You can do it manually following the instructions inside the link above, but this is the easiest way to get moving. The TADP can be found here:
[ENGINE INSTALL LOCATION]\Engine\Extras\Android\tadp-2.0r8-windows.exe

I used the default settings for this installed, and it works perfectly fine for both the Android devices I’ve tested (Amazon Fire TV and the Nexus 5).

REMEMBER WHERE YOU INSTALL THESE - I left mine as the default, but if you change this directory, make sure you know where the tools are going, because we will be referencing them a bit later in the post.
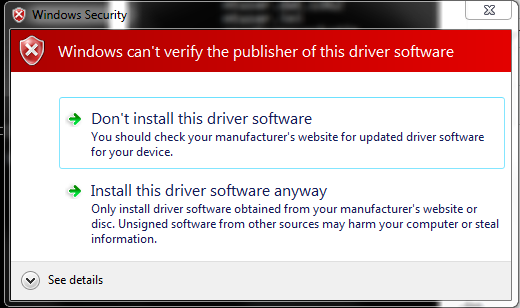
This install will probably take a little while, so be patient. It may even go “Not Responding” a couple times, just wait it out. You may even run into this warning about verifying the driver publisher. Tell it to install anyway.
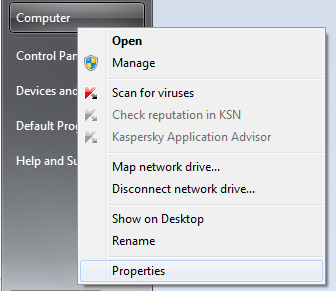
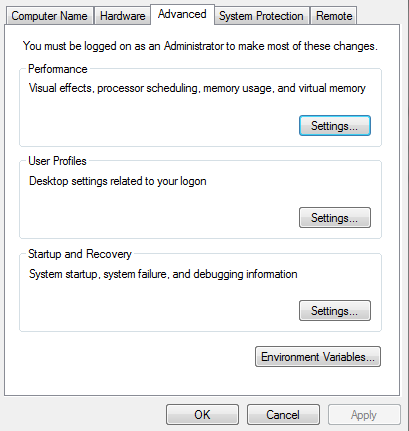
Once it’s done, we need to make sure some Environment Variables are set. Right click on “Computer”, then select “Properties”.
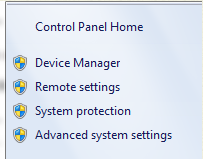
On the left, you’ll see "Advanced System Settings". Select that, then "Environment Variables" from the bottom of the popup.
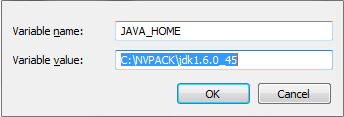
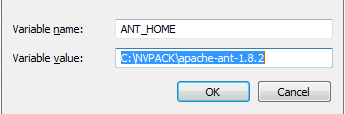
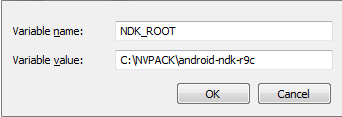
We are looking to make sure that 4 Environment Variables are in both the User and System variables lists. You only need 3 if you’re not using C++ source, but let’s go ahead and add the other so we don’t forget about it in the future. Look for the following in either of the lists. If they don’t show up, at all, select new and fill out the information for both lists. If they’re in one list and not the other, you can just copy the values from one into a new variable in the other.
ANDROID_HOME
JAVA_HOME
ANT_HOME
NDKROOT
Here is where mine are setup using the default options and install location.

Once you’re sure these are listed in both the User and System variables lists and pointing to the appropriate locations, we can head over to Unreal to ensure that It recognizes the build directories. Open the Editor, and select File -> Package Project. If the Android options are available, you’re one step closer.
Note - you may need to restart Unreal if you set these variables with the editor open.

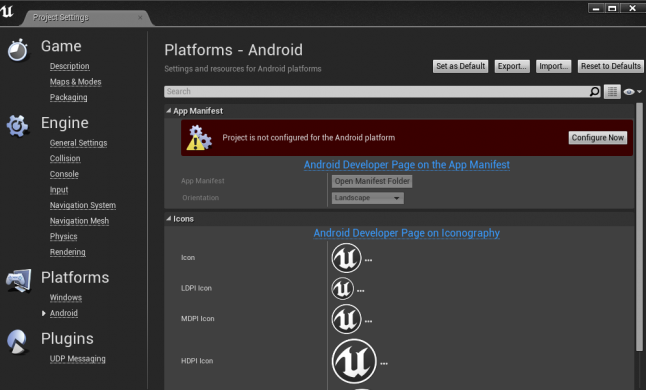
Click on "Packaging Settings" in that menu, then the “Android” option. It will probably look like this -
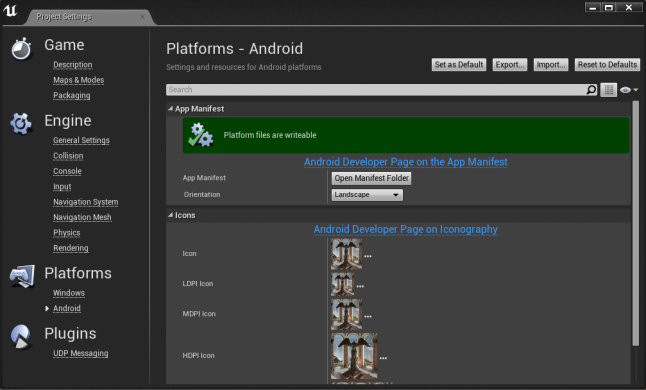
Hit “Configure Now” under “App Manifest", and you should get a green bar verification with the text “Platform files are writeable” like this -
Now, Unreal Engine is set up for Android deployment.
We now need to set up our ADB (Android Debugging Bridge) to be able to connect with the Amazon Fire TV. Since the Fire TV doesn’t connect to a computer via USB, we have to add the device to ADB via it’s IP address. Go ahead and open up the windows command terminal, cmd.exe.

We need to change directory to where adb.exe is currently located. This will be where you installed your Android tools earlier. In my case, it is located here.

If you have trouble finding it, you can search for adb.exe in windows. It will be in a platform-tools folder.
We need to reset the adb server here, then add our device. Enter the following commands one at a time, and replace with the IP of your Amazon Fire TV.
adb kill-server
adb start-server
adb connect
To verify that the device was found and is connected, enter the command adb devices. You should see the IP address listed.
If it is not listed, Head back to the Fire TV, and Toggle the "ADB Debugging" setting under "Developer Options" as outlined above, and do command adb connect to try and add the device again.
Deployment
Once the device is shown in the list, head back over to UE4.
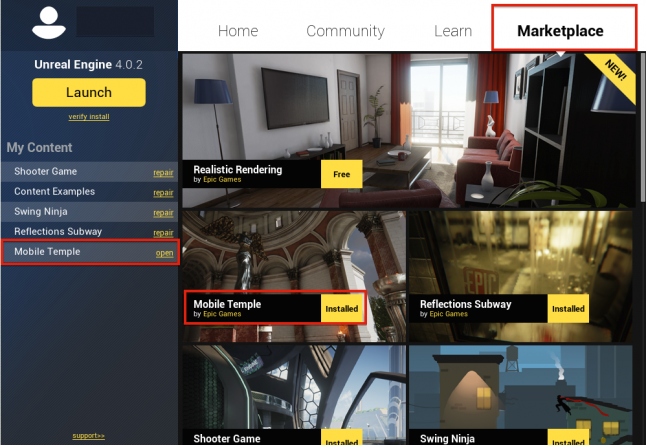
Since we are deploying to an Android device, we need to use a project set up for mobile. In this example, I use the Mobile Temple example project that is available on the marketplace. For more information on setting up a mobile project consult the Unreal Engine documentation.
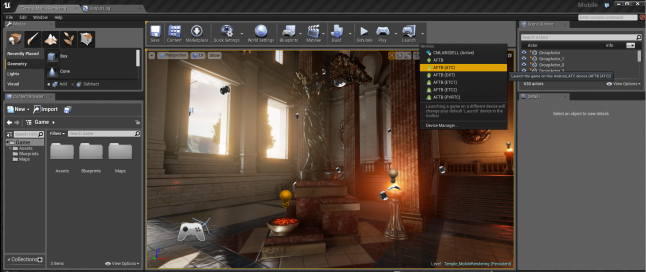
Once it’s open, Let’s launch on the device. Hit the Launch button, and select Android ATC. I prefer to see the log, so I can monitor the status.
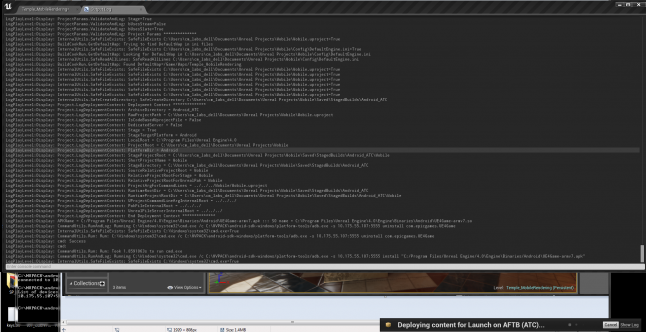
It will probably sit on this screen for quite some time. This is because deploying over Wifi takes a good bit longer than USB (a major downside to this whole operation). Be patient, and wait for this success notification.

And there it is! You can even plug an Xbox 360 wired/pc or PS4 controller into the back of the Fire TV and walk around the scene.
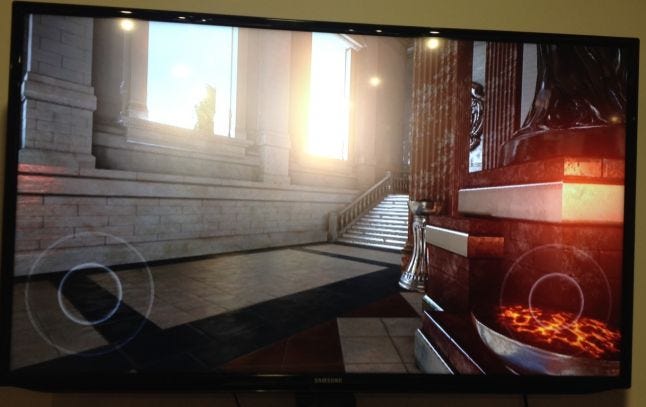
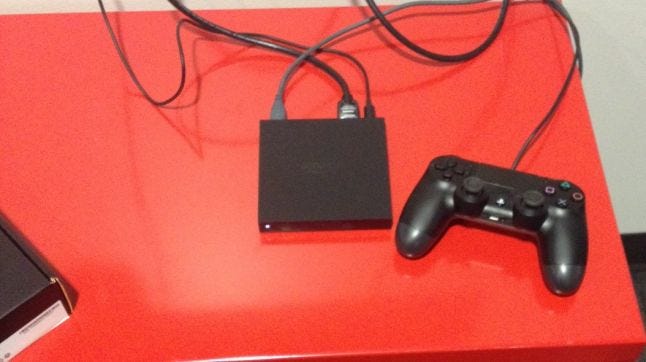
You’ll notice that this demo isn’t optimized for the device and is a little choppy and grainy, but it’s a good starting point and example of how to begin developing UE4 projects for the Fire TV. My focus now has turned to tricks for optimization on the platform. I'll share my findings.
Thanks for reading.
-ivey
Read more about:
Featured BlogsAbout the Author(s)
You May Also Like


.jpeg?width=700&auto=webp&quality=80&disable=upscale)


