Featured Blog | This community-written post highlights the best of what the game industry has to offer. Read more like it on the Game Developer Blogs or learn how to Submit Your Own Blog Post
Rigging and animating for the apocalypse
Proletariat Inc.'s World Zombination rig download, and a look inside of the how it was made!

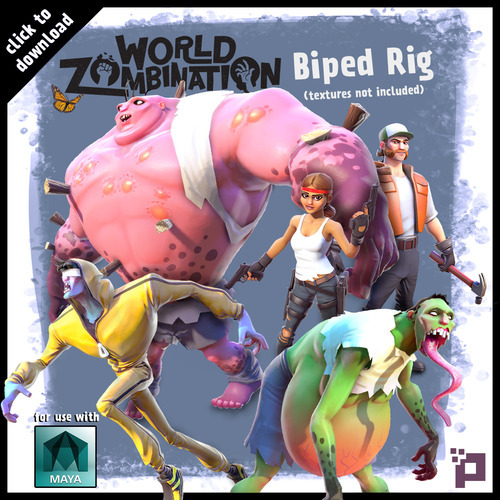
This is a re-blog of my original post at Proletariat.com. Please feel free to click the image above or download World Zombination character rig here! Let me know in the comments if you have any questions, thanks!
One of our design goals for World Zombination is to have lots of unique characters. Larger studios solve this problem by hiring a technical artist with years of scripting experience to create auto-rigging solutions, or by using brute force and throwing many artists at the work. Despite neither of these options being available, we’ve built an animation pipeline that minimizes the time spent rigging 3D characters, shares a single character rig across a number of uniquely proportioned characters, and shares animations across those characters.
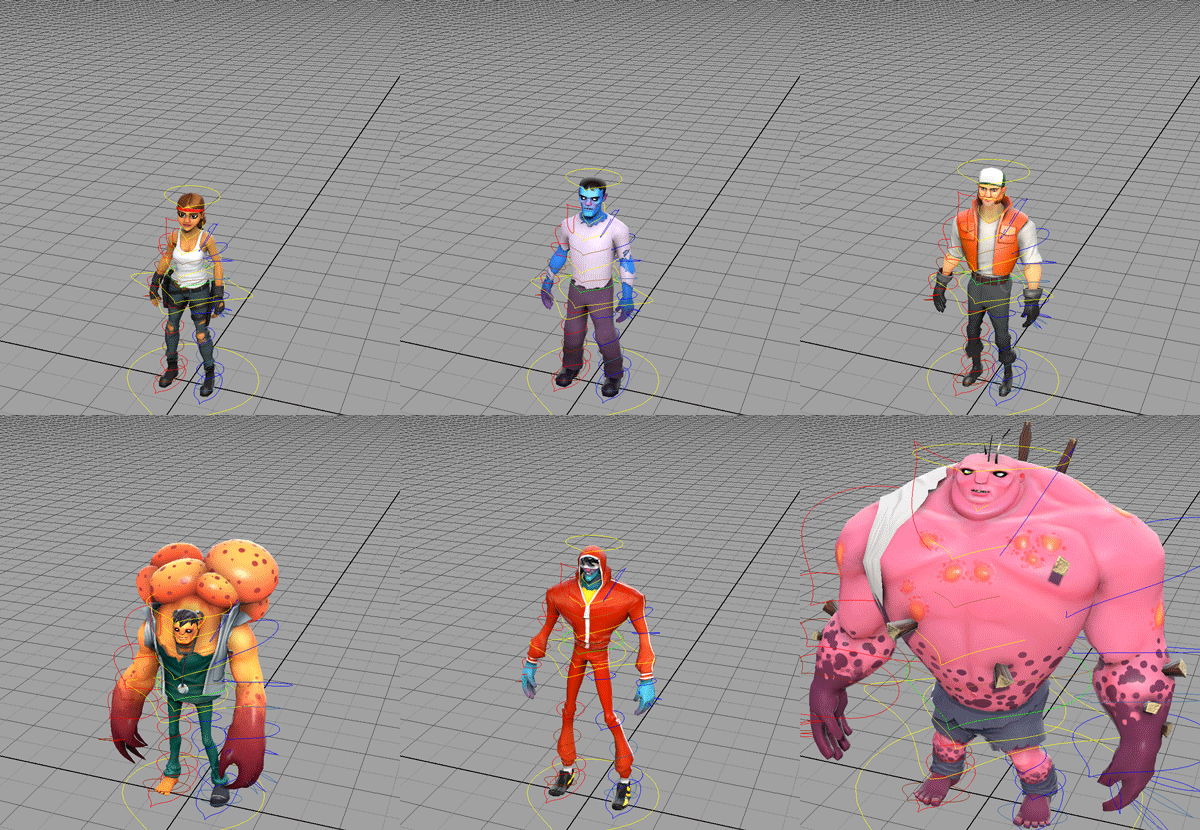
I don’t have much scripting experience with Autodesk Maya, so I decided to find a way to setup visual controls for repositioning bones using Maya’s built-in tools. This retargeting would have to automatically reposition IK handles and all animation controls, without having to tear down and setup the connections again. Much easier said than done.

After some experimentation, I came to an overall setup like the diagram above. Translating the retarget controls drives the animation controls, which in turn drive bone movement. No matter how the animation controls are repositioned, the bones always follow. A small caveat with this setup is that we aren’t able to use Maya’s point constraints on any animation controls; we’re limited to direct connections using math nodes. Luckily, our setup is simple enough to work with this restriction.
FK/IK repositioning was something I struggled to build, as the IK solver tends to rotate bones when repositioning the retarget controls. To work around this, I connected the translate attributes of the end joints (wrist and ankles) to the effector of each IK handle. The effector determines the start point of the IK solver. So, if the bone and effector move at the same time, the solver behaves as though the bone hasn’t moved at all, thus eliminating unwanted bone rotation.
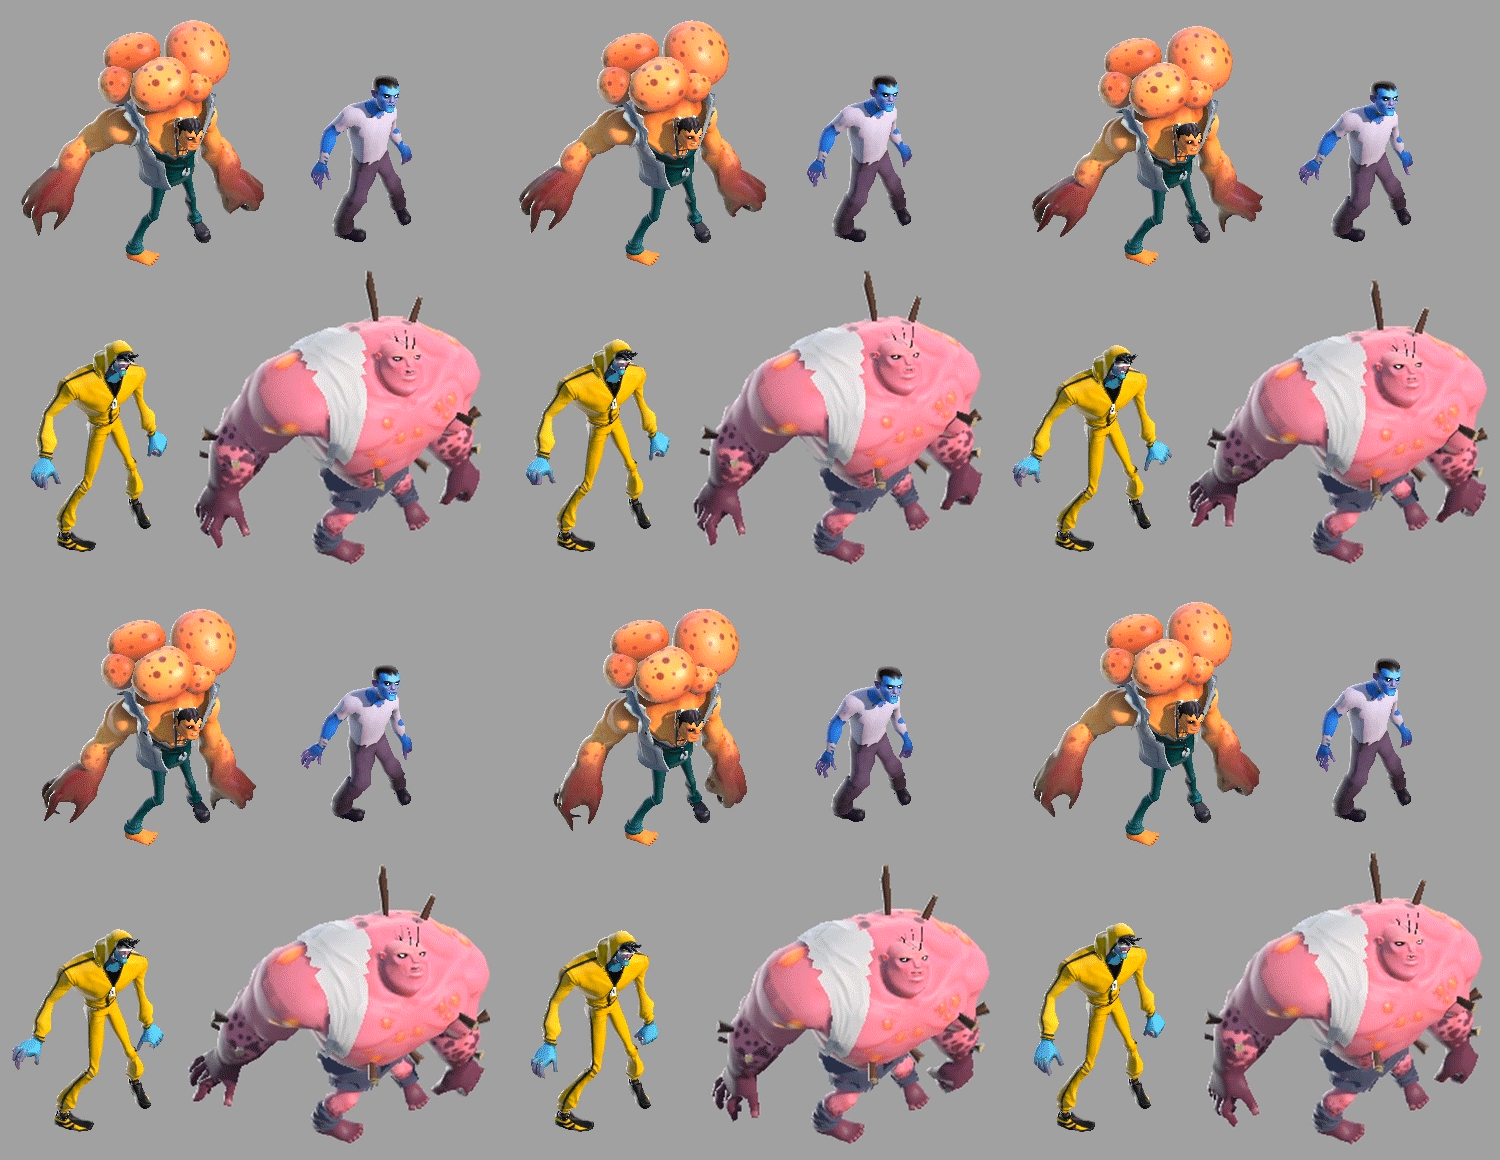
All of our characters share a single rig, which means they can also share animations! Since the retarget controls operate separately from animation controls, the animation curves remain untouched when switching between characters. We still create unique animations for each character, but it’s great to be able to quickly create assets for programmers to work with. Really, this feature is the result of a happy accident, but I didn’t mind taking all the credit (haha).
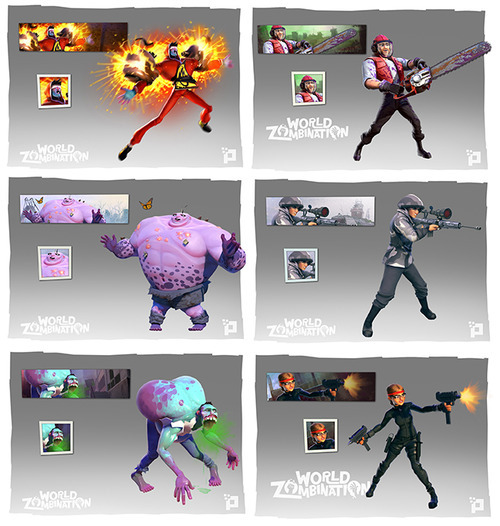
The character rig took quite a bit of time to create, most of which was spent experimenting, but this up front work has already saved us months of work hours. The extensibility of this retarget rig far exceeded my expectations, especially given my lack of experience with complex rigging setups. The retargeting allows for all the animation controls I want, IK/FK switching, non-uniform scaling (squash and stretch), and animation sharing across any number of characters.
If you’re already familiar with Maya, check out the World Zombination character rig by downloading it, as is, here. Let me know what you think and/or if you have any questions at [email protected]. There are seven characters included with the animation rig and instructions to add your own bipedal characters. Enjoy!
-Sterling Reames
Sr. Animator - Proletariat Inc.
Read more about:
Featured BlogsAbout the Author(s)
You May Also Like




.jpeg?width=700&auto=webp&quality=80&disable=upscale)
