Daily news, dev blogs, and stories from Game Developer straight to your inbox
Sponsored By
The Art to Programming Conversation
Something as simple as talking can be quite the challenge to express, so I invite you on the journey of using Ink to make an adjustable, engaging UI-based dialogue system through a programming lens.
6 Min Read
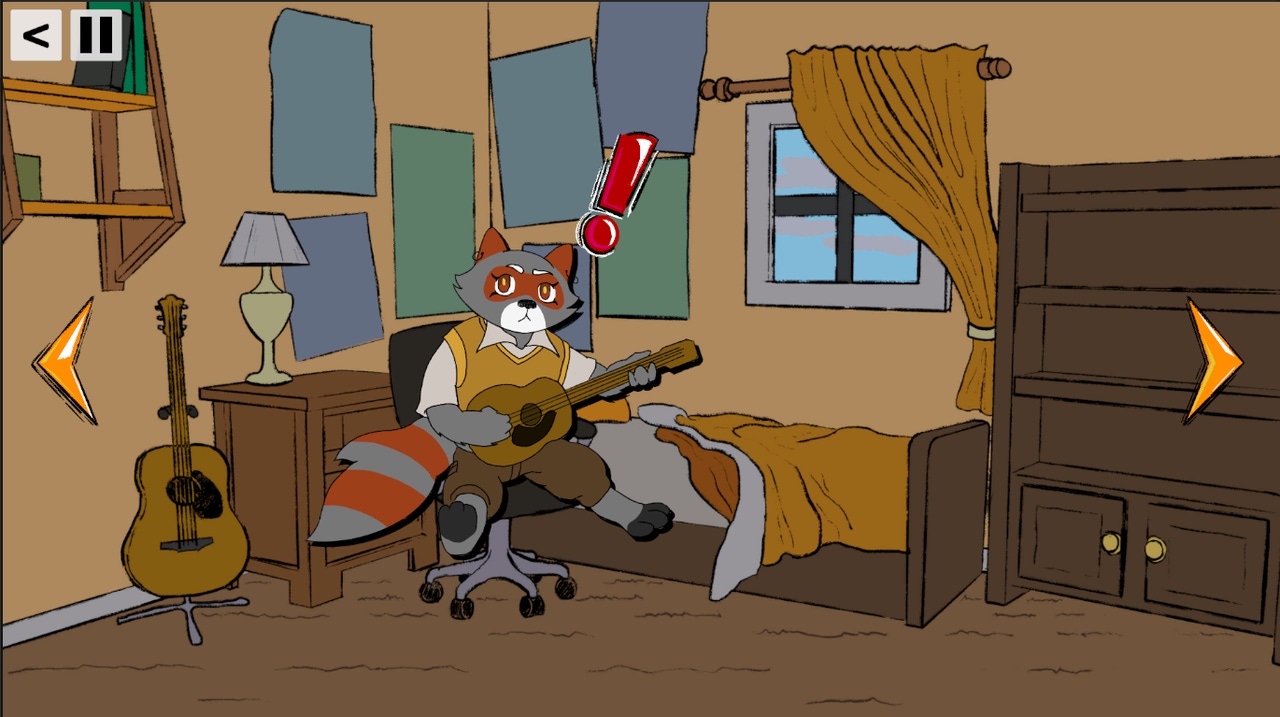
The first component is the words themselves, and how you decide to have them stored. For the purposes of the game Rockin’ Racket, on which I am a Programmer and part-time Artist, we used Ink. Ink is a narrative scripting language developed by Inkle Studios. I am in no way an expert on it so if you would like to learn more I suggest reading about it here.
However, the general idea of an Ink file is to structure a text file into a conversation, with each line of text being a line of dialogue, but with the added bonus of having specific use cases for multiple different options for the next line, sections of conversations, and a variable system. Ink files also allow for dependencies, meaning developers can have an Ink file which uses variables from another through the “INCLUDE” keyword. The core of my work was in regards to programmatically reading Ink files within scripts for Unity, which is streamlined through the ink-Unity Integration package developed by the same company.

The package compiles Ink files into readable JSON files that, inside scripts, can be converted into Story objects. These Story objects store the current line, variables, and an incredibly handy, line specific type of variable called a tag which is indicated as “#tagName: tagValue”. Each tag is a part of an attribute of the Story that updates for each line. Now that you are more aware of Ink files and their capabilities, I can discuss the dialogue system which I developed for Rockin Racket.

The dialogue system I developed was meant to be a fully independent piece that could be put into a scene, and work with no issue. To achieve this, I have a system of triggers and a manager, wherein the triggers have an attached ink file that, upon being triggered, sends its ink file to the manager object. The manager object deals with both the graphical display of the dialogue, and the programming backend. In order for players to see the dialogue, the UI consists of a main dialogue panel, where in the top left corner is a nametag, the middle of the panel is where lines of dialogue appear, the bottom is where dialogue choice buttons appear, and the center of the right-side is the continue dialogue button. Behind the main panel are two character sprites, a smaller sprite on the left indicates the player character, and a larger sprite across the whole right-side of the screen is the character being spoken to.
To achieve a reactive and dynamic system we used a mixture of ink tags to update the nametag, update the emotions of the speaker, and the layout of the dialogue window. In order to use the ink tags in Unity, you must first process them from the Story object. Luckily, each tag is actually just a string of characters after a # symbol in Ink, and all tags present in a line can be retrieved through the currentTags attribute of the Story object as a list of strings. However, this structure does mean that you must first process tag values, by splitting them, before using them. To split a tag, you can just use the built in “split” String function in Unity, and store the split strings in a length 2 array. The first element at index 0 will be the key for the tag, and the second element at index 1 will be the value. Then, you can set up differing behaviors for different tag keys. After implementing tag processing, I worked with the narrative writer to ensure three tags were present, speaker, portrait, and layout.

The layout tag is obviously used to update the layout which is a simple call to a Unity Animator. Animators in Unity can be used for far more than just importing frame-by-frame animations, but one easy use they can have is to save certain sets of object positions, which is perfect for saving layouts. The other tags are more interesting.
The speaker tag is the name of the character speaking which, depending on the character, updates the nametag to the value given in the tag, and updates the background color of the name tag to match the character speaking, since each main character in Rockin’ Racket has a signature color that defines their palette.
The portrait tag is the most complex, but is still relatively straightforward. For starts, each line that changes the portrait tag has to have 2 of them, one for the player character sprite, and one for the other character sprite. However, since each tag is a string, unlike normal variables in programming languages, two different portrait tags will be processed. To determine which sprite Animator to use, the first word of the string is checked to see if it is “harvey”, the name of the player character. If it is, then the animator used is the one that updates the player character sprite, but if it is not, then the animator used is the non-player character sprite. Each animator has a list of recorded animations, and the tag values of tags with key “portrait” are names of the animations, and the manager tells the animator to play the tag value, essentially allowing Ink to tell Unity what to animate next.
The easiest piece is retrieving the next line of dialogue, which is a simple call of the “nextLine” method on the Story object. The return value is a string with that line of dialogue which you can simply update a TextMesh object to display the retrieved value. However, calling it also moves the Story along, meaning you need to handle tags whenever calling this method.
To allow for player input, Story objects also have a currentChoices attribute, wherein you can determine if choices are available at a given line, and how many. By calling this method whenever progressing, you can check whether the line is a simple dialogue continuation, or if you need to show choice options. Implementing choice options is also quite simple, as each choice is set to an index corresponding to their position in the currentChoices list. Then, by setting each choice as its index, you can determine what choice the player makes and call the “chooseChoiceIndex” method on your Story object, using the index of the player choice as input. After it's a simple call of “nextLine” to progress the story to the right dialogue tree! Altogether, this system helps create an adaptable workflow, and opportunities for interesting UI elements!


If you would like to follow the development progress of Rockin Racket, you can find the project’s socials below!
Read more about:
BlogsAbout the Author(s)
You May Also Like


.jpeg?width=700&auto=webp&quality=80&disable=upscale)


