Trending
Opinion: How will Project 2025 impact game developers?
The Heritage Foundation's manifesto for the possible next administration could do great harm to many, including large portions of the game development community.
Into the fog

Into the fog:
The next week I started to explore putting fog into my render engine. The reference I used for this week was the following 4.2. Blending, Aliasing, and Fog — Graphics with OpenGL 0.1 documentation (opengl-notes.readthedocs.io). The reference was extremely helpful; it involved having a max distance for the fog and a minimum distance then depending on the intensity of the fog mixing the color of the fog in.
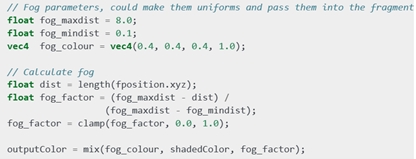
I tried putting this code directly into my default fragment shader, but I had an issue where the position of the fog was not moving.
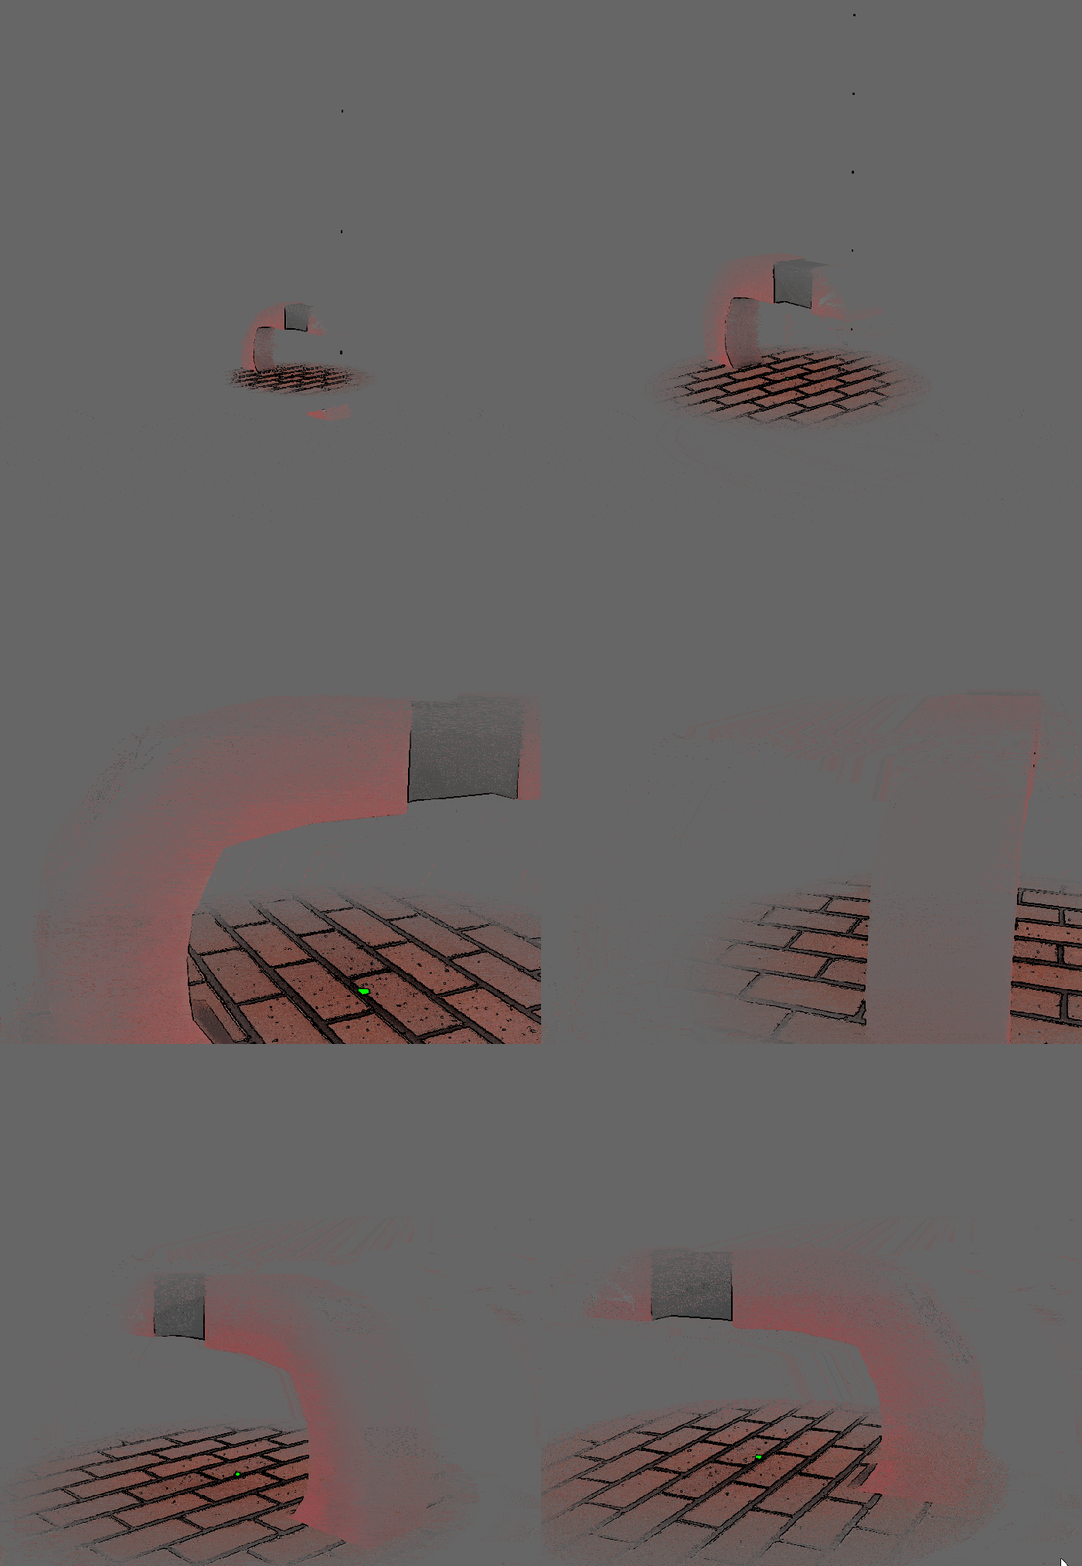
The reason the fog was not moving was because I was taking the position of the vertices in relation to their overall mesh’s applied rotation, scaling and transformation. What I needed to do was take the vertices position in relation to the camera matrix. I had to make a new variable that was passed from the vertex shader to the fragment shader. I called it the same variable name as they did in their example “fPosition”. I originally tried to use gl_Position, since it is technically the value I was looking for but it caused issues I did not understand.

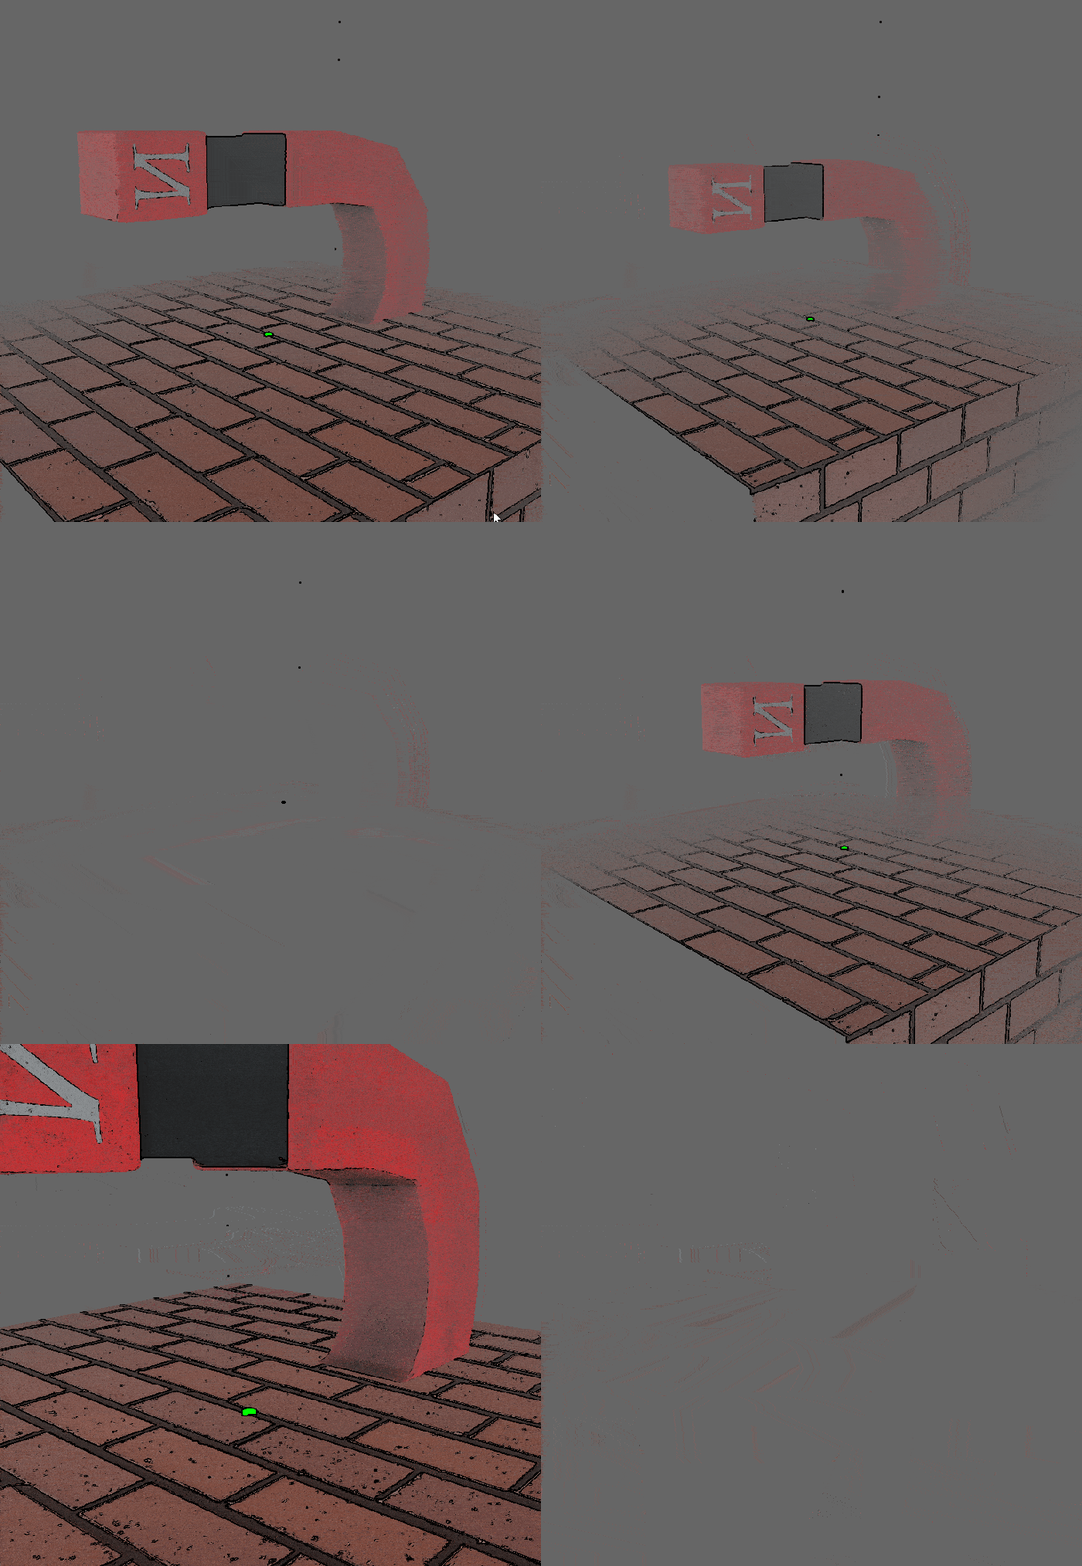
I then started playing around with the fog factor by itself and the clamping of the fog factor. I was interested in what the different fog effects would look like with a higher fog factor and a lower fog factor. The fog factor on the left is higher and the fog factor on the right is lower. With the higher fog factor the cutoff is much more drastic. The lower fog factor makes it feel like you are driving through thick fog at night.
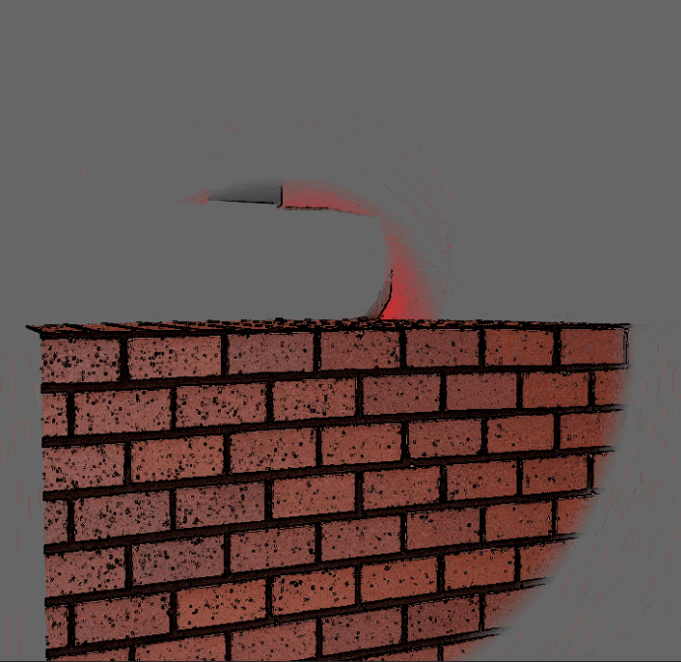
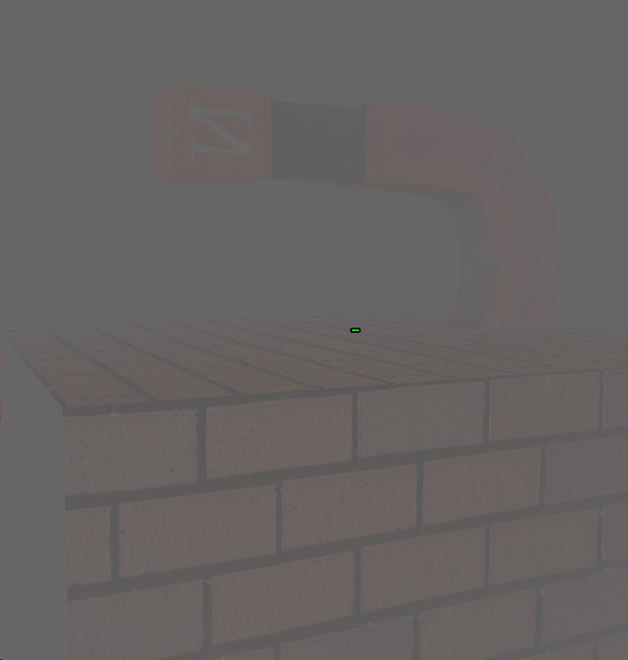
I then played around with the clamp of the fog factor. With the bottom of the clamp at 0.0 it looked like all the previous images where you can’t see the skybox at all. If you raise the bottom of the clamp from 0.0 to something like 0.5 then everything will be visible in the background and you will be able to see the skybox. Below is a grid showing images of the scene with different clamp values for the lower end.
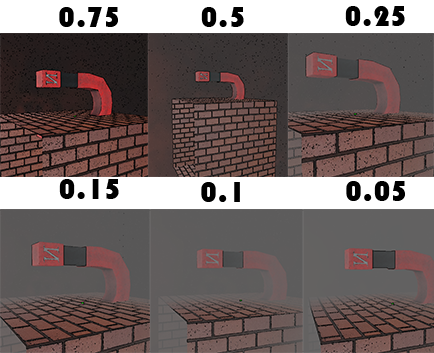
You are able to see the differences in the low end manipulation pretty clearly by looking at the background. The higher the low end is, the more you are able to see in the background.
Now looking at the high end of the clamp, if you were to lower that then you would be moving the fog in closer to the camera.
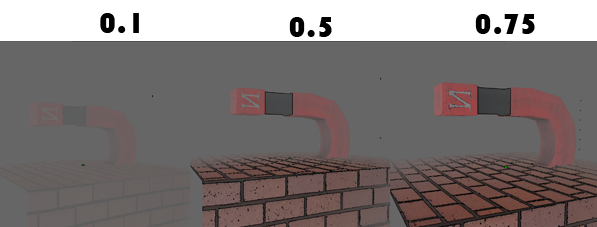
Overall global fog was not that bad to implement. I expected it to be quite the serious undertaking, but it was just one real reference from outside the shader being passed in. I am currently applying this fog during the first pass, but if I was also passing depth into my framebuffer object I could do the fog calculations there as well. I think this would be a better solution, since I don’t want to be putting fog calculations into every one of the shaders I make. It would be much better to be able to turn it on by enabling it in the second pass shader.
Read more about:
BlogsYou May Also Like