
Featured Blog | This community-written post highlights the best of what the game industry has to offer. Read more like it on the Game Developer Blogs or learn how to Submit Your Own Blog Post
Prototyping a Dynamic Camera System
A brief overview of our prototyping process for creating a dynamic camera in Unity supporting player control, camera physics, and cutscene animation.

Note: This post was originally published on our studio's development blog. We're a small student team based in Ontario, Canada working on our first commercial project.
Every player seems to have a different idea of the features that are most important to them in a game - depending on who you ask, that might be the level design, graphics, story, music, adequate inclusion of puffins, and so on. However, one key element dictates our perception of each and every one of these features, serving as the player’s window into the game world–the camera. A game’s camera is the oft-unsung hero (or hated villain) of the complete experience, almost solely responsible for defining the player’s perspective. Cameras need to consider everything from user input and avatar movement to physics constraints and cinematic intent. Most players may never notice a great camera system, but most every player will notice a terrible one.
Our latest effort, a 3D puzzle-platformer, has been particularly challenging in this regard, as we have a number of factors to consider in designing our camera system. The game world is relatively open, and puzzles are nonlinear, so strict designer-imposed controls are out of the question. We want users to be able to control and reset the camera freely, but integrate a degree of automation to prevent the need for constant manual adjustment. We also need to integrate the camera with our animation system, allowing for cutscenes and dynamic transitions. Finally, for want of a better phrase, we have a lot of stuff in our levels, so physics-based adaptation is a must. We’ve prototyped these features into a single dynamic system that looks something like this:
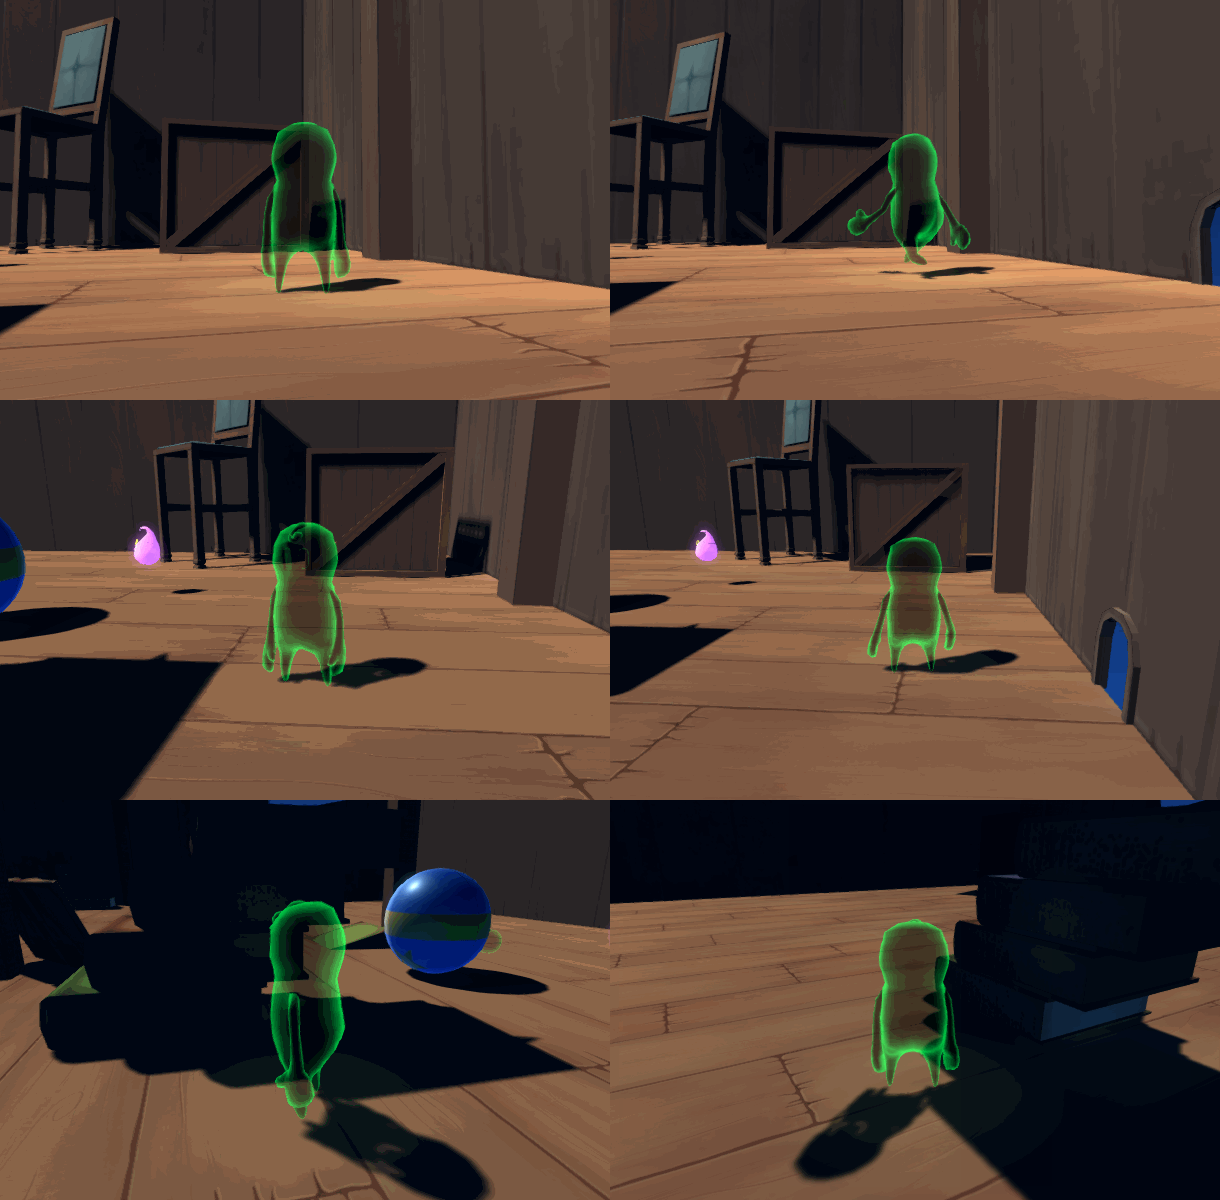
As a disclaimer, we’re still quite a ways from some of the amazing dynamic camera systems out there, but our current system has all the functionality we’ll need to move forward with refining the design. Here’s a look at how we’ve designed and developed our prototype camera system using Unity 2017:
Phase I: Basic Controls & Follow Camera
Our first step is creating a basic third-person camera that follows the player around while permitting them to adjust their view and look around. For this task, we designed a few basic constraints defining the valid operating space of the camera:
Minimum and maximum pitch angles.
Minimum and maximum distance from the player.
Incremental yaw around the player, which resets by facing the camera in the same direction as the player.
To start, we can calculate our default position using an offset vector based on the negative of our player’s forward vector, a default zoom distance, and a default pitch angle:
Transform pTarget = player.curObject.camTarget;

Quaternion offsetPitch = Quaternion.AngleAxis(pitchLevel, pTarget.right);
Vector3 offset = offsetPitch * zoomLevel * -pTarget.forward;

Vector3 targetPos = pTarget.position + offset;
From our default position, the camera’s target position changes if the player moves or if they manually adjust the camera’s angle or distance. The three key factors in this adjustment will be pitch, yaw, and zoom. We’ll treat pitch and zoom as a continuum, since we’re defining those qualities relative to the horizon and the player’s position respectively.
Yaw, on the other hand, is a bit trickier. The obvious answer here is to define “zero yaw” as facing the same direction as the player. However, in the interest of avoiding dizziness, vertigo, and the inevitable cavalcade of lawsuits that would follow, we don’t want the camera to turn instantly as the player moves. In fact, we’d like the movement input to appear relative to the camera: the player pushes right on the movement stick, and they appear to move right on the screen, and so on. Thus, we’ll define any yaw change as incremental, by rotating the camera around the player in the y-axis independent of the player’s current movement direction. This will let us more easily reference the camera’s forward vector in our movement logic to determine which way the player should go.
Obtaining the final target position involves a few basic transformation calculations:
Calculate a base offset using the XZ components of the camera’s current forward vector.
Normalize the offset and rotate it by two quaternions, one for (using the camera’s right vector as a rotation axis), and one for yaw adjustment (using the world up vector).
Multiply the resulting offset by the current zoom level.
Calculate the camera’s position by adding the final offset to the player’s position.
Rotate the camera to look at the player.
We’ll implement that as follows:
Transform pTarget = player.curObject.camTarget;
Transform rTarget = cam.transform;

Vector3 offset = -rTarget.forward;
offset.y = 0.0f;
offset *= zoomLevel;

Quaternion offsetPitch = Quaternion.AngleAxis(pitchLevel, rTarget.right);
Quaternion offsetYaw = Quaternion.AngleAxis(yawAdjust, Vector3.up);
offset = offsetYaw * offsetPitch * offset;

Vector3 targetPos = pTarget.position + offset;
The resulting controls look something like this:
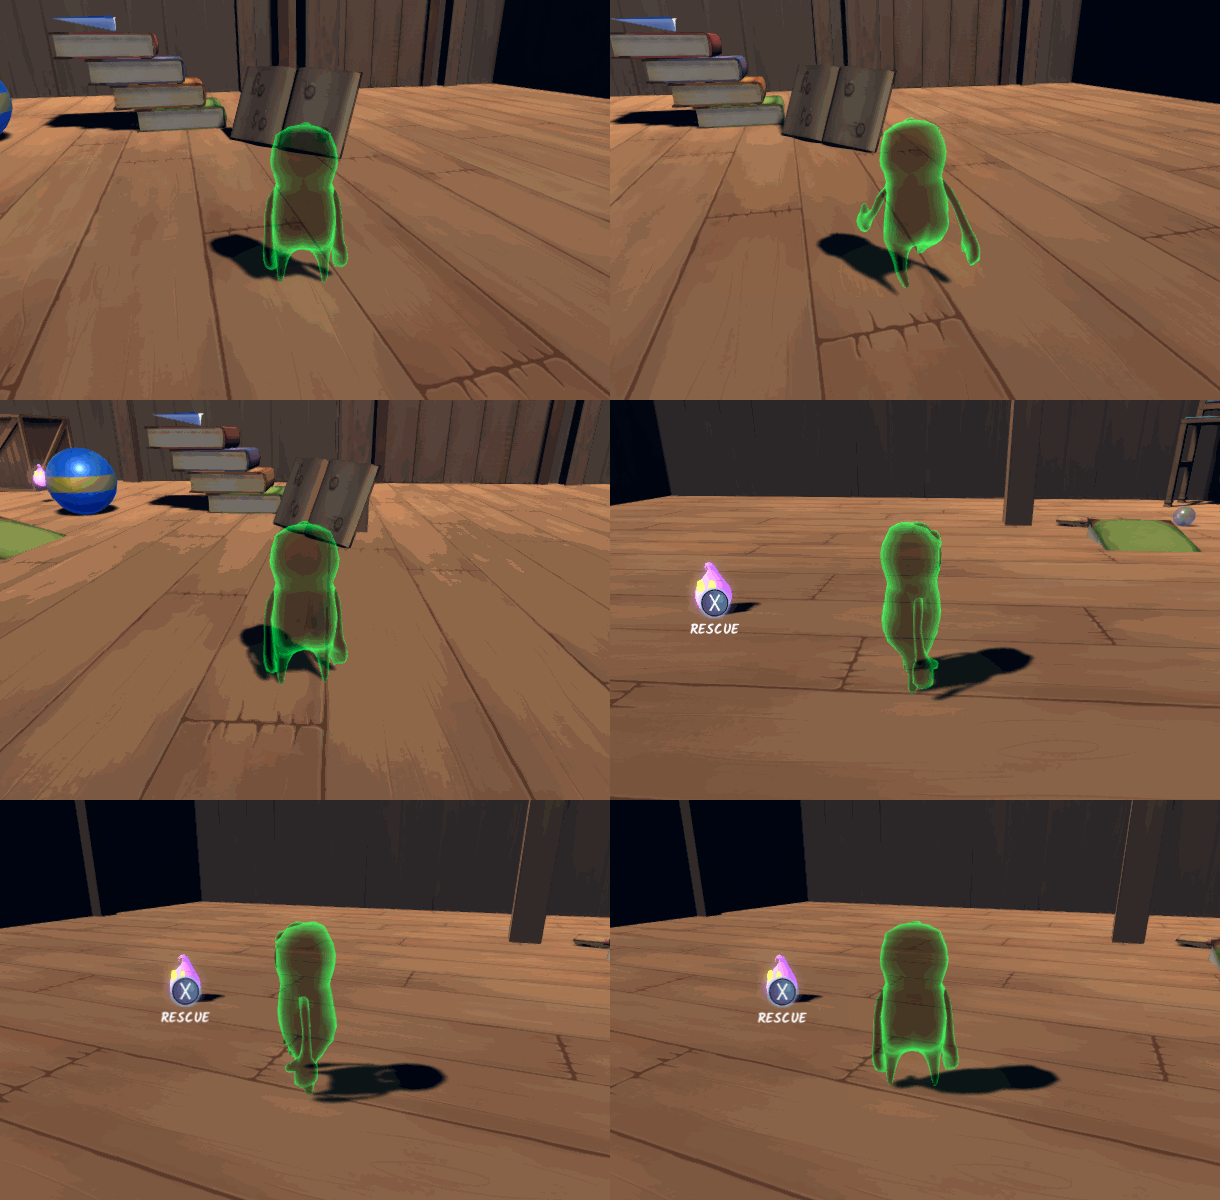
Phase II: Physics
Adding basic physics is actually far less painful than you might think, after you’ve implemented your core control scheme. A lot of the decisions in this respect, at least early on, will be a question of design rather than programming. While the details of this aspect will be dependent on your physics engine, here’s some guidelines we’ve used in developing our camera physics:
Use of a spherical collider to maximize smoothness when colliding with objects and reducing the chances that the camera will get “stuck”.
Set collider radius to something slightly further than the camera’s near clipping plane to avoid unwanted geometry clipping.
Ensure that you can toggle physics on the camera - disabling physics during camera reset and animation is generally a must to prevent unwanted side effects.
If you happen to be using Unity, a quick way to set up your camera physics is to tack on a sphere collider and a rigidbody, and use Rigidbody.MovePosition to update the camera’s target position, using a distance threshold to prevent clipping through thin walls and other geometry:
Vector3 posChange = targetPos - cam.transform.position;
posChange = Mathf.Clamp(posChange.magnitude, 0.0f,
maxSpeed * Time.fixedDeltaTime) * posChange.normalized;

rb.MovePosition(cam.transform.position + posChange);
(As a word of warning for Unity users - if you’re using this, or a variation, as your quick and dirty camera physics solution, be sure to set your camera rigidbody mass to zero and set its velocity to zero during every update - lest you be plagued with unwanted force interactions.)
Here’s a comparison between our initial camera and our physics-capable camera when confronted with a wall:

Admittedly, a fairly basic implementation, but the result is suitably robust in many situations. The resultant camera has respectable behaviour when crammed into walls, floors, and most level geometry. We can improve this with some dynamic physics constraints and raycasting, but that’s a post left for another day.
Phase III: Animation
For our purposes, we have three main animation requirements for our camera:
Smooth transition to and from predefined cutscene animations.
Short transition sequences for certain mechanics.
Automatic camera reset.
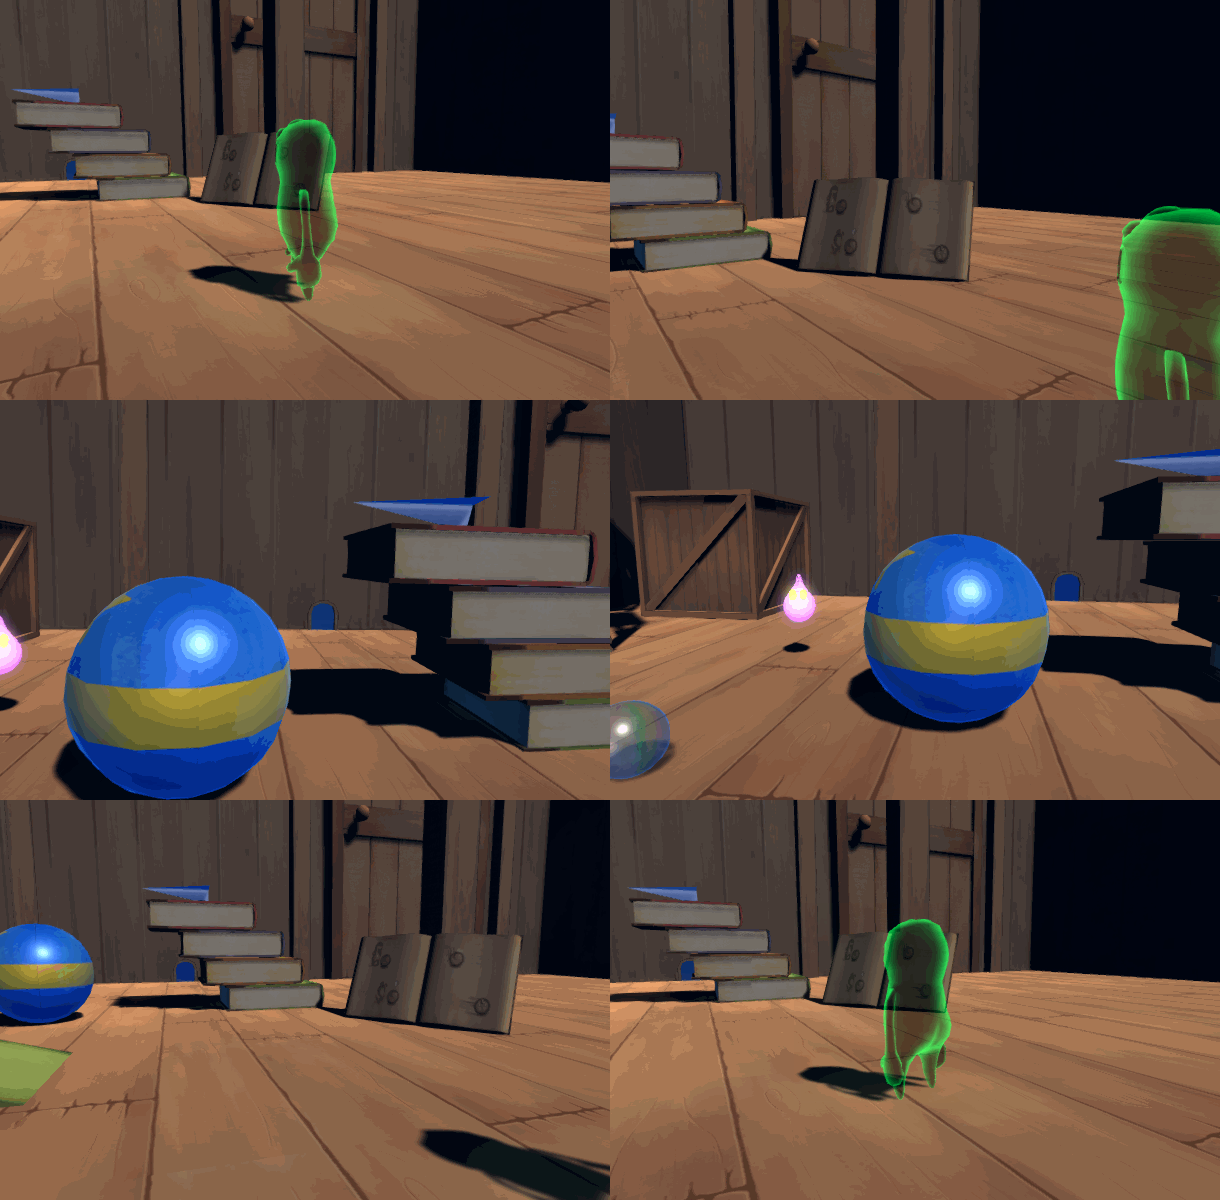
We handle each of these slightly differently, though each updates by overriding the default physics and player-controlled camera mode. For cutscenes, we write our camera’s pre-cutscene transformation to the same format used for cutscene keyframes - which we then append to either end of the cutscene’s frame list. The result is a modified animation which transitions to and from the cutscene’s path without hiccuping between camera control modes:
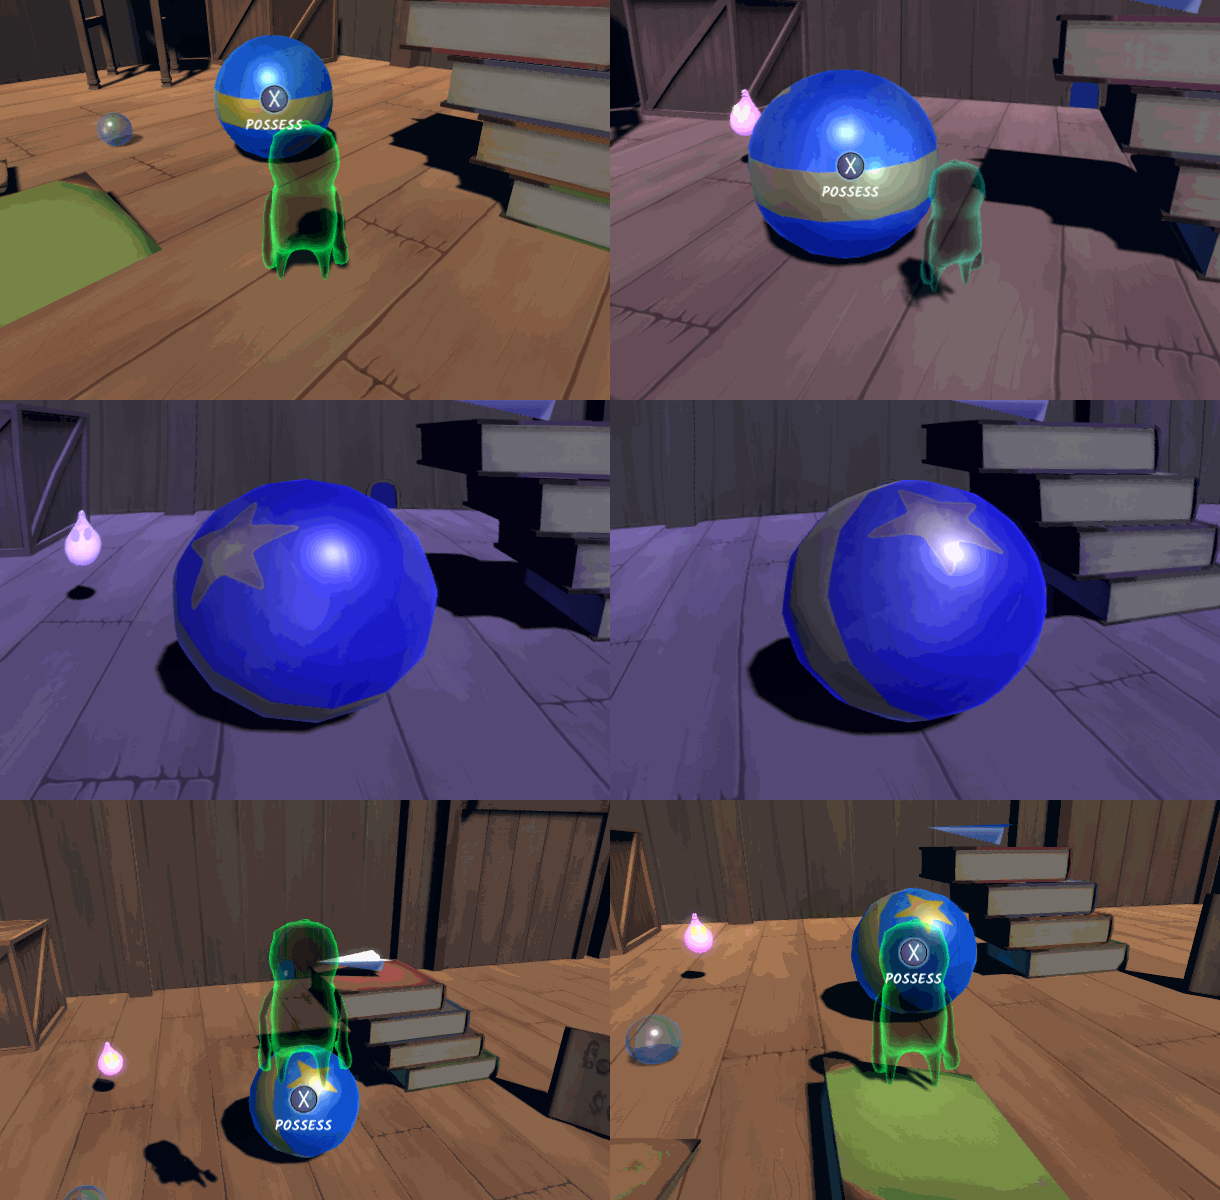
Our transition sequences are used when a player jumps between different controllable objects. To accomplish this, we capture a keyframe of the camera’s transformation at the instant the player triggers the mechanic, and calculate the default position of the camera for the new object in a second keyframe. We then animate the camera between these frames before restoring control to the player:
Finally, we allow players to “reset” the camera at any time, smoothly swivelling back to the default pitch, yaw, and zoom for the player’s current world position and orientation. Here, we key the camera’s pitch, zoom, and absolute yaw relative to the player for both the current and default camera orientations. We interpolate the values simultaneously to yield a smooth swivel effect:
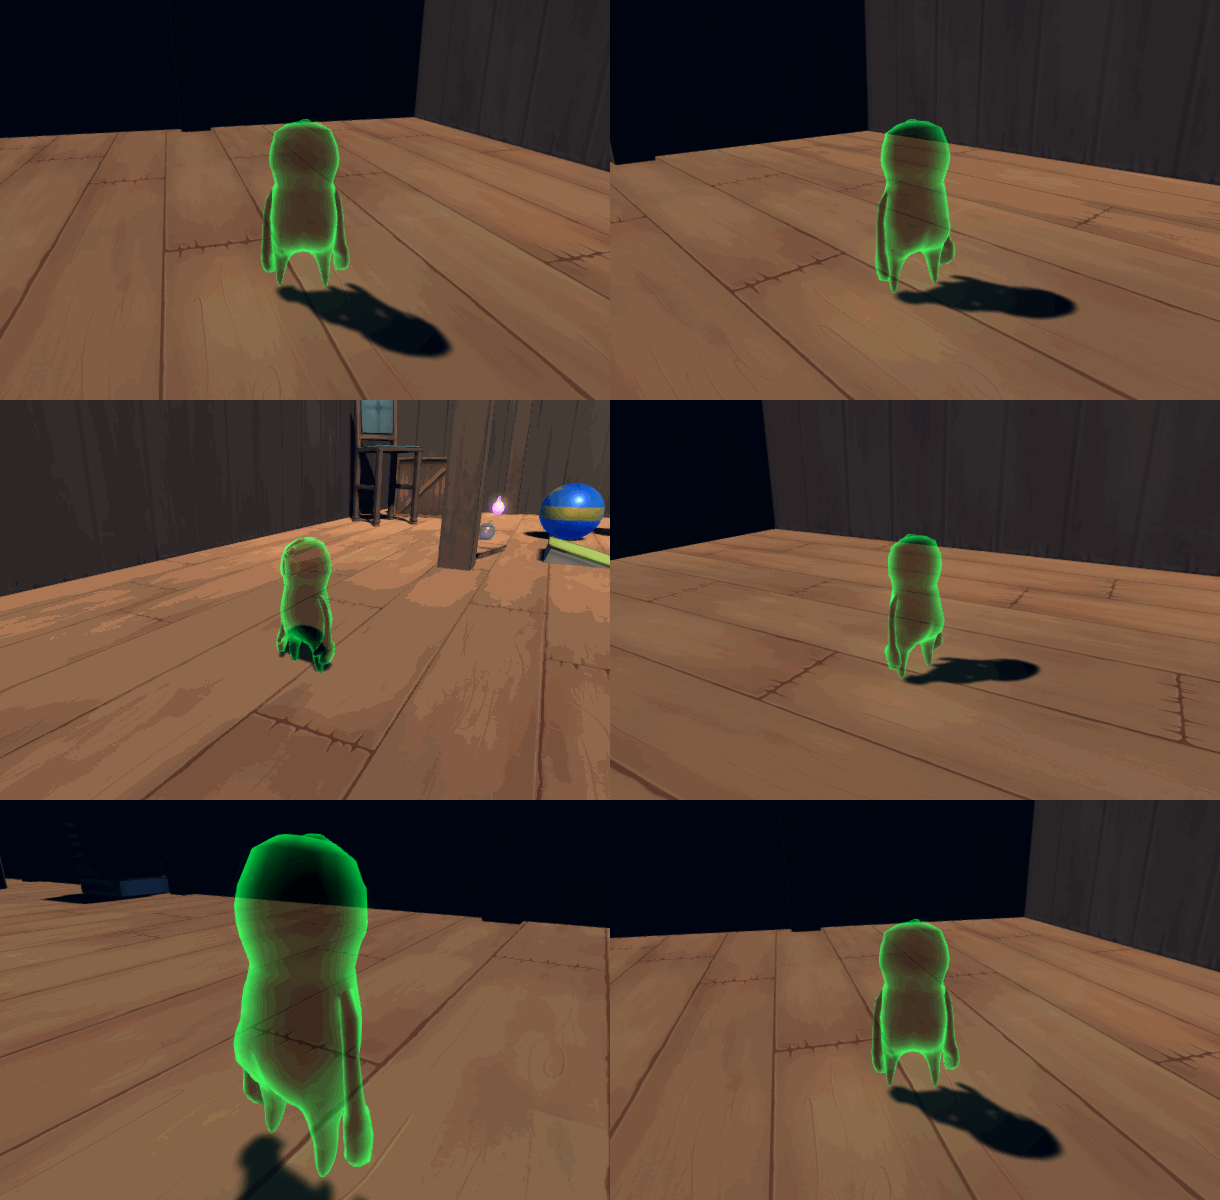
Phase IV: Extras
A nice additional feature is the inclusion of a damping system, which adds a light springlike quality to the way that the camera adjusts its position.
The obvious implementation here is to simply apply a damping or acceleration function to our camera’s transformation update. However, damping the camera’s target position alone will have the effect of making our yaw and pitch controls feel sluggish. Instead, we’ll effectively damp the scaling of our offset vector, preserving the snappiness of our view controls while giving the camera a sense of springiness as the player moves around. We can implement this by using Unity’s Vector3.SmoothDamp function (or by keeping track of the camera’s frame-to-frame velocity and applying acceleration manually):
Vector3 realTarget = Vector3.SmoothDamp(cam.transform.position, targetPos,
ref camVel, dampingTime, player.curObject.moveSpeed);

offset.Normalize();
offset *= (realTarget - pTarget.position).magnitude;

targetPos = pTarget.position + offset;
rb.MovePosition(targetPos);
The resultant camera behaves something like this (undamped on the left, and damped on the right - we can reduce the exaggeration of the effect by tweaking the damping time):

With that in place, we’ve got ourselves a simple, versatile camera system that can adapt to all of our basic in-game needs. And that's about it - our prototype is complete.
Read more about:
Featured BlogsAbout the Author
You May Also Like


