

Daily news, dev blogs, and stories from Game Developer straight to your inbox
Sponsored By
Featured Blog | This community-written post highlights the best of what the game industry has to offer. Read more like it on the Game Developer Blogs or learn how to Submit Your Own Blog Post
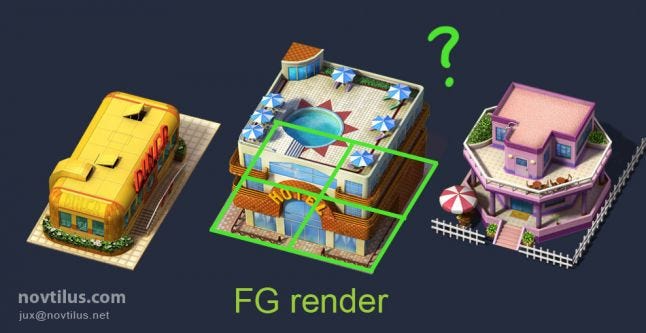
How to position the camera for isometric assets
This is a sequel of my last post. If you’re making isometric assets by rendering 3D models, how to precisely set the camera position, that you may get the desired grid line setting? This article gives you practical solutions.
6 Min Read

Last time after I’ve posted the article about how to prepare isometric assets, a friend asked me on twitter: Then how to position the camera in the right place? For the text space on twitter is small, I can only answer him: It’s simple trigonometric calculation, draw and you will find out. Now I feel that I should give more details here.
The question is:
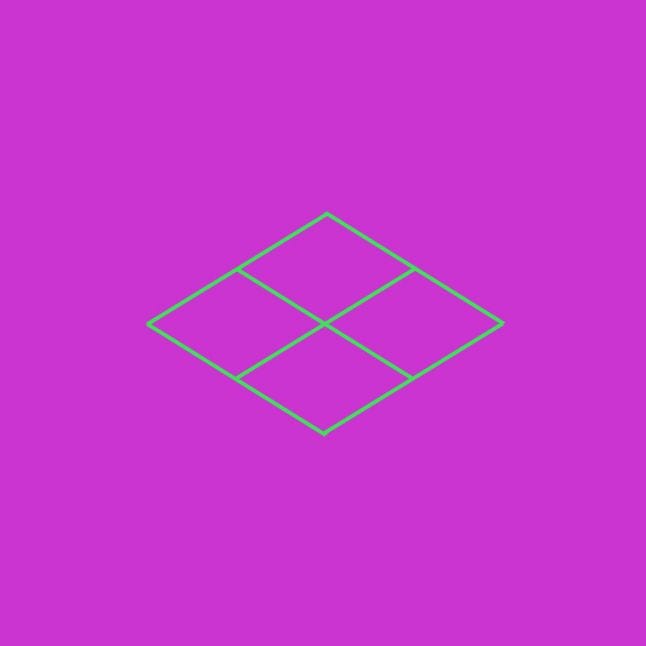
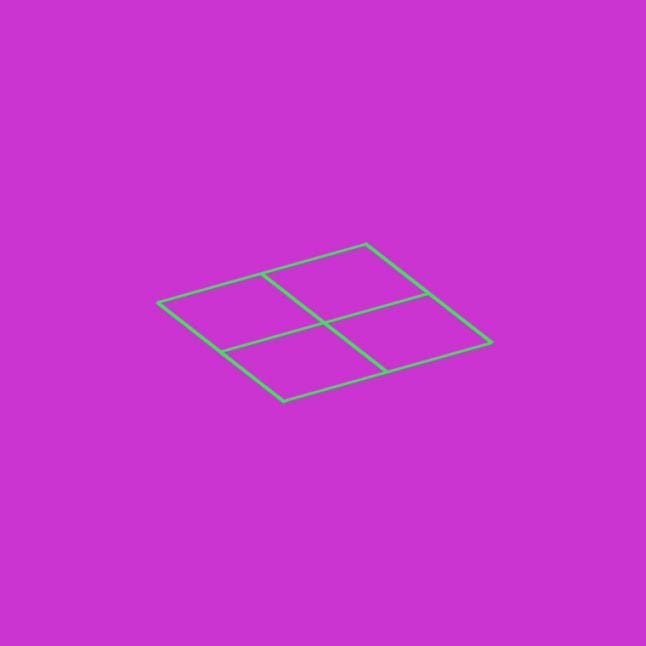
If you have worked out the isometric grid for your game, for example like the image below:
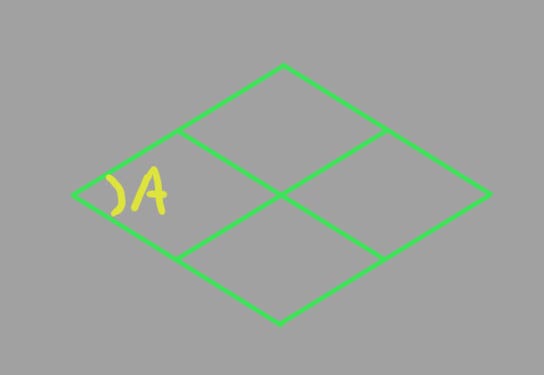
The value of ∠A is worked out by you, then how to position the camera in the 3D scene, that the resulting render would be in this exact grid setting?
Precise solution:
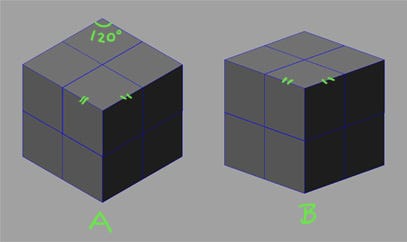
For the uniform grid setup of these two examples,
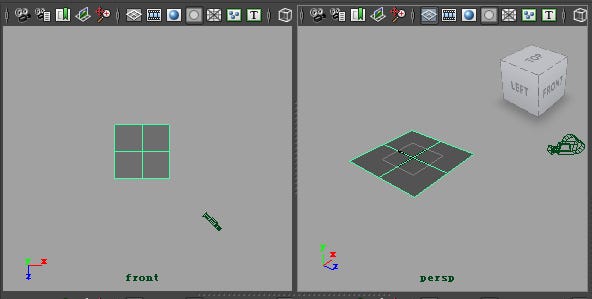
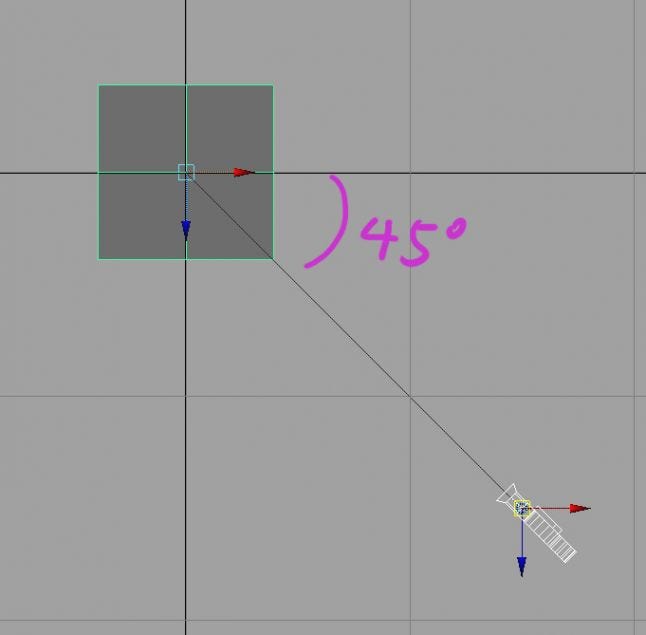
First you need to position the camera in the south east,on ground level, here is how it looks from the top view. This example is made in Maya, I think in Max it’s the same.
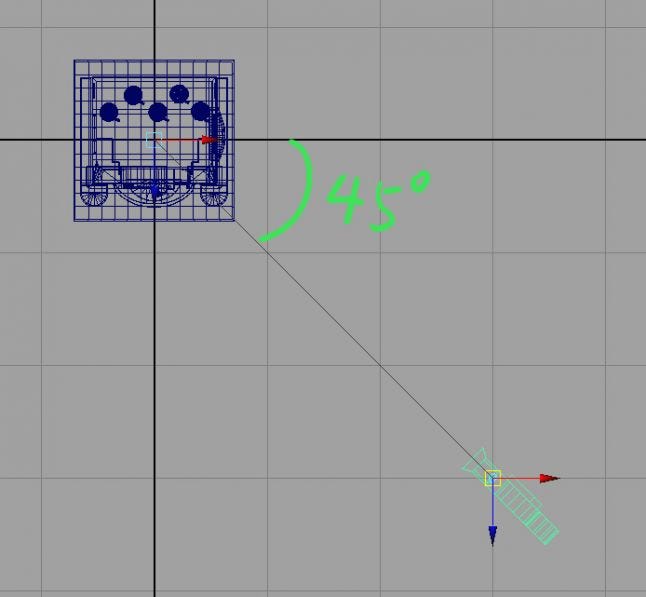
The distance of the camera to the World Origin, we call it value “m”. The actual value of “m” is specified by you, that you make sure it’s big enough that the camera may not clip the building.
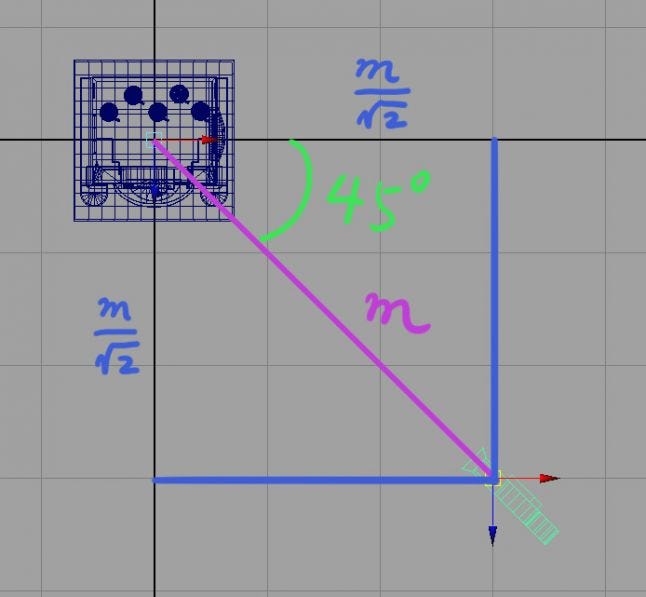
So in a Y-up coordination system, the position value of the camera:


Now let’s go for the height value Y. Seen from the top, the unit grid line is essentially a perfect square, after the isometric projection, it becomes a rhombus. Like below.
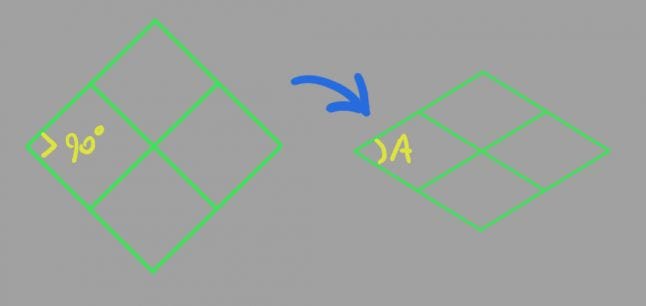
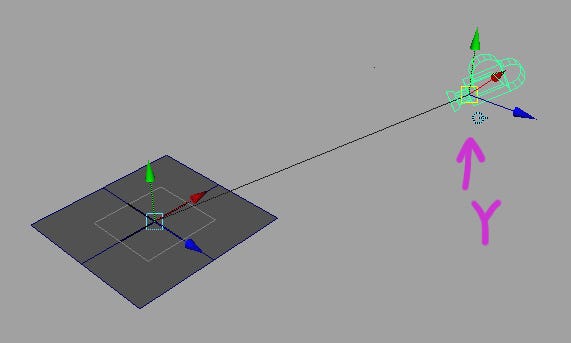
The value of ∠A is determined by the height of the camera, and vise visa:

This is really simple trigonometric calculation, so I don’t post the detail of how to get it, you can use it straight forward.
So, the position of the camera:
You don’t need to worry about the rotation angle of the camera. After set this position value correct, just snap the camera target to the World Origin.
For a perfect uniform isometric setting like this:
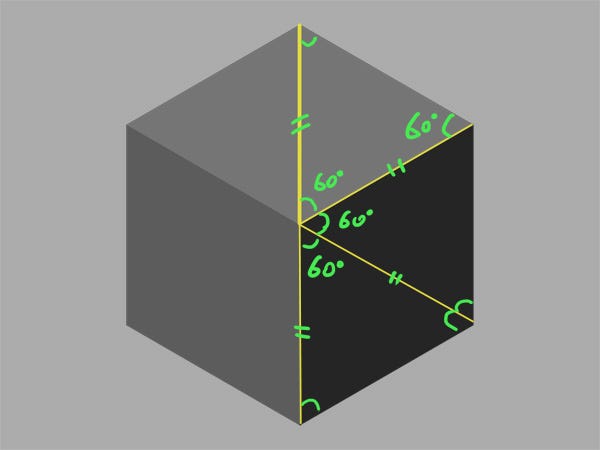
The position of the camera:
You can specify any value for the XYZ, as long as the camera has some distance from the building.
Not so precise solution:
If I need perfect uniform isometric setting, I would set the values following the above formula. But in 90% of the cases, I don’t do the lousy calculation, instead, I would use a solution which is not that precise, but it works.
First, like the picture below, draw the grid line you need for your game, and make it a square image, put the center of the rhombus at the center of the image.
Then create a camera, map this image to the background of the camera (It’s called Image Panel in Maya).
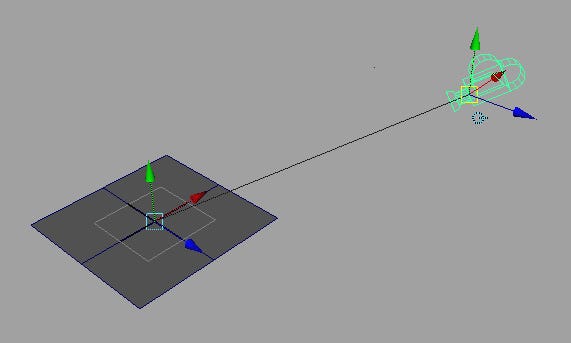
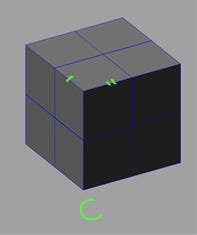
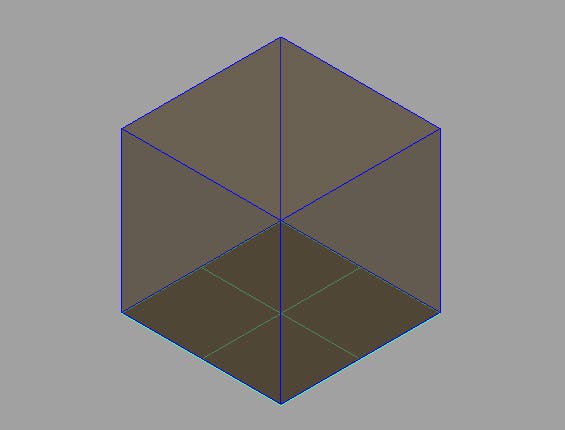
Now create a square mesh in maya, let it big enough, think about that you would place a building on top of it later, and its area should contain the base of the building. For example, 30 meters in length for each edge. It looks like this:
At ground level, place the camera like this. Snap the camera target to the World Origin.
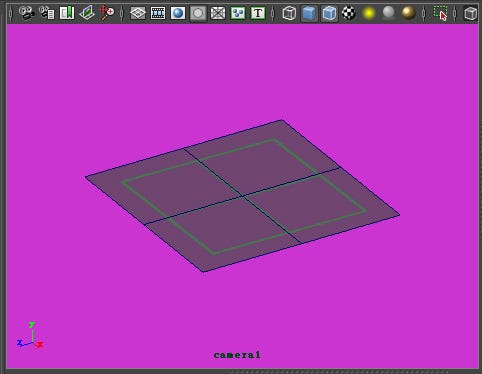
And Now raise the camera along the height axis (Y by default), use this tool  , not this one
  .(That the camera target stays at the World Origin)
and observe the camera view. When the square mesh matches the line direction of of your background image, it’s done!

And if your grid setting is non uniform, like this.
This trick also applies. Make an image like this,
do the same, move the camera around with this tool (not just along Y axis), to find a point where the lines match:
Now to get a good composition for render:
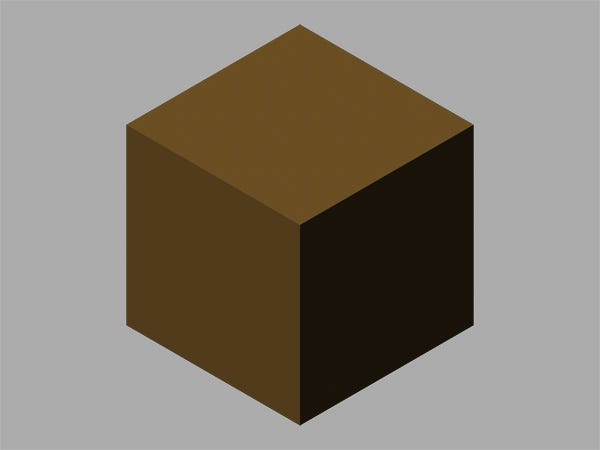
After you've done with the above, essentially the camera is shooting at the correct direction.But the composition for render is not so good. Because the camera is shooting at the World Origin. If you merge in a building, it would be like this in the render view.
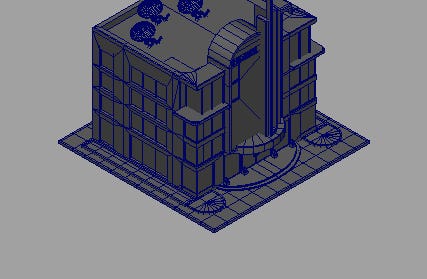
Now as my last article said, put a container box upon the above square mesh,
to let the box occupy a good portion of the camera render view, move the camera around by this tool , which would not change the camera direction while moving it. When you find a sweat point, hit render to see the result:
If you feel it's good, that you've got the final resting place of the camera.
Now, it's time to merge in your beautiful building models, put in lights, to do the awesome render!
More of my articles about games & art production:
http://gamasutra.com/blogs/JunxueLi/940564/
Follow me on twitter...
Read more about:
Featured BlogsAbout the Author(s)
You May Also Like


.jpeg?width=700&auto=webp&quality=80&disable=upscale)


