Featured Blog | This community-written post highlights the best of what the game industry has to offer. Read more like it on the Game Developer Blogs or learn how to Submit Your Own Blog Post
Creating Rooms for Cats to Play In
How I'm creating indoor spaces easily using modular pieces in Unity for my game, Catlateral Damage.

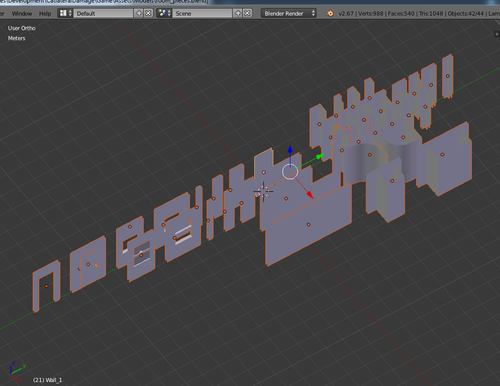
Since I'm currently working on Catlateral Damage by myself, I'm trying to front-load some foundational work that will save time down the road. One way I decided to do this is to create modular level pieces for creating levels. Rather than create new rooms from scratch, tweak them, and create new UVs and textures each time in Blender, I created several simple wall pieces that can be used like LEGO pieces over and over. All objects used in creating levels are prefabs in Unity, so they can be easily tweaked and used everywhere.

Creating the Walls
Before creating anything new, I determined what scale everything needed to be in Unity. I had previously had some physics issues when all objects in the game were the "correct" scale (1 unit = 1 meter), so I quadrupled the size of everything (1 unit = 25 cm). For example, instead of the player cat being 25cm tall, it's now 1m tall. This doesn't have too much of an effect on building the wall pieces, but I have to keep in mind that either the Blender objects need or Unity Game Objects need to be 4x scale (I'm doing the latter).
For the first set of wall pieces, each wall is 3m tall. Width depends on what kind of wall it is; basic walls are 1m wide, but corners are a little more than 50cm wide and there are bigger versions of the basic wall (2m, 3m, etc.). While creating wall pieces, I'm always thinking about performance and where I can cut back on polygons: wider walls (i.e. the 4m wall) are used instead of using multiple small walls; the top, bottom, and side faces were deleted since they'll never be seen in-game (they were also causing some z-fighting issues). UVs are also mapped to the same texture so it'll be easy to swap materials on an entire room (say, to change the wallpaper). The pivot points on objects are placed so that walls will line up smoothly when they are snapped to a grid.

Using the Walls in Unity
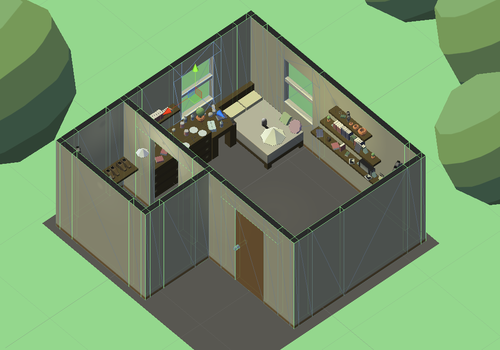
Once walls are modeled, have unnecessary faces deleted, and have UVs mapped, they can be imported into Unity. In Unity, I create an empty Game Object with Mesh Filter, Mesh Render, and Box Collider components. I set the Mesh Filter mesh to a wall mesh, set the Mesh Renderer to use the material all walls will use, and use the default Box Collider values to encase the wall. For more complex pieces like doorways and windows, I edit the Box collider and add child Game Objects with additional colliders. To use these prefabs in the scene, I drag them out, set their position to a whole value, and move and rotate them while holding CTRL to snap them to the grid.

Placing Other Objects
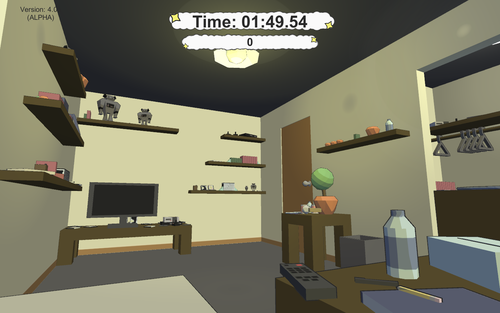
After the room is set up, I add planes for the floor and ceiling that have their own materials and Box Colliders. Other level objects, such as the bed and tables, are created and imported in a similar way to the walls. These objects don't have to be scaled or placed as perfectly as walls, however. Once the walls and static level objects are placed, I usually run around the room for a bit to make sure the player won't get stuck anywhere (and can't exit the room!). Physics objects (the things you smack around) are added last. Each physics object is its own prefab for ease of use, and once there is one in the scene I usually just duplicate it around. These prefabs are more complicated than the rest of the level objects, so they'll be explained in another blog post!
About the Author
You May Also Like


