Featured Blog | This community-written post highlights the best of what the game industry has to offer. Read more like it on the Game Developer Blogs or learn how to Submit Your Own Blog Post
Arrival in Hell Dev Blog #8 – Image effects
Adding image effects to my game with lots of before and after gifs

Inspired by this video from Unite Europe 2015, I decided to play with image effects for the first time. Firstly I took the advice of Iestyn Lloyd and bought SE Natural Bloom & Dirty Lens and Amplify Color from the Unity Asset store.

You can get both assets for about €50 total at the time of writing
First thing I did was play with the Natural bloom effect until I got it looking how I wanted it. I used a built in dirt texture to simulate a dirty camera lense. I didn’t want to take it too far, so the effect is quite subtle.
.gif/?width=646&auto=webp&quality=80&disable=upscale) SE Natural Bloom effect
SE Natural Bloom effect
Using Amplify color was slightly less successful. Since I had no idea how to color grade myself, I threw out a $20 competition on Freelancer.co.uk to get a professional to do it. The results were less than impressive, so in the end I went with a very subtle color amplification.
.gif/?width=646&auto=webp&quality=80&disable=upscale) Amplify color effect
Amplify color effect
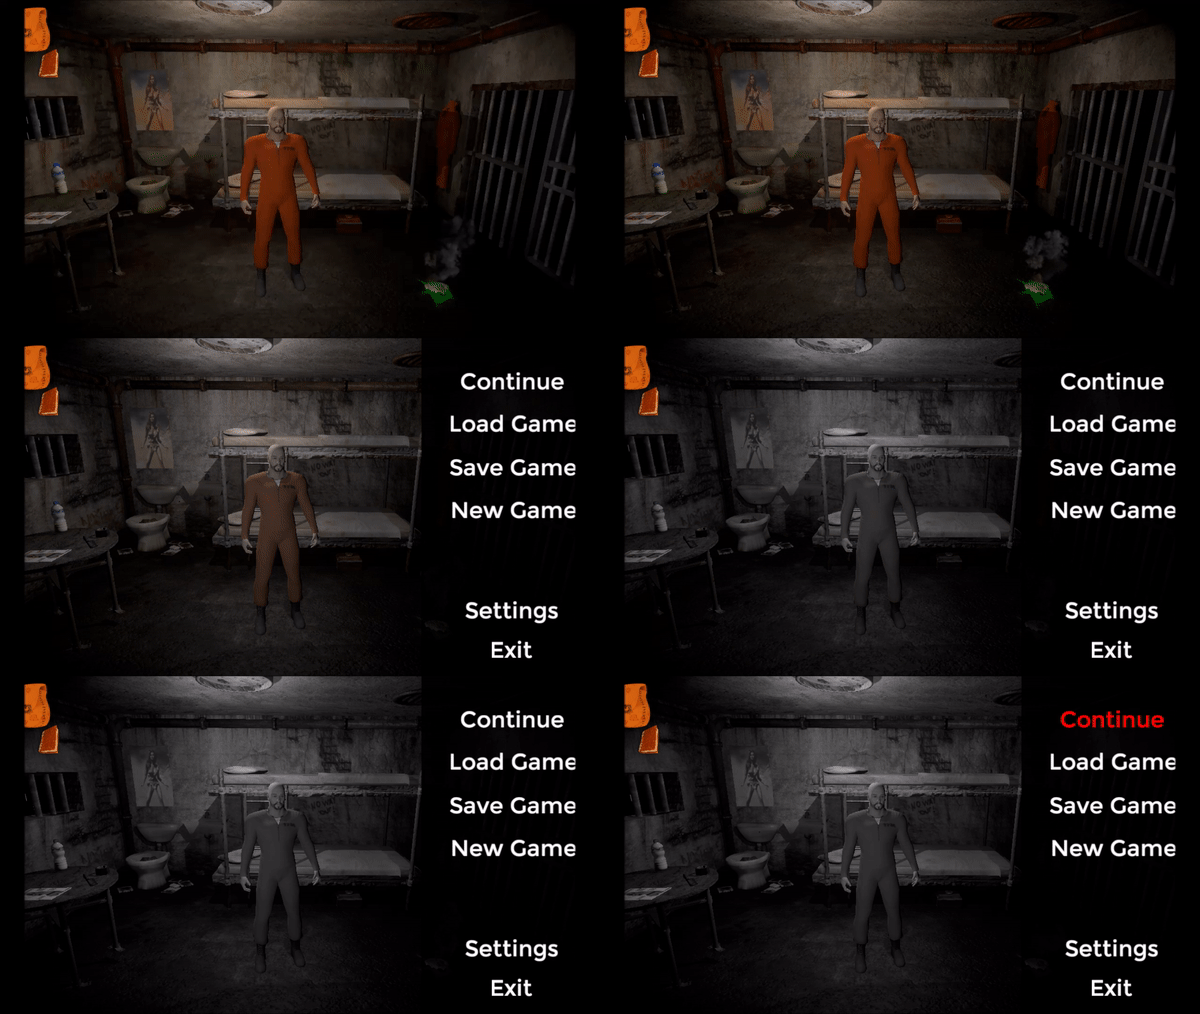
Determined to get some use out of this new asset I’d just dropped €25 on, I decided to use it to make the game turn black and white when you pause. I used a grayscale lut blend texture and tweened up the blend amount when you pause.
 Using Amplify color to apply a black and white fade effect
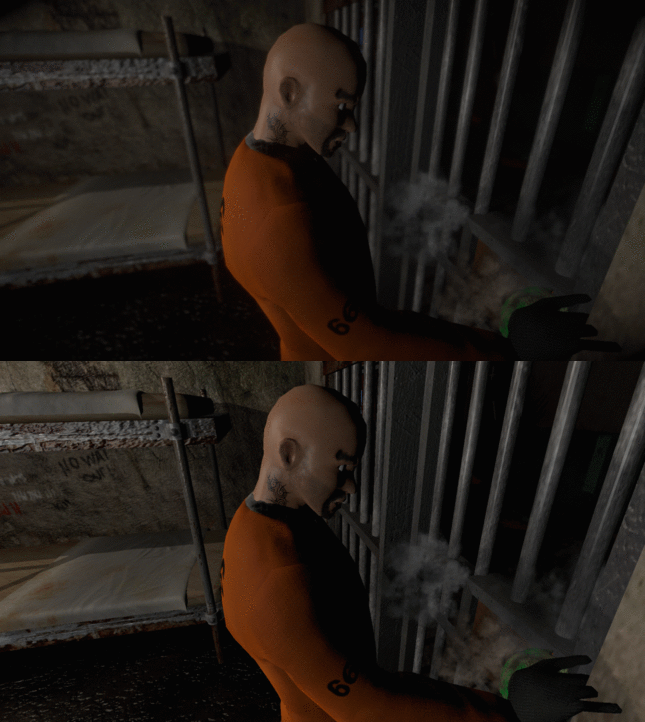
The final effect I applied to the main camera was Unity’s built-in Vignette and Chromatic Aberration effect. This turned out to be my favorite of all of them and really gave the game the dark and eerie feeling that I was going for.
.gif/?width=646&auto=webp&quality=80&disable=upscale) Built-in Unity vignette effect
Built-in Unity vignette effect
It’s worth mentioning there are actually two more things which are technically image effects running. Firstly I added a brightness adjust, because the game looked darker on different monitors and I felt it was necessary to have an in-game control to fix that. The second effect is the highlighting effect I mentioned in blog #4.
 Brightness adjust in case your monitor is too dark or light
Getting all of these image effects which came from multiple vendors, as well as making sure they don’t interfere with CrazyTalk, was a bit tricky, but I got there in the end by playing with camera depths and effect order.
The final stack of image effects on the main camera
Finally, for certain cut scene cameras I also added a depth of field effect (another built-in Unity effect). The effect looked great, however to my despair I uncovered a bug whereby the game would crash when played on non DX11 compatible systems. Thankfully the Unity team say they have addressed this in 5.3.2 so I’ve left the effect in
 All effects include depth of field added to cutscenes
.gif/?width=646&auto=webp&quality=80&disable=upscale) All main camera effects turned off and on
All main camera effects turned off and on
So there we have it, I feel like the game’s graphics have improved significantly with very little effort. Performance was affected, but not enough to make me want to tear any effects back out. I’ll go into detail about some performance optimisations we have made next week. Thanks for reading.
Read more about:
Featured BlogsAbout the Author(s)
You May Also Like


.jpeg?width=700&auto=webp&quality=80&disable=upscale)


