Trending
Opinion: How will Project 2025 impact game developers?
The Heritage Foundation's manifesto for the possible next administration could do great harm to many, including large portions of the game development community.
This project was started for an independent study I was doing under Rush Swope at Indiana University Bloomington.

This project was started for an independent study I was doing under Rush Swope at Indiana University Bloomington. I laid out a plan of action for what I was going to implement. The main things I wanted to cover were importing 3D models, some sort of lighting implementation, and point cloud rendering. The main four sources I drew from were Realtime Rendering 4th Edition, Gpu Pro 360 Guide To Shadows, Gpu Pro 360 Guide to Lighting, and an overarching implementation guide posted on YouTube by freecodecamp.org called OpenGL Course - Create 3D and 2D Graphics With C++.
The books were more of an overarching description of the history of realtime rendering and the ways it has been implemented in the past, which was very interesting to learn about. The walkthrough on YouTube went much more into the nitty gritty of implementing a framework for a render engine using C++ and OpenGL.
Week 1
Creating A Window:
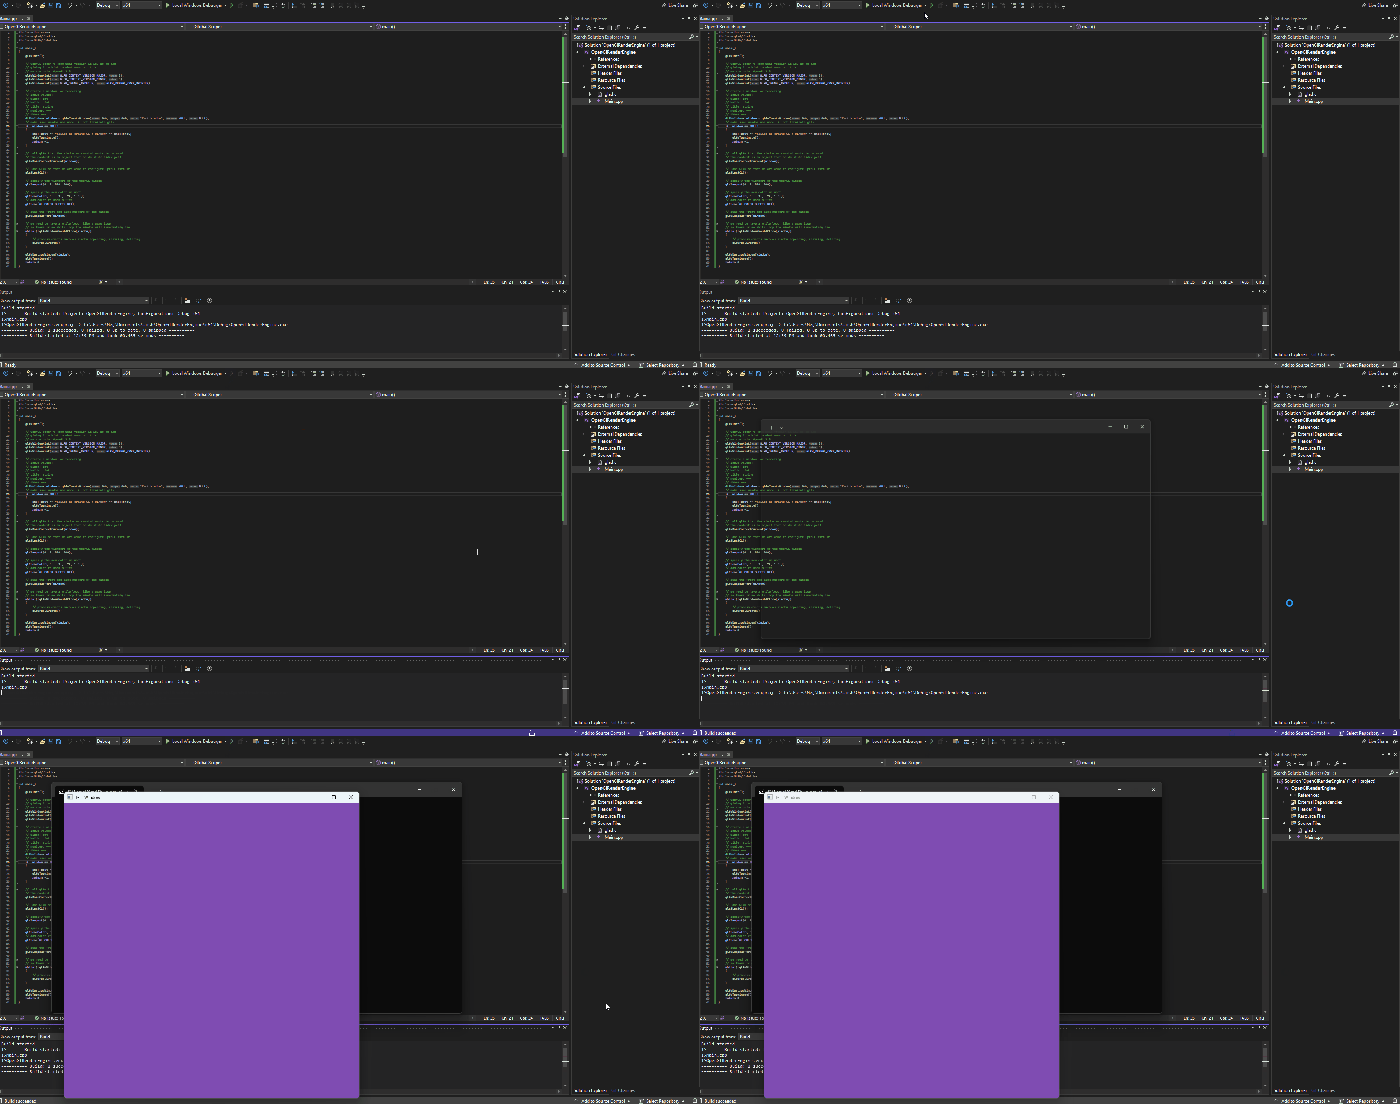
The first week of working on this project was spent getting all the software and libraries I needed to start working installed, getting a window to pop up, rendering triangles, and learning more about Index Buffers.
The software and libraries I used for this project were the newest version of Visual Studio, the newest version of CMake, GLFW 3.3, and GLAD for version 3 of OpenGL.
There were a couple of things I had to do to get glfw into a place where it wanted to open a window.
I had to put a glfwInit(); call at the start of the function and a glfwTerminate(); call at the end of the function.
I also had to give hints to glfw for it to figure out what version of OpenGL it was using. This can be found in the first couple lines after the glfwInit(); call. We are giving it the major version 3.x and the minor version x.3 and telling it that we are using Core (the version that I downloaded).
The next line that was important to starting a window was creating a window reference.
<p>GLFWwindow* window = glfwCreateWindow(800, 800, "Test Window", NULL, NULL);</p>This line specifies that we want a window with a width of 800 pixels, height of 800 pixels, the names of “Test Window”, and that we do not care about the window or sharing.
We then add this window into our current context, this tells glfw the window that it wants to work on.
The call of gladLoadGL() loads GLAD which was one of the libraries I downloaded. GLAD allows me to configure OpenGL. We then specify the viewport that we are using.
These next three lines are an introduction to the front and back buffer. We are setting the color that we want on the back buffer, then setting the back buffer to that color. We then swap the front and back buffer so we can see the change.
glClearColor(.5f, .3f, .7f, 1.0f);

glClear(GL_COLOR_BUFFER_BIT);

glfwSwapBuffers(window);
To keep the window open we have a while loop. Inside the loop we are polling events so a user could close the window or resize it.
while (!glfwWindowShouldClose(window))

{

glfwPollEvents();

}
Adding In Triangles:
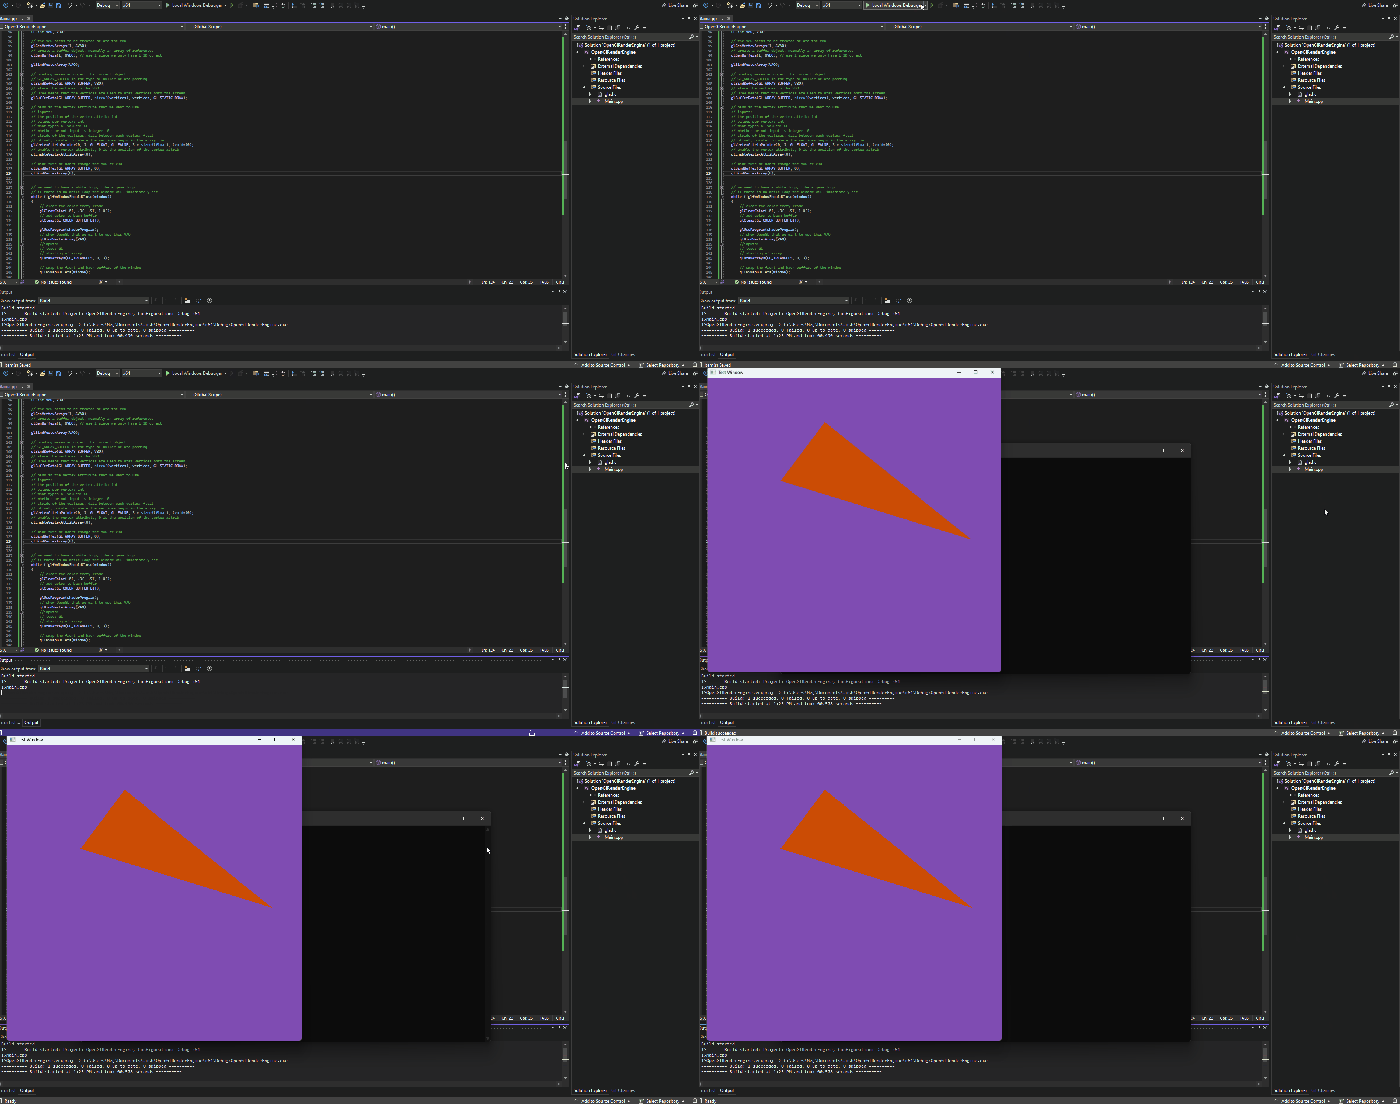
The next step on the journey was learning about adding in geometry. Adding geometry, even if it is only two dimensional, still requires another layer of complexity. This layer of complexity is in the form of the addition of vertices, vertex shaders, fragment shaders, the Vertex Array Object (VAO), and the Vertex Buffer Object (VBO).
I copied the source code from the vertex shader and the fragment shader directly since I will be going into the topic later.
When creating a shader for glfw you need to use an unsigned integer, the type we are using is GLuint. We also need to show glfw what the shader source code is and then compile it into machine code since glfw would not be able to read the source code normally.
Then using another unsigned int we create a shader program and attach the two shaders, vertex and fragment, to the program. Deleting the shaders directly afterwards to clean up.
We then need to create the VAO and the VBO so we can pass over the vertex information from the CPU to the GPU. One of the most important things in this step is the creation of the glVertexAttribPointer where we specify the amount of values per vertex, the type of values we are using to make the vertices, the distance between each vertex in the vertex array, and where we want to start drawing from in the vertex array. We then bind the array buffer and the vertex array.
The main difference between rendering the empty window and the window with geometry inside is we move more logic inside the while loop. We are now swapping the buffer inside the while loop, using the shader program we built, binding the VAO, and drawing an array where we specify the type of primitive we want to draw. In this case we are drawing GL_TRIANGLES.
After the while loop, we are deleting the VBO, VAO, and the shader program.

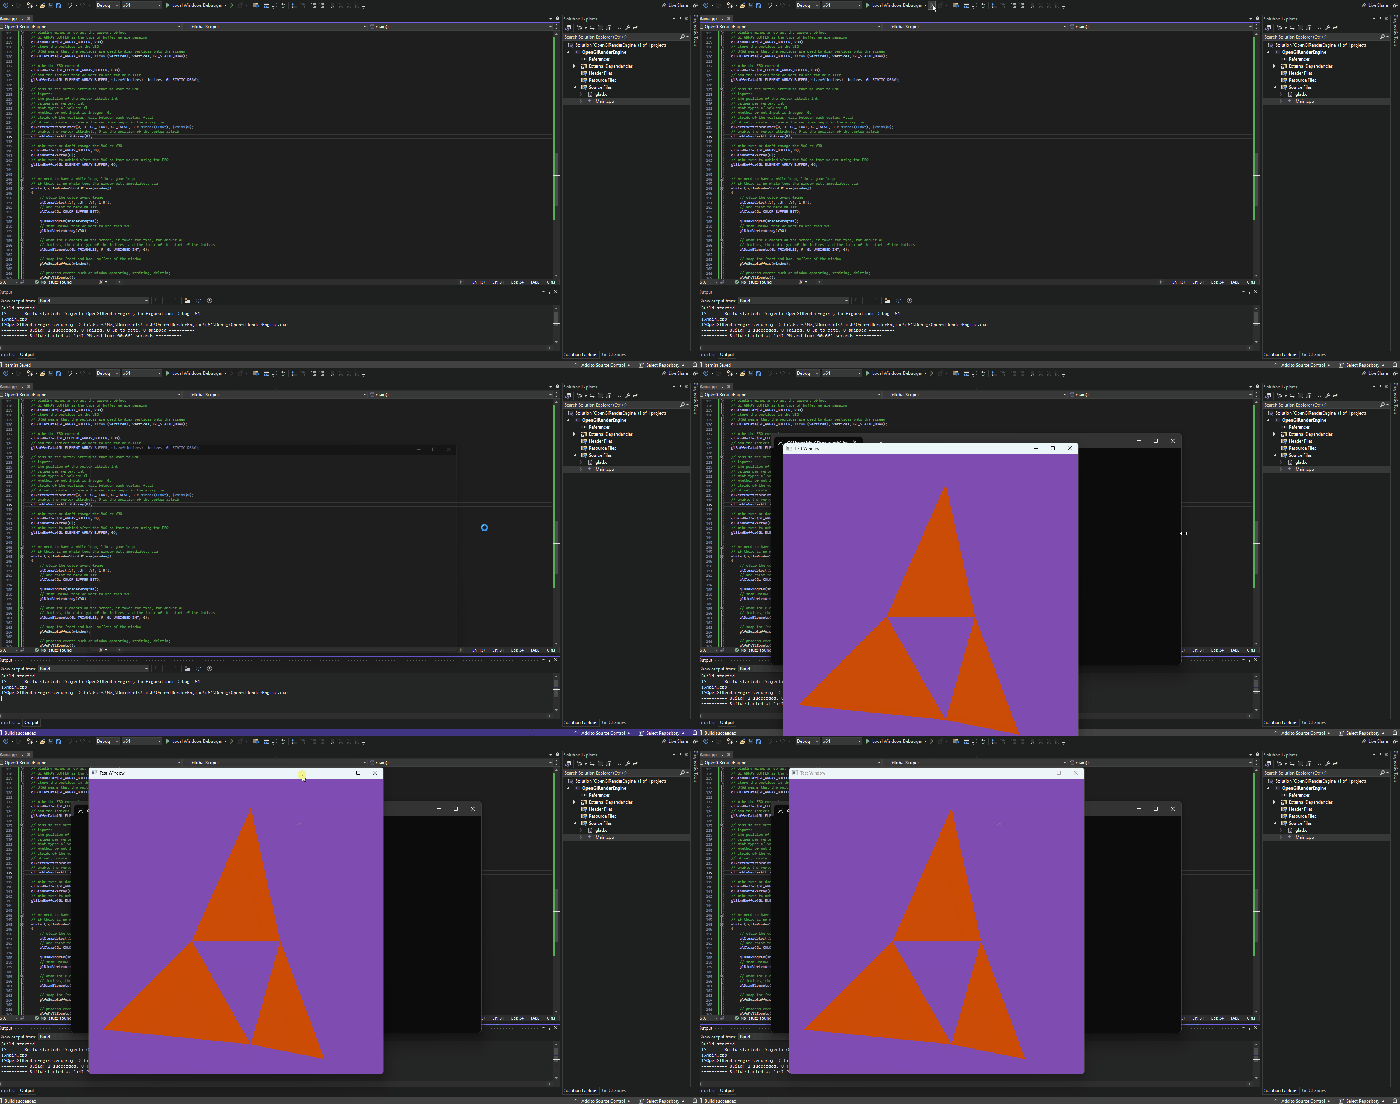
The addition of the index buffer allows us to draw multiple triangles and reuse the indices that are touching each other. We need to create a new data structure of unsigned ints at the start of the function that says the order in which the vertices should be used. In the area where we created the VBO and VAO we add another unsigned int that will be referenced later as the EBO. We then bind a new buffer to the EBO and set the buffer data to the size of the indices data structure we made.
The only change we make in the while loop is that instead of drawing an array of vertices, we are drawing an array of elements.

Read more about:
BlogsYou May Also Like