Trending
Opinion: How will Project 2025 impact game developers?
The Heritage Foundation's manifesto for the possible next administration could do great harm to many, including large portions of the game development community.
This handy guide will show how we create a “flash” comic effect in our extraction shooter game HAWKED – with tips and lessons along the way that can be used to create other comic-book style effects as well.
February 16, 2024
.png?width=1280&auto=webp&quality=95&format=jpg&disable=upscale)
The visual effects in the extraction shooter HAWKED are one of the main means responsible for creating its comic-book style. To effectively achieve this kind of stylization, we made sure to adhere to certain principles: using simple, clear shapes, gradients, patterns from comics, strokes, stylized text, and many others.
Hello, everyone! My name is Alexey Kropachev, and I’m an FX Artist at MY.GAMES. In this article, I’ll show you step by step how to create comic-style visual effects, just like we did in HAWKED. The main example we’ll look at will be the “flash” effect (which you’ll see just below) – but the approach we’ll discuss will also be applicable for other effects as well.
HAWKED’s effect requirements
HAWKED is a fast-paced shooter, and that means that there can be a lot of effects on screen at any given time. This imposes certain requirements on the visualization of effects and, of course, in terms of their optimization. These factors would ultimately determine the solutions we needed to implement.
To start, we try to give preference to textures with a generated or simulated SDF (Signed Distance Field) so that even with a small texture size we can get a lot of useful information. In order to produce SDF textures, we use our own plugin built into Unreal Engine, but if you want to repeat the example from this article, you can use any other tool – we often use Substance Designer, After Effect, Houdini, Blender, or draw the textures ourselves.

For key effects we draw concepts, but some FX artists do on their own, based on their overall style and experience
For textures with SDF, we try to use single-channel Linear Grayscale 16 bit, which gives better results with less of a memory footprint. These textures are equally well suited for drawing clear shapes, specific patterns/screen tones, and stylized animations (for example, stylized flames).
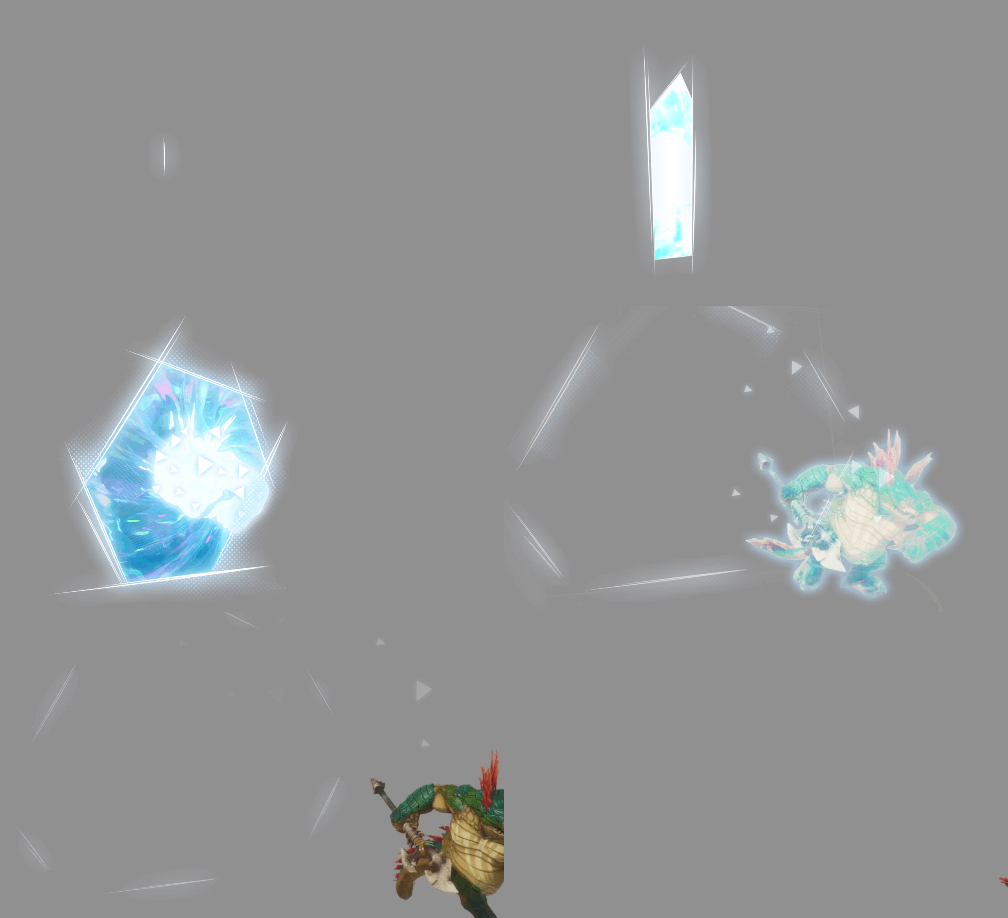
Sometimes concept artists make animated concepts, which makes the work a lot easier
Additionally, for effect materials, we try to use the built-in capabilities of gradients (texture coordinates, space coordinates, some vector manipulations, vertex painting) to manipulate textures. Since SDF is essentially a gradient, when taken together, this allows for elegant solutions.
Creating a stylized flash sprite
Let's create a stylized flash sprite that looks like the one below:
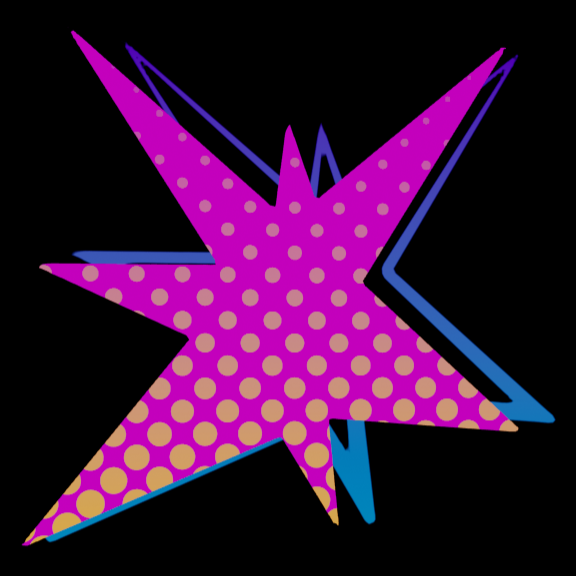
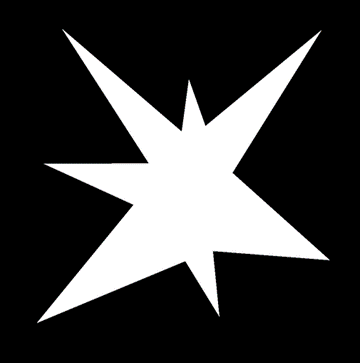
First, we’ll create a black and white texture with the desired shape. To make the texture nice and clear, we’ll need a large source file.
Next, you need to import the texture into the engine. For this, we use our own plugin, which turns the texture into a small SDF texture – 128x128 Linear Grayscale – and at just 16KB, this will be enough for us. Alternatively, you can use the InnerGlow and OuterGlow tool in Adobe Photoshop.
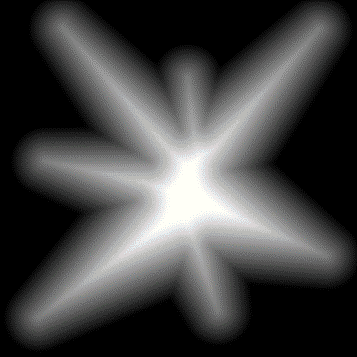
If we were to use a texture of this resolution without a plugin, the characteristic pixels would appear on the edges of the figure and we would be unable to achieve the desired outline without using additional channels or textures; this would generally complicate our task.
To get the original shape, we can just use the Step or Smooth Step function for smoother edges. And let's create a Cutoff function for more visual use of SmoothStep.
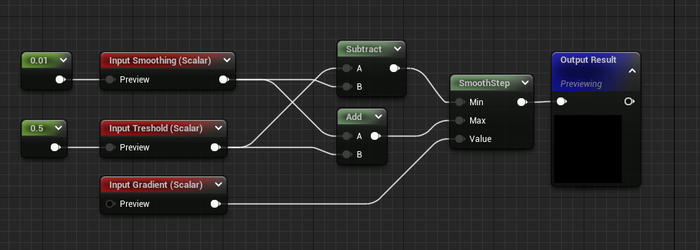
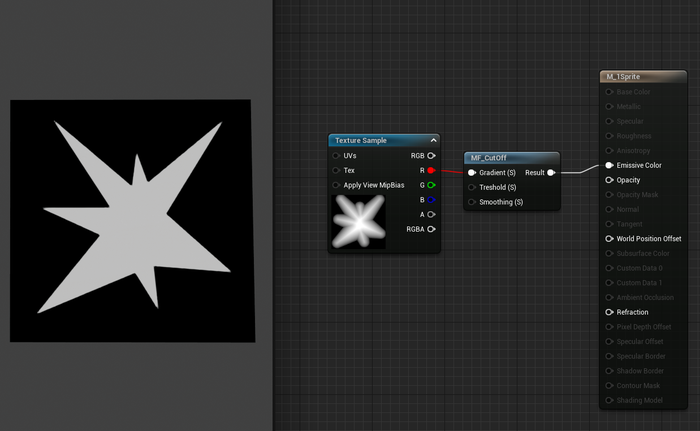
Now, let’s create a function for the dot pattern:

We can apply it anywhere depending on our preference. So, let’s add it on top of our texture and add a gradient to the pattern itself to color it.
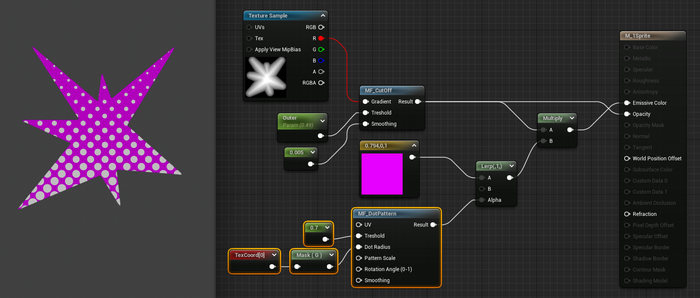
Generally speaking, we can add different gradients to a pattern to achieve a variety of effects.
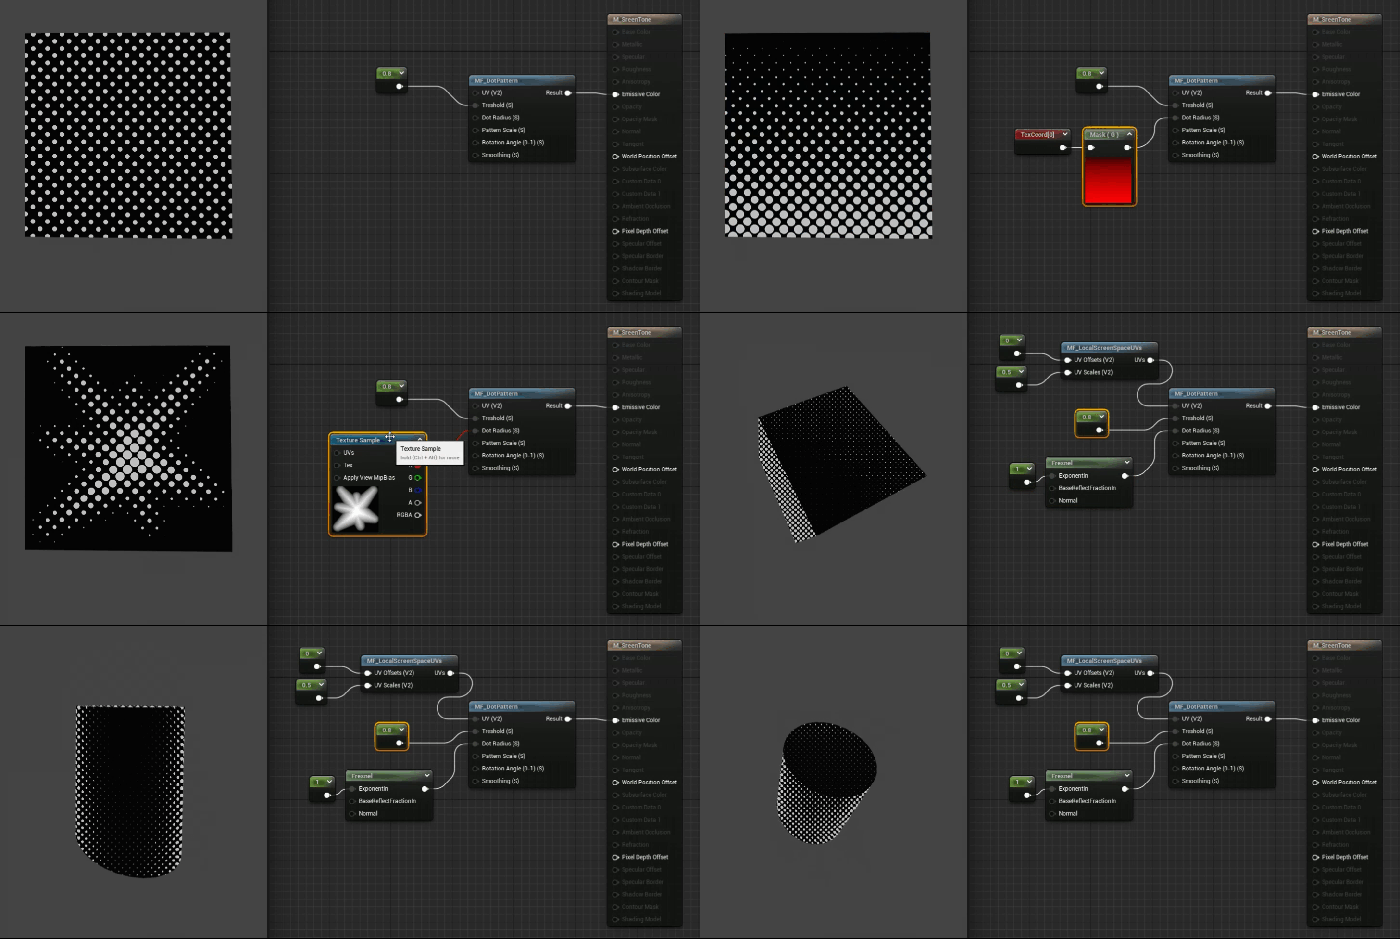
Since our shape is based on a gradient, we can also get an outline with a different Threshold.
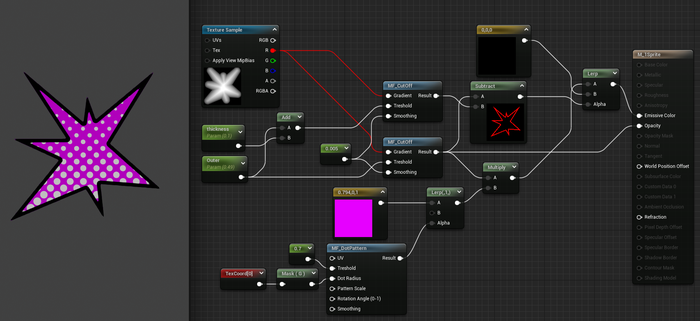
There is one more trick: we can make a function to build a gradient in the form of a “gable roof” based on the gradient.
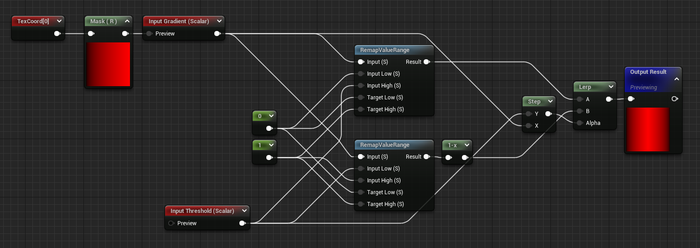
Now, we can make an outline using this function, and we can even adjust its thickness. We’ll move the outline and move it under the star.
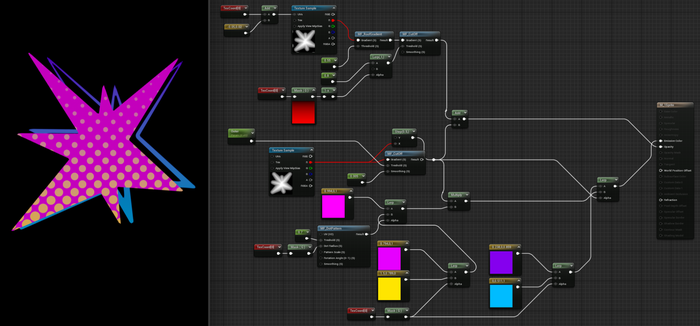
For all this, only one texture was used, occupying 16KB of memory.
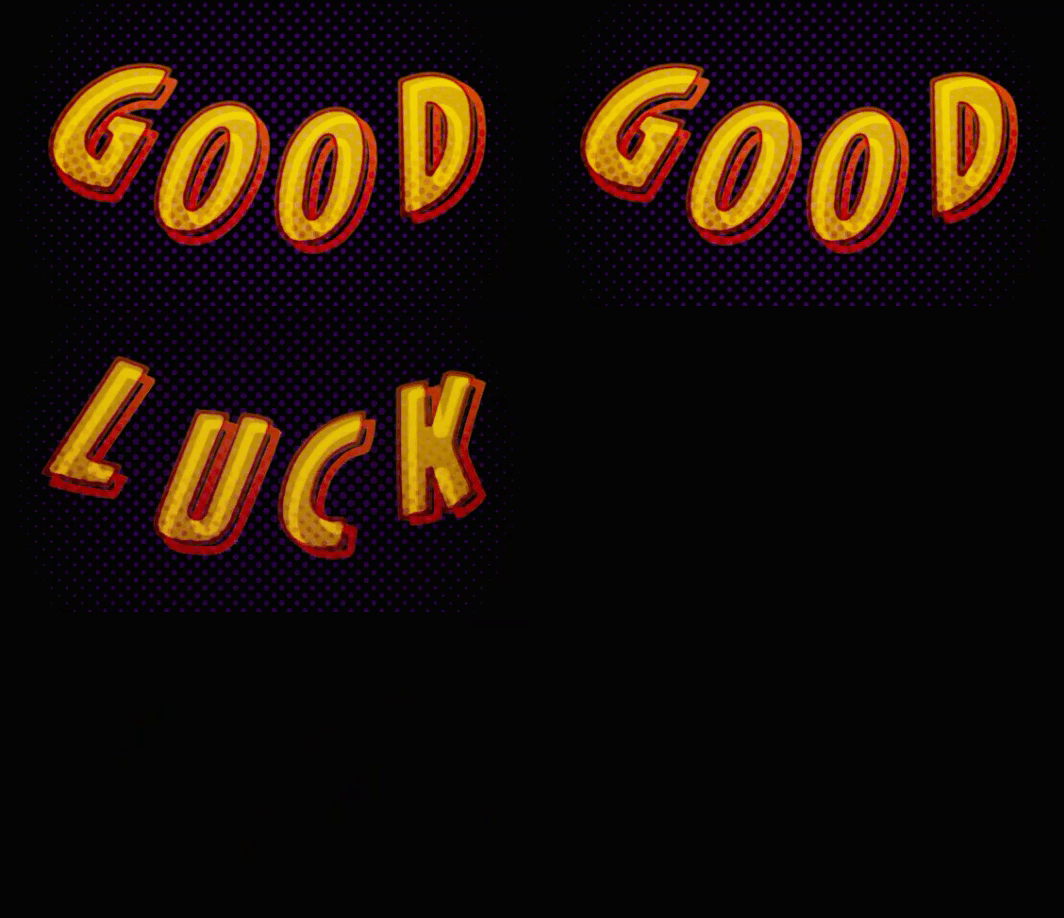
In the same way, we made an atlas for “onomatopoeia”, which is also actively used in our effects.
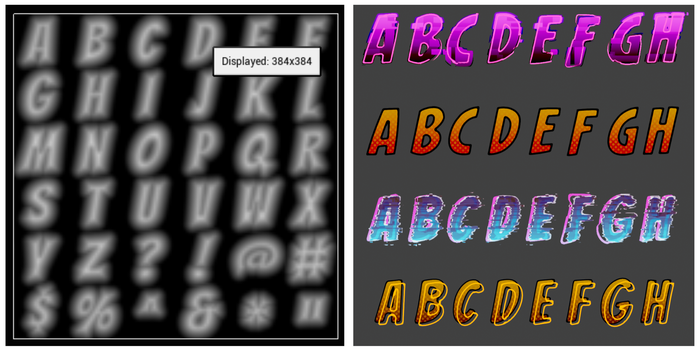

The text itself can be displayed using a simple script in Niagara
This approach can be used in other cases: we can draw the texture with the intended animation by hand. Ideally, you need to convert it to linear grayscale 16 bits, or draw in this mode. This will allow you to scale it without loss of quality, while having a small original size.
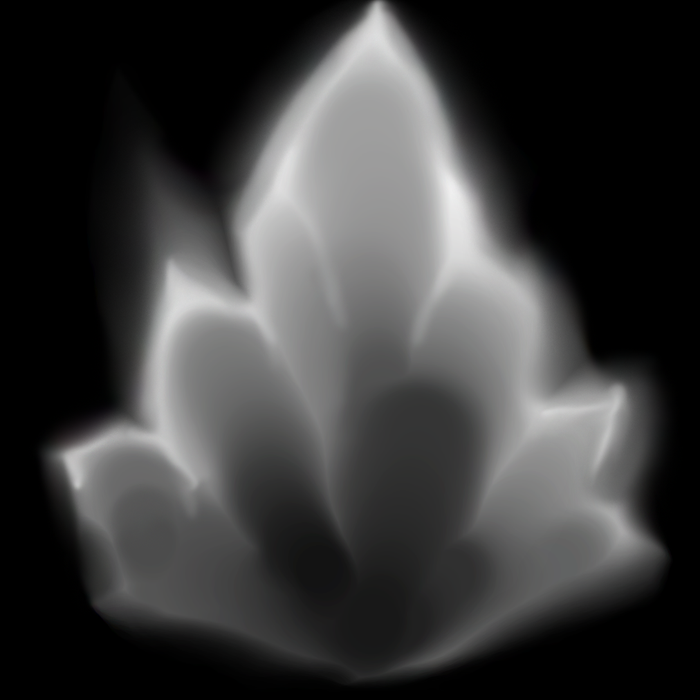
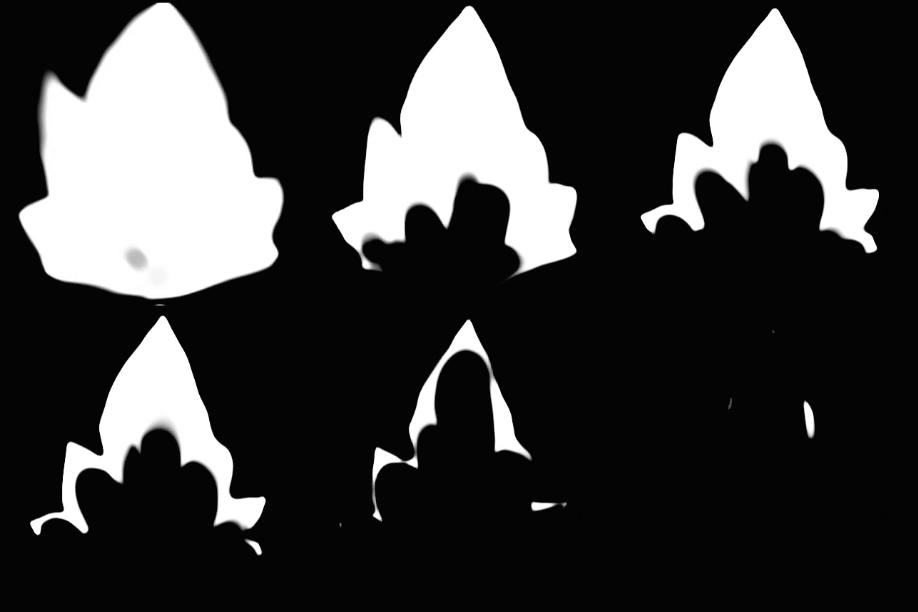
And simply by animating Threshold in our CutOff function from the example above, we get a simple animation for particles without using sequences.

The size of the imported texture is 128x128 and takes up only 43KB. We could have a smaller size, but this would affect the detailing. This applies to similar sprite animations, as well as to any other in geometry and post-process materials.
Read more about:
BlogsYou May Also Like