Featured Blog | This community-written post highlights the best of what the game industry has to offer. Read more like it on the Game Developer Blogs or learn how to Submit Your Own Blog Post
GladiArt or Process
This week's blog-post is a short summary of the art process used in creating the armour sets in Ludus.

This week's blog-post is a short summary of the art process used in creating the armour sets in Ludus and was written by our modeler Robert. As always you can keep up to date with Ludus development at gladiator.training
Beginning with some research into Roman style art and props, I took a trip to the British Museum. I was looking mainly at Roman relics and weapons/armour that were on display to get into the mood of that era.
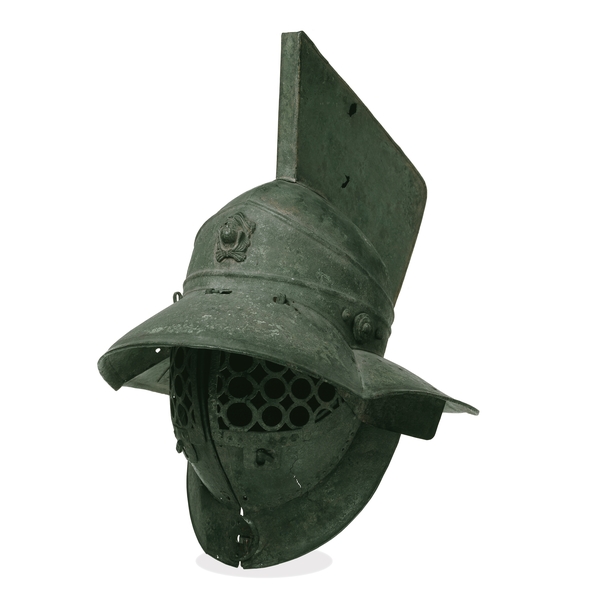
To help aid with the visual background, Vegard had gone to a one day event organised by Britannia Gladiators and had taken many photos of the re-enactments of gladiator combat along with reference images for the armour. These got the ball rolling and I began to design some of the shields based on the photos.
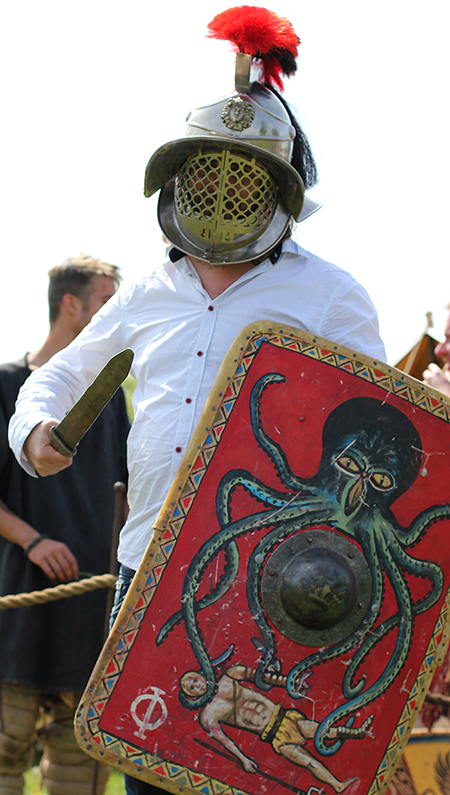
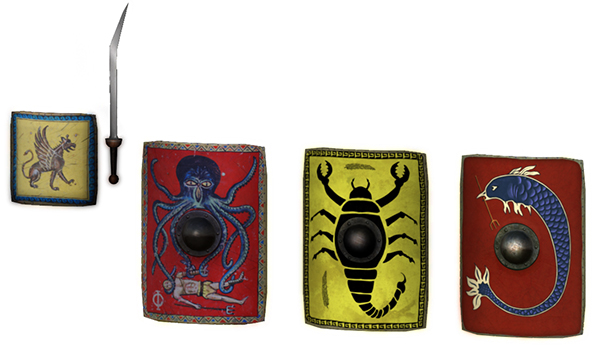
The re-enactment team done an amazing job of re-creating designs of the era, so we piggy-backed on their hard work and based a lot of our designs on their physical armor sets. Here are a few of the 3d models for the shields created and textured based on those reference images.
The modelling process for the Gladiators started with high poly geometry done along with some digital sculpting in preparation for extracting a low-poly or game friendly version.
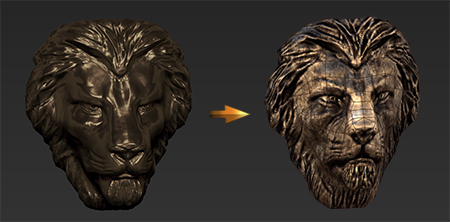
I worked by sculpting directly onto the basemesh and extracting the various parts for texturing on a per-part basis, which enabled more control of the final UV area of the complete armour set.
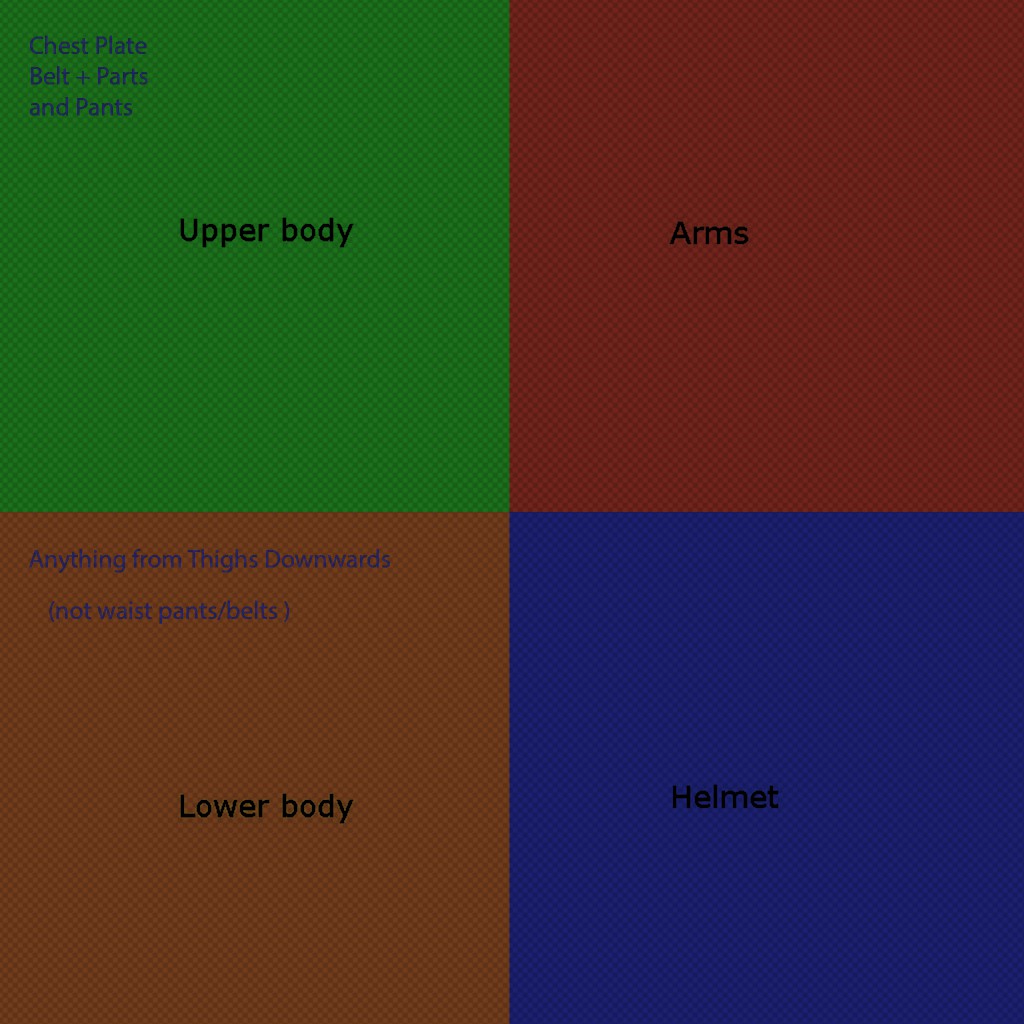
Part of the workflow was to divide the UV area into 4 areas that would enable the meshes to be recombined in the game at runtime to reduce draw calls.
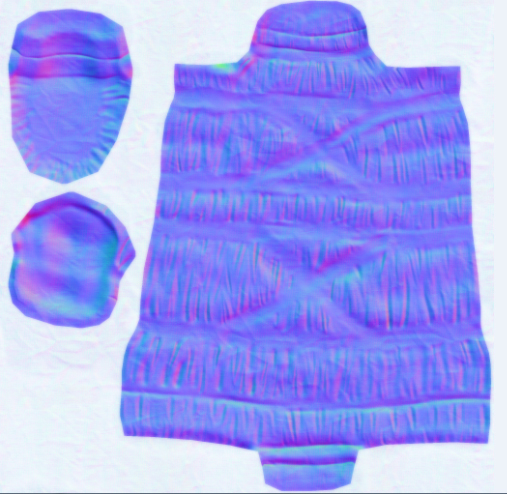
After each part was sculpted and retopologised, they were given quick UVs to get started with the painting and texture generation. Here is an example of one of the arm padding unwraps that would later have its UVs moved and rebaked into the correct UV area.
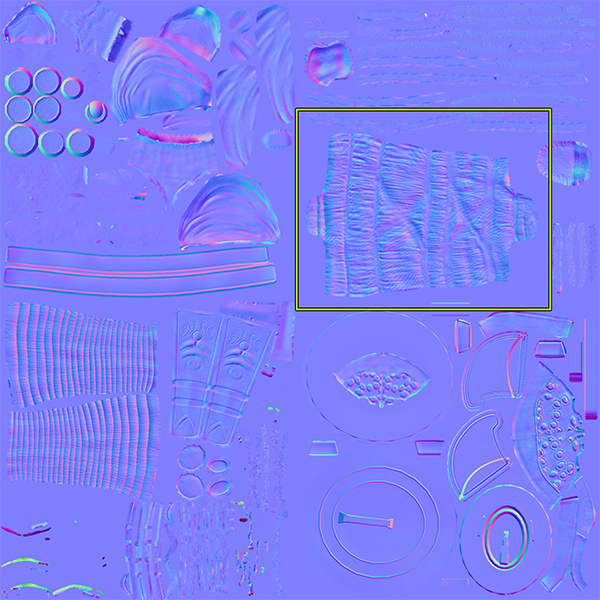
As you can see the same normal map could then be rebaked to a new location by cloning the original mesh and moving its UVs. I used 3d Coat's texture baking tool for the rebaking, assigning the original mesh to the scene with the original normal map and assigning the target mesh (the one with the new UVs). This process would prove useful if ever we had to alter the UV layout in the future for any particular reason.
So the Process was as follows: Sculpt the Highpoly mesh, create the Lowpoly geometry from the high poly and bake out a normal map using Xnormal, from here I took the low poly mesh and the normal map into Substance Designer/Knald to extract more useful texture maps such as AO, Cavity and Curvature maps.
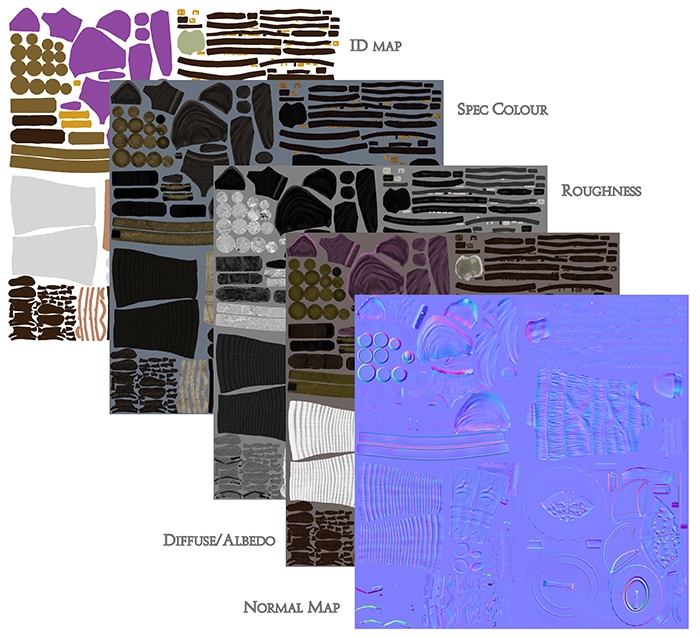
In Ludus we are using Physically Based Rendering which requires us to create Diffuse, Specular Colour Maps and Roughness Maps. We chose the Specular and Roughness map approach over the Metalness/Roughness workflow, as we found it more straight forward and easy to read visually in Photoshop. We are using the Lux shaders for Unity that support this visual approach well.
Now that I have 2k textures for each part, I can go ahead and texture each part using Quixel suite:
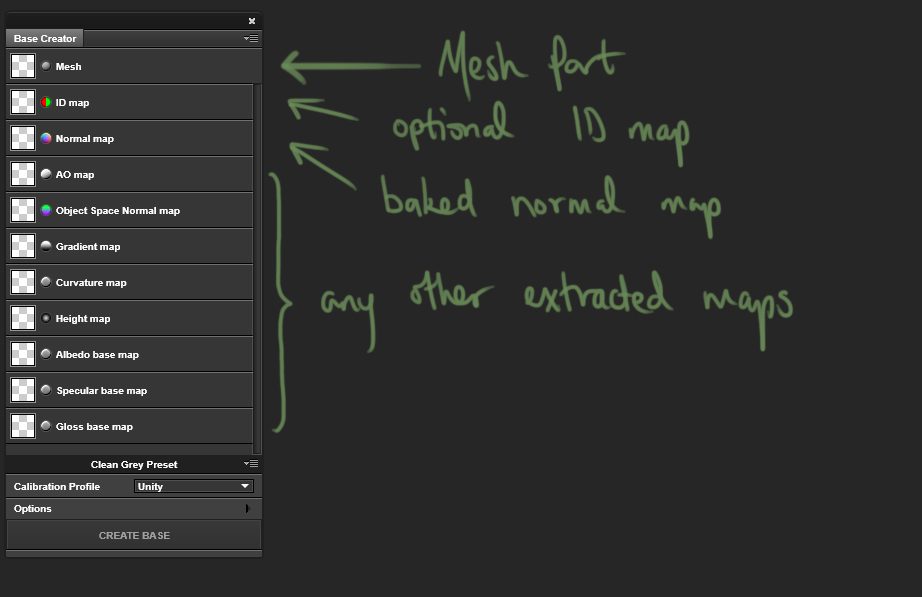
Quixel suite allows for full control of edge wear, dirt trapped in occluded areas and most importantly the mega scan based materials.
I also created a few custom materials based on photos of various cloths and metals to aid in the process.
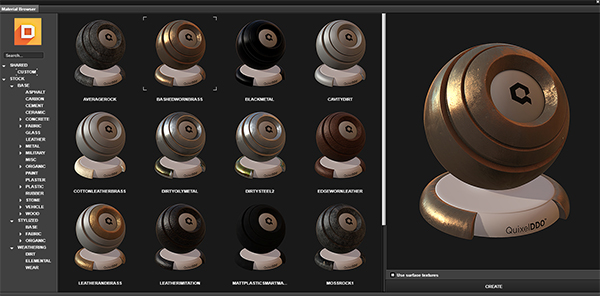
I created ID maps for all the different parts so the materials could easily be assigned in Quixel Suite and we could make easy adjustments to the final textures.
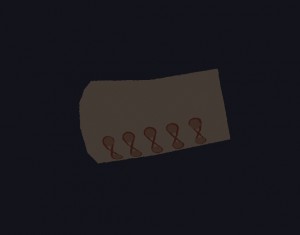 The ID map defines different materials on this wrist guard
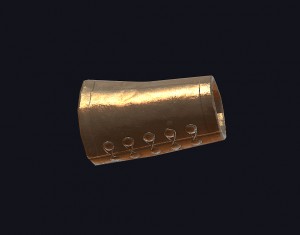 One of my custom Brass metal materials
The greatest part of this process is messing around with various materials based of the ID's, instant texturing has arrived!
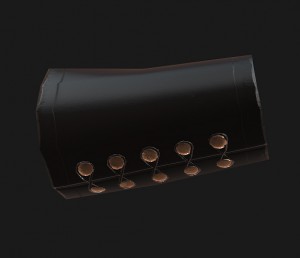
With everything created and rebaked using this process we end up with the final texture maps and a new ID map based on the new UVs which is used on the final model.
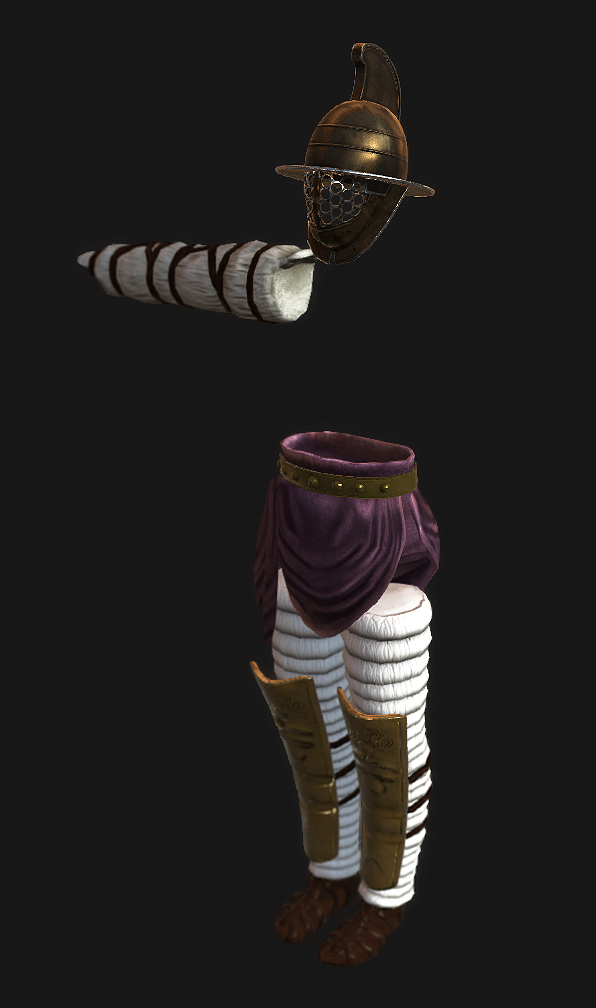
Finally here is the full textured version of the Hoplomachus Armourset.
Read more about:
Featured BlogsAbout the Author(s)
You May Also Like


.jpeg?width=700&auto=webp&quality=80&disable=upscale)
