Daily news, dev blogs, and stories from Game Developer straight to your inbox
Sponsored By
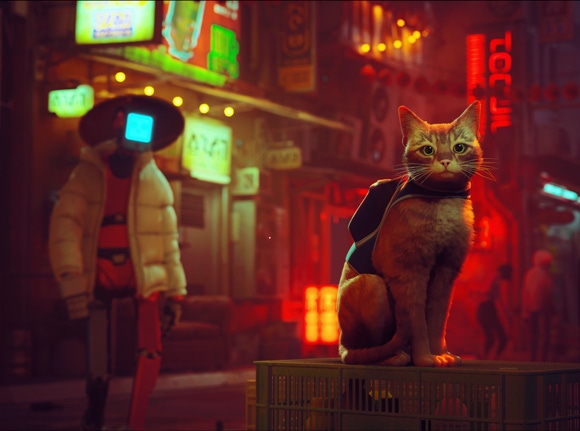
Stray: Giving character to a futuristic city
Learn more about the unique environment art of the award-winning indie game Stray and how artists leveraged Adobe's Substance 3D tools to bring its city to life.
April 3, 2023
10 Min Read
Sponsored by Adobe
Author: by Blue Twelve Studio
Presented by Adobe
Maxim: Hi, my name is Maxim Dorokhov, and I’m a 3D Artist at Blue Twelve Studio. On Stray I was responsible for props, tileable materials, decals and level art.
Nicolas: And I’m Nicolas Millot, Senior Level Artist. My role was focused on some levels handling most stages of their development from concept and map layout to set dressing and lighting.
Original Concept
Maxim: The story of the project starts with Koola and Viv, the co-founders of the studio and directors of the game, who were artists before starting the company. As artists they have always been fascinated by a place that no longer exists – the Walled City of Kowloon in Hong Kong. Every time they looked at references from that place, they were really intrigued and inspired by such a unique setting where the constructions almost felt organic due to the high density of details and intricacies. As they were thinking about their own visual direction inspired from this, they started to realize that it would be the absolute perfect playground for a cat due to the amount of passages, hidden paths and interesting point of views that it was giving. This is when the project really started to take shape in their mind.
This inception happened about seven years ago – they went on to start the company and recruit a team of very talented and passionate people to help them realize this vision. The team is now made of about twenty humans and two cats that work with us in the studio every day.
Reception
The positive reception of the game is really exciting of course but pretty overwhelming as well. We definitely were not anticipating such a wide and positive reaction. It feels amazing to see that so many people, especially cat owners, enjoyed the game. Working for so long on a concept makes you lose a bit of perspective and seeing people engage with the story and the characters, having fun with the gameplay and sharing all these anecdotes of their own animal was really incredible for us all.
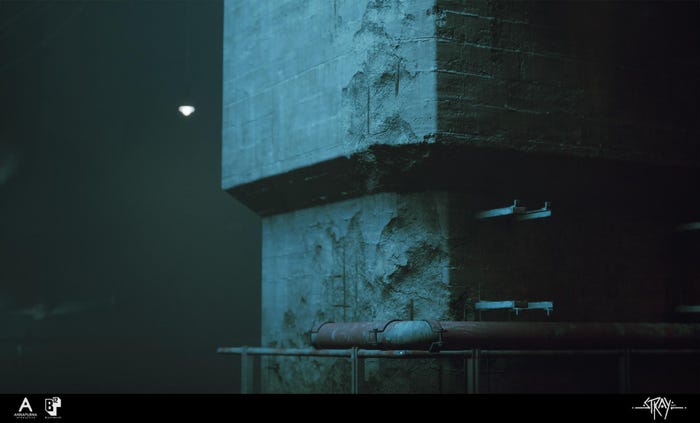
Art Direction
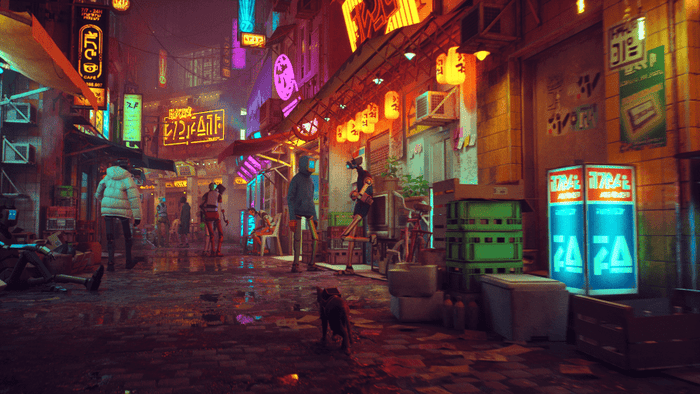
Stray takes place in an underground city with the dark hazy alleys lit by the neon lights. The place is rather imperfect, so it has a pretty rundowned look. We wanted our environments to be packed with details, so that it would be interesting for the player to explore and learn about the world. For that we’ve created lots of unique props, detailed materials and decals. While the overall visual style of the game leans towards realism, the wide variety of color contrast lighting that progresses through the game gives Stray its unique character.
Art Pipeline
For the textures and materials in Stray we used the industry’s standard PBR pipeline. We experimented a lot and tried several techniques to achieve the desired visual result. For the most part we used procedurally generated textures and textures made in Substance 3D Painter, but we also have photo textures and even a few photo scans for some of the assets.
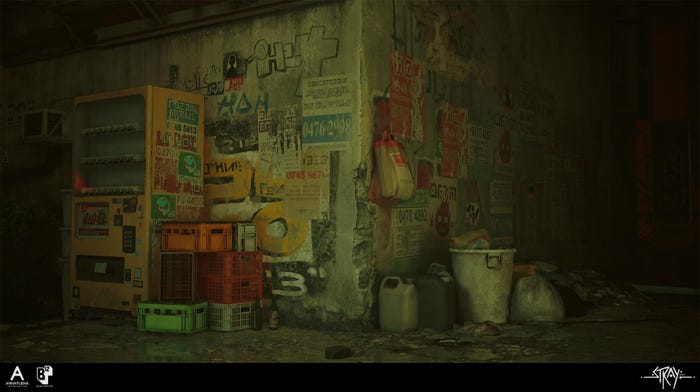
We used a lot of vertex color blended materials and decals to add a grungy look and just overall variety for the environment assets such as buildings, walls, floors.
Vertex painting and adding decals
In general we used Substance 3D Painter for unique asset textures and some trim sheet textures, and Substance 3D Designer for generating tileable textures and decals.
The Substance 3D tools
While texturing props in Painter I start with very basic fill layers with just solid color albedo and roughness, or materials with simple basic textures, generated in Designer. This way I can quickly mock up the overall look of the final material. Masks for these layers are usually generated from baked textures, painted by hand, baked from high poly models, or are combinations of these methods.
One feature in Painter that I really like using is Anchor Points. There are some Painter files where I made basic masks with anchor points in empty layers, so I can refer to these anchor points and modify them in other layer masks above. It is really helpful for building complex layered materials like metal with different types of rust and a few layers of paint. This way we can keep files more organized and be more efficient with creation of layer masks.
After adding base materials I add a few layers with medium details like rust, paint, text, some height information, to add more life and story to the material.
For the polishing part I add a few layers with small details to add more variations to the roughness/albedo, and a few layers of dust and dirt.
Some of the prop assets, tile materials and droid parts are made with white color in albedo, so that we can change their color in the engine through special masks to add more visual variety to these assets in the game.
For most of the tile materials in Designer I start with height information of the material that later converts to normal map. I like this workflow because it gives you the ability to make very understandable clear graphs in Designer, it’s non destructive, so you can very quickly add new information to the material if needed, and it just feels really similar to poly modeling or sculpting high poly meshes and baking their geometry information to textures. Another cool thing is that you can use this height information for not only the normal map, but to help generate roughness and albedo later.
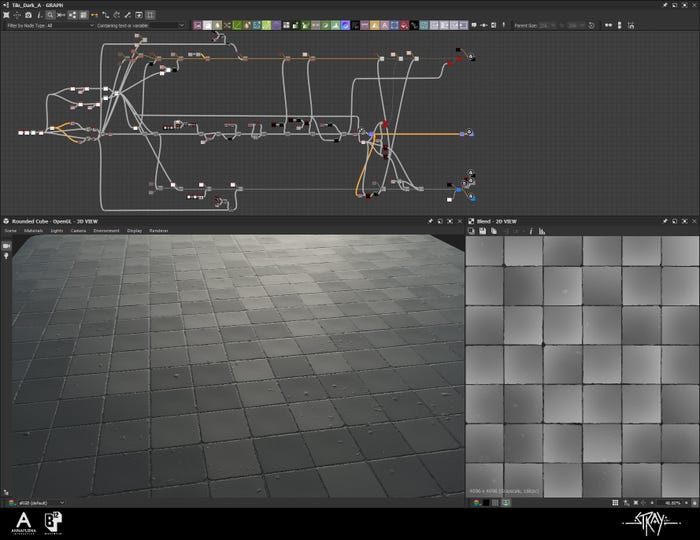
Height information of the material converted to a normal map
After the normal map is done I make roughness and albedo textures. The process is just blending colors or simple textures using the same masks that had already been done for the height texture, and some new masks, because I need additional details only for roughness and albedo.
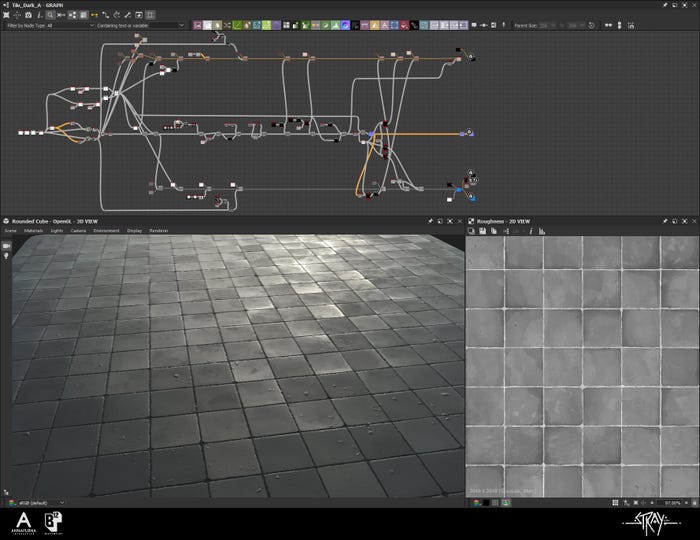
Normal map and Roughness
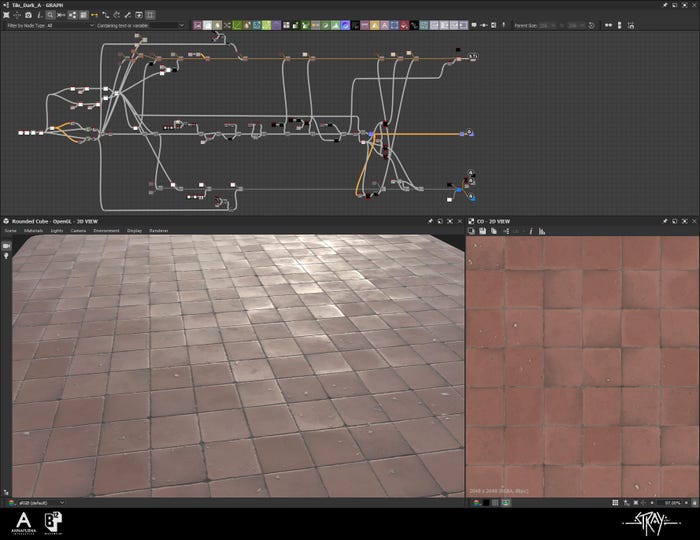
Normal map, Roughness and Albedo
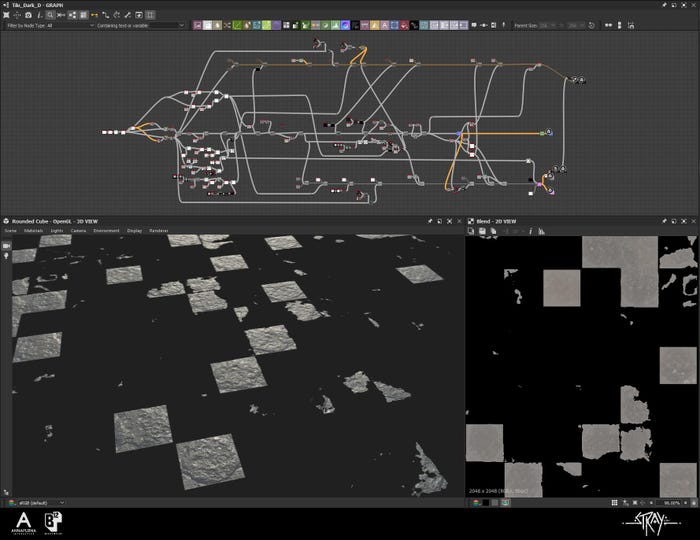
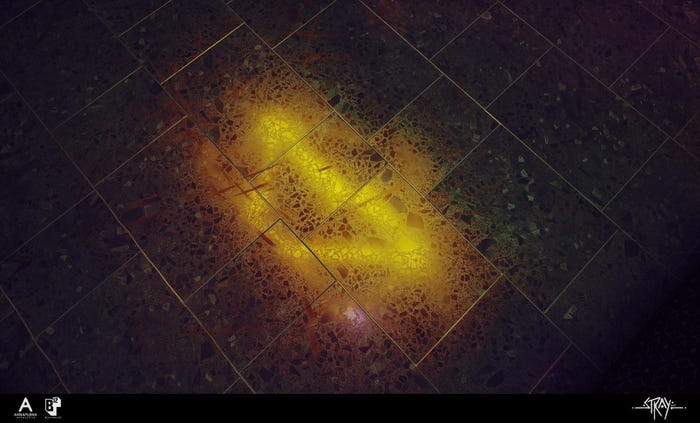
Decal material for the floor
Here is the example of using textures and decals generated in Designer for the floor.
Nicolas: When I entered the texturing stage in my levels, Substance 3D Sampler was still named Substance Alchemist but there were still enough functionalities for what I was looking for. For Stray, we all had to stretch thin and work across multiple domains. On some levels, I worked almost from scratch, from making map layout then building the blockout, moving on to set dressing and lighting. Handling all these aspects under tight deadlines meant I only had very limited time on each and I had to work efficiently. That’s why I decided to use the Substance 3D Assets library in tandem with Sampler. I was already familiar with the two so I knew I could get something that would suit my needs really fast. There were also already a lot of textures created for the game, which offered a good base to work from in Sampler.
On the Sewer level, I used concrete textures made by Maxim, and I put them in Sampler to create broken or dirty variations by mixing them with texture from external libraries. Since the level often had huge concrete walls that could not be covered up in props and decals, adding details in the textures and relying on vertex painting was my only option in some places.
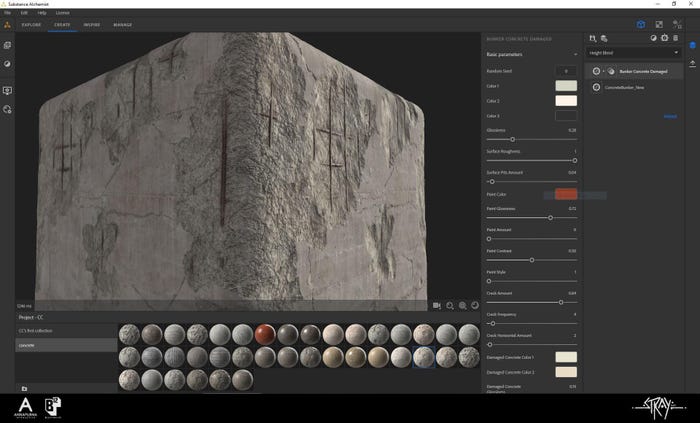
Material in Substance Alchemist (now Substance 3D Sampler)
In the space of one afternoon, I created several variations with different amounts of broken parts and color tints that I would then load in the different channels of my Unreal materials to do vertex painting. With the mask in the material based on the heightmap exported from Sampler the vertex painting was working quite well. The result is not as crisp or flexible as an original material fully created in Designer, but doing it this way allowed me to do a texture overhaul of the entire level in less than a day, and it was sadly all the time I had left at this point. So overall I’m quite happy with the improved look.
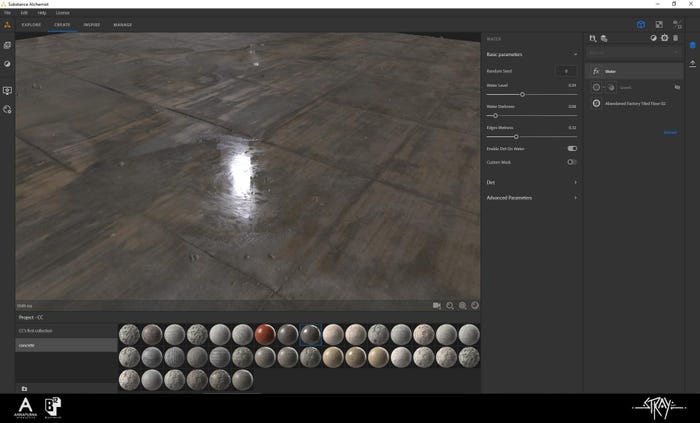
I also used Sampler to improve the look of the floors. Starting from a material I downloaded from another library, I used the water puddle filter to get a wet look that would suit the mood of the level. I love the details that are coming with this filter, the subtle floating deposits that help break the reflection in the water. It literally took minutes and It fitted perfectly for a sewer environment.

Maxim: The non-destructive workflow in Designer gives a huge advantage in terms of time. You can iterate and change materials in any place in the graph and instantly get new variations of textures.
Another thing that really helps with the speed is the ability to not spend time on high poly models for things that you can add on the texturing stage in Painter, or just make them from scratch in Designer faster and non destructively.

Tile material height created in Substance Designer
I try to keep Painter files and Substance graphs simple and logically organized, but without compromising on the quality of materials. That really helps when you need to go back and change something, or especially if you need to pass your files to another artist.
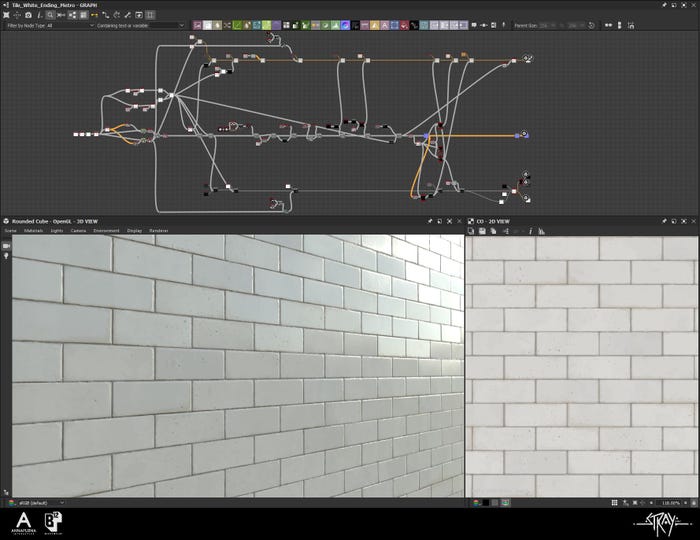
Tile material created in Substance Designer
Nicolas: For the club in Midtown many materials from Substance 3D Assets were used and it was a huge time saver.
This area of the game went into a lot of iterations. I worked closely with Game Designer Alexandre Brodu who had to make many changes and experimented a lot on the little gameplay puzzle that takes place here. Since the navigation was closely linked to the shape of the place I had to find textures that would allow me to keep the architectural design flexible.
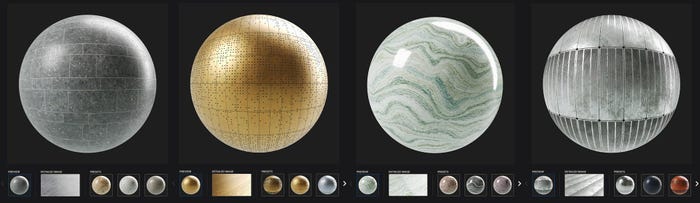
These are the principal materials used in the Club. Unlike some other areas of the game that are more abandoned and where you see a lot of nice texture detail like leaks, rust, or peeling parts, here I had to keep it relatively clean to fit with the lively club atmosphere. Since the place is pretty dark and is lit mostly by moving spotlights, it was important to choose materials with nice detail in their roughness. The terrazzo especially was perfect for the floor, bringing a lot of high frequency details in an otherwise pretty clean area.
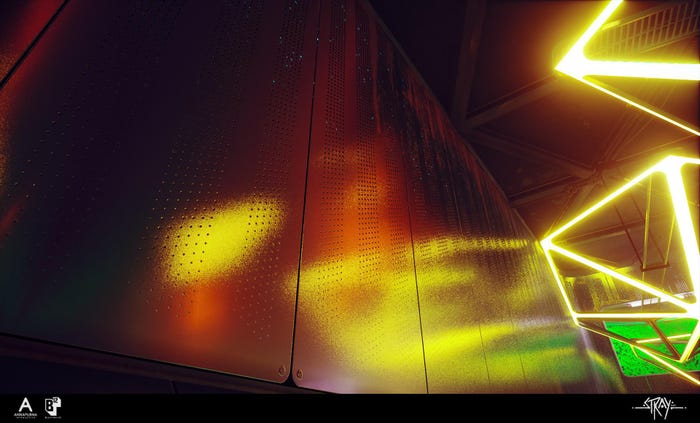
A lot of the design elements are using perforated metal panels. From the walls to the base of the tables. This texture had the most influence on my design decisions. With the screws on the corner, these panels had a nice physicality. Also I took advantage of the perforations to add an animated LED pixel raining screen behind them. Of course, all of these could have been made in Designer, but with so many iterations to be done on shapes, having the texturing aspect already sorted really helped me to focus on other areas.
---
Blue Twelve Studio is an indie game studio based in Montpellier, France. Stray is their first game and was awarded Best Indie Game at the Game Awards 2022 and Best Debut at the GDC Awards 2023.
Read more about:
Sponsor Resource CenterYou May Also Like


.jpeg?width=700&auto=webp&quality=80&disable=upscale)


