Daily news, dev blogs, and stories from Game Developer straight to your inbox
Sponsored By
Featured Blog | This community-written post highlights the best of what the game industry has to offer. Read more like it on the Game Developer Blogs.
Use Texture Atlases in Unity to Improve Performance
Performance on for mobile games helps get more downloads because more devices will be able to run your game smoothly. For 2D Unity games, spriting can help cut down on draw calls and improve frame rates. Best of all its easy and free to do.
4 Min Read

Originally posted on Pixleshot Games Dev Blog
Wordsum is a fun free mobile game that combine Scrabble and Tetris together in a unique way. It's available right now on IOS and Android.
Performance is always on the top of every game developers Todo list. It can be the make or break for how player's respond to your game. Wordsum was a mobile game so that meant I had less power to work with if I wanted to reach the mass market.
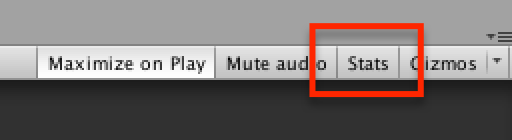
Lowering draw calls are a simple way to improve the performance of your game. It's simple, if the game performs less draw calls, it has less to do. So your first question might be, "How do I know how many draw calls my game is making". Unity provides a great tool for this called the Rendering Statistics Window. The best part is it's available in the free version of Unity. To open the window, click the tab in the editor viewport.
When you run your game you will get live statistics. The thing we are interested in is the Set Pass Call number.
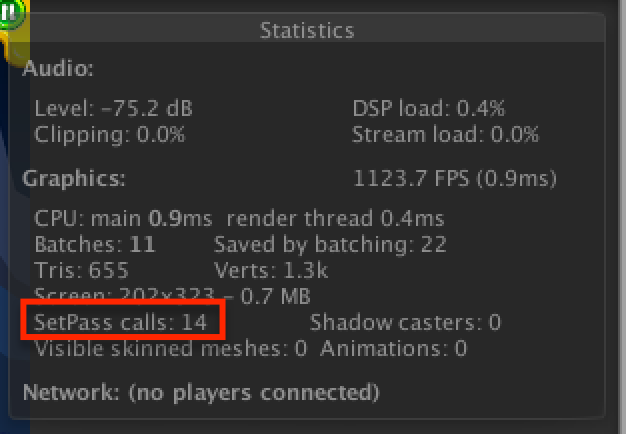
Getting this number as low as possible helps save of CPU/GPU cycles. We will be using Texture Atlases to accomplish this.
There are some good paid tools out there to help us create the Texture Atlas. One of these is the highly regarded 2D Toolkit. Since I had a tight budget I ended up going with Simple Sprite Packer which gets the job done.
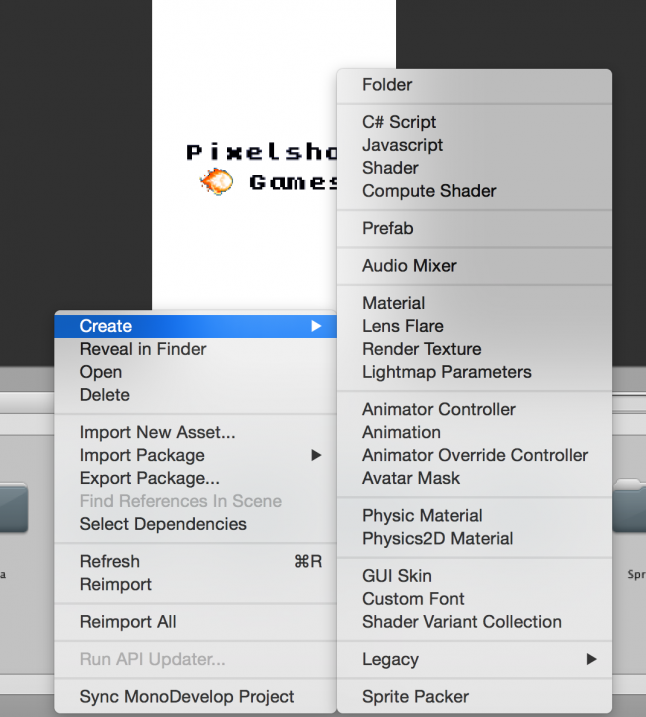
First thing you will need to do is import the Simple Sprite Packer package into your project. This adds a new context menu to the Unity editor. Find a place where you want to create your Atlas. Right (or command click for mac users) and select Create -> Sprite Packer.
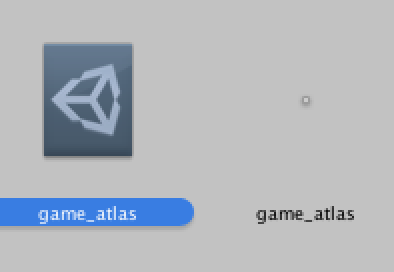
Name it something appropriate and save. This will create two objects in your folder. The first is the Simple Sprite Packer object you will use to create the Atlas. The second is the image file that will be the actual Atlas.
Select the Sprite Packer object. The inspector will display the options you have for creating the Atlas. You can leave most of these unchanged for now and start creating your Atlas. You can either drag your images one by one into the green area or for speed use the Sprite Packer -> Drag and Drop Window located in the Unity toolbar.
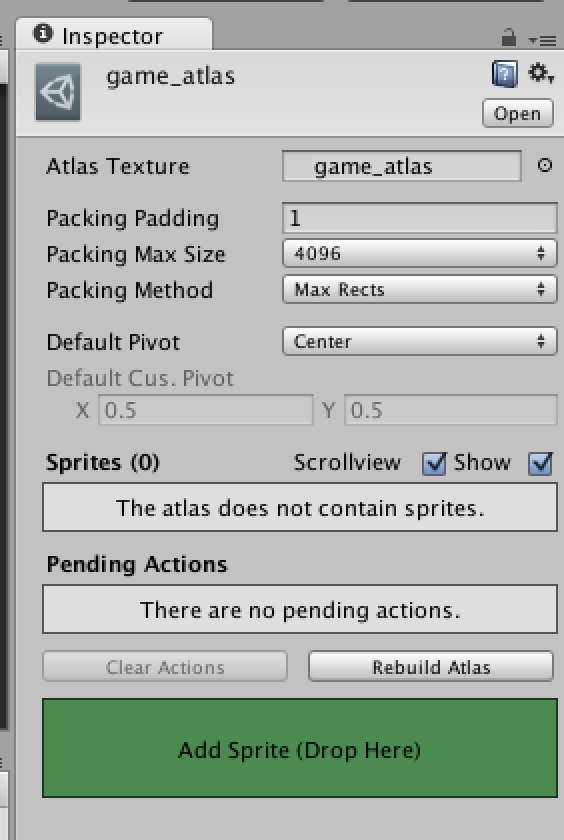
Note: Make sure the sprites you are adding to the atlas are uncompressed or Simple Sprite Packer will complain.
Once you have added all your sprites, select Rebuild Atlas. You have now created a Texture Atlas. Congrats! The only thing left is to swap out references to the individual sprites to your Atlas. Once your done, rerun your game and you should see a big drop in draw calls and hopefully improved FPS.
Read more about:
Featured BlogsAbout the Author(s)
You May Also Like