Featured Blog | This community-written post highlights the best of what the game industry has to offer. Read more like it on the Game Developer Blogs.
Terraingulation
In this blogpost we talk about how we generate the terrain and level design in Ludus.

In this blogpost we talk about how we generate the terrain and level design in Ludus. As always you can follow the development of Ludus on gladiator.training
As we mentioned in the previous blog-post we want to make Ludus very easily mod-able, and because we are a small team we need to make sure that the tools we create help us fill in the world as quickly and easily as possible. We decided that the most efficient way of making the world was to generate a part of it procedurally whenever practical. At the same time we want to maintain control over the design and make it as easy as possible to design new areas of the world, both for us and the modders. The system we came up with was kind of interesting so we wanted to share the thinking behind it in this blog-post.
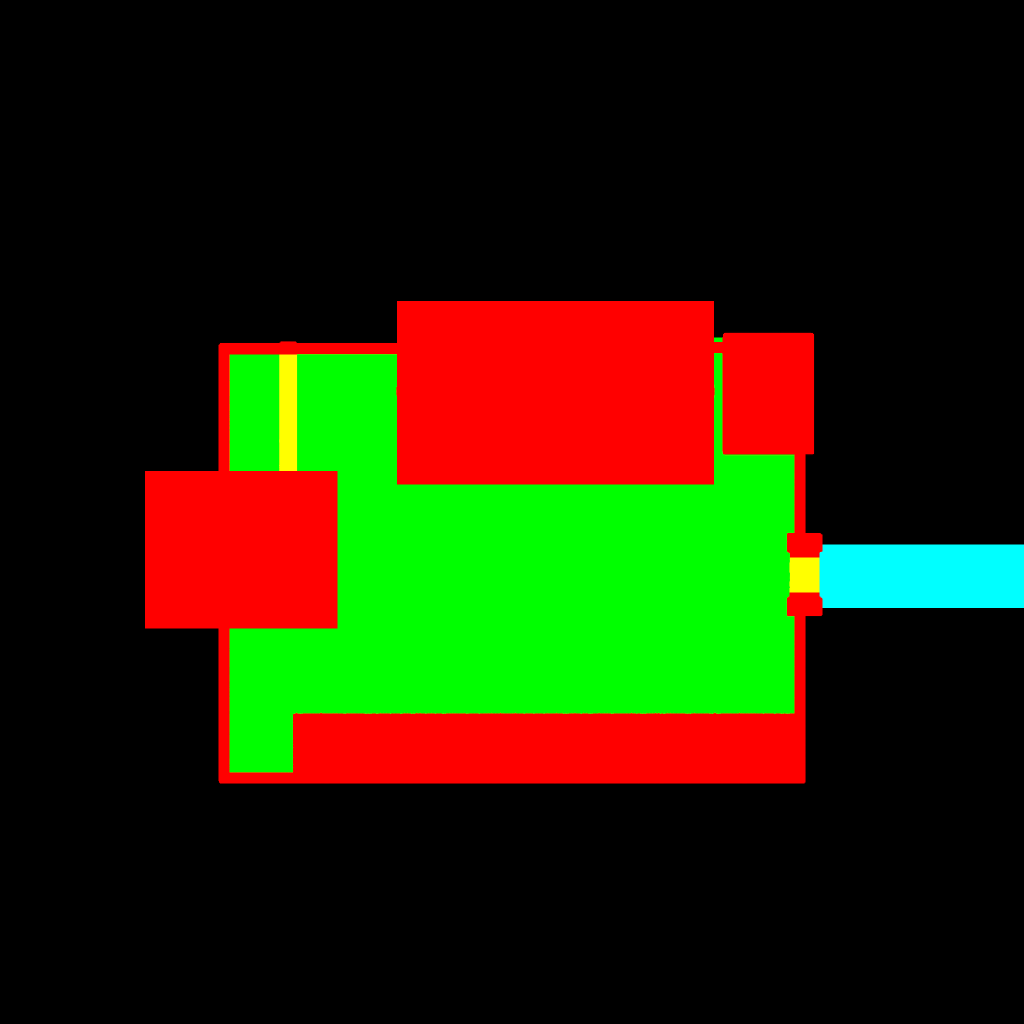
This picture is all that's needed to design the terrain for one of the levels in Ludus. but how does it work? Let's break it down.
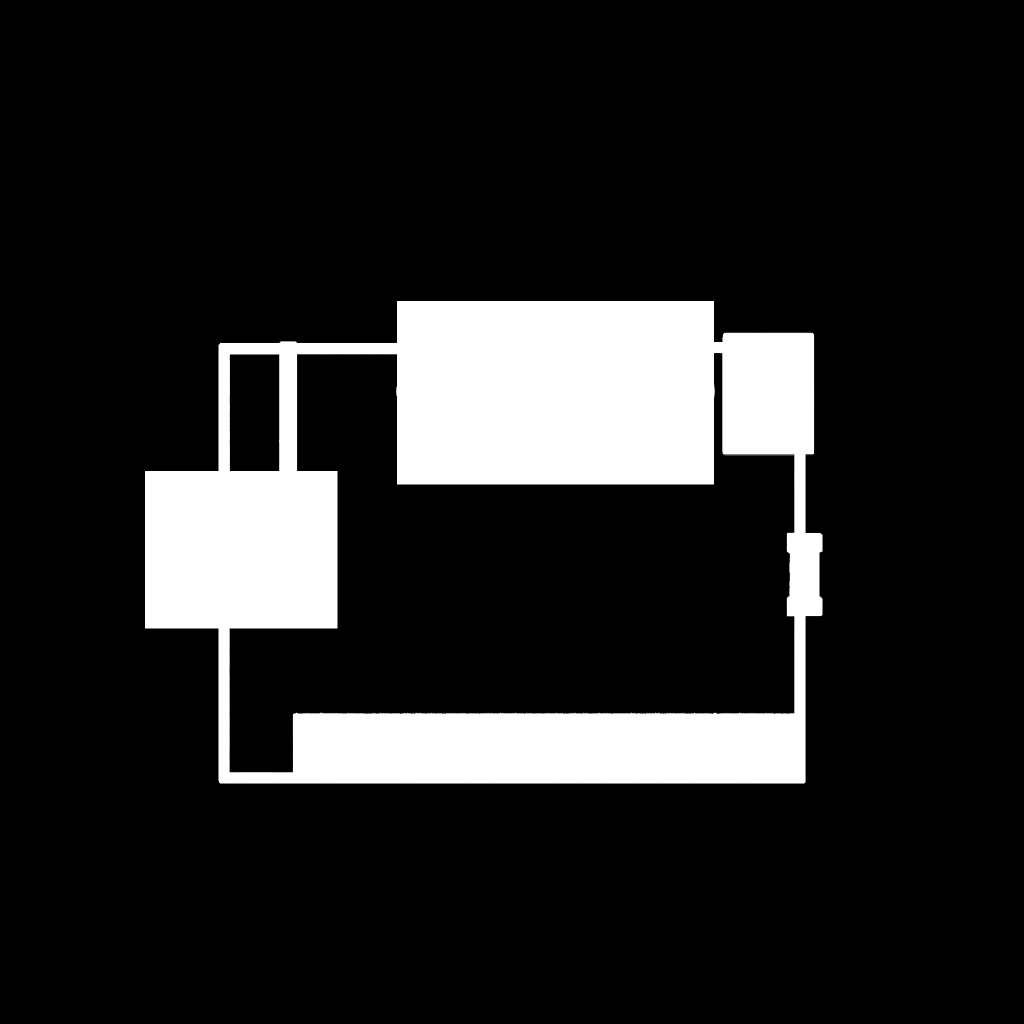
The red channel indicates the area where the buildings will be. We want to make sure that the ground here is relatively level, and we also artistically decided to slightly raise the ground just beyond where the buildings make contact with the ground. This channel is currently derived from the 3d placement of the buildings rather than the other way around, and only affects the terrain.
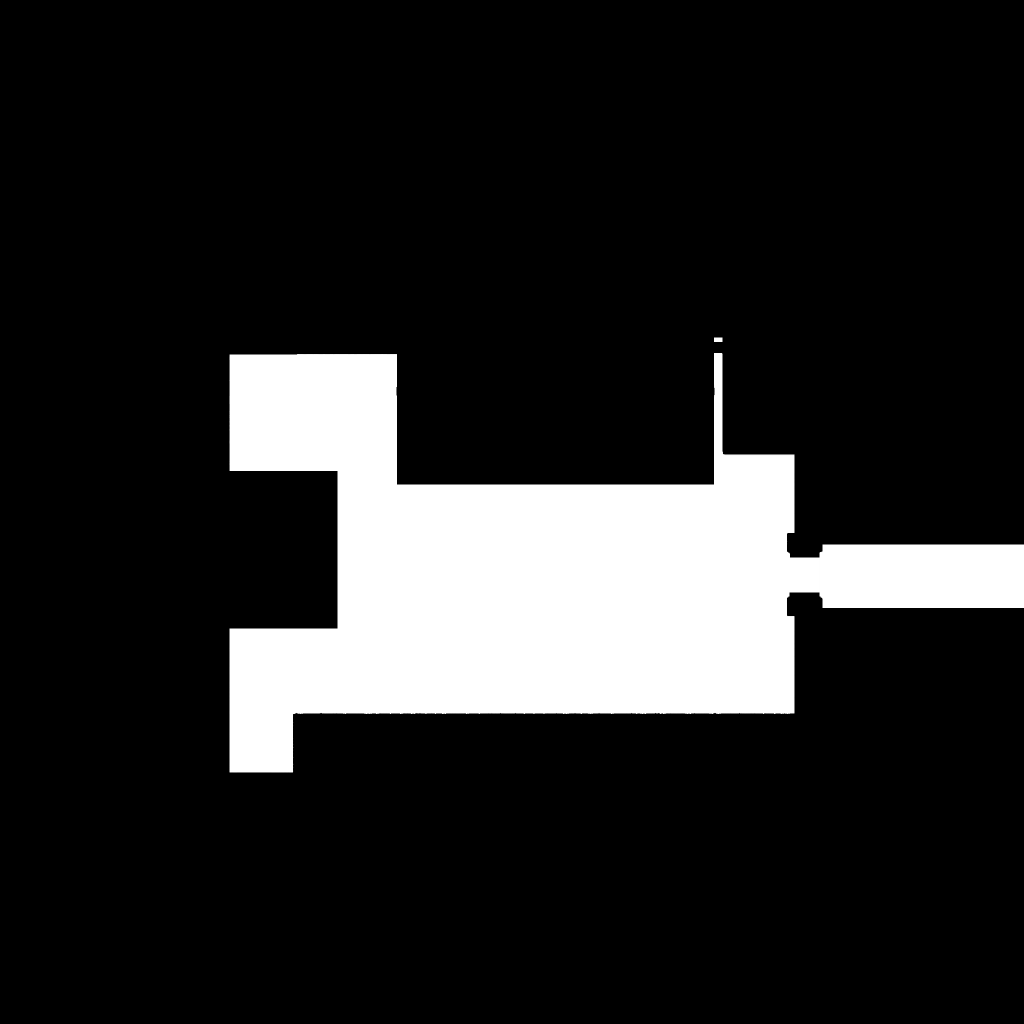
The green channel dictates the playable area, this is what should be accessible to the player, the system should make sure that this area looks and acts like a walkable terrain and that it doesn't contain any overly steep inclines etc. It also helps indicate where to use most of the vertices of the terrain itself.
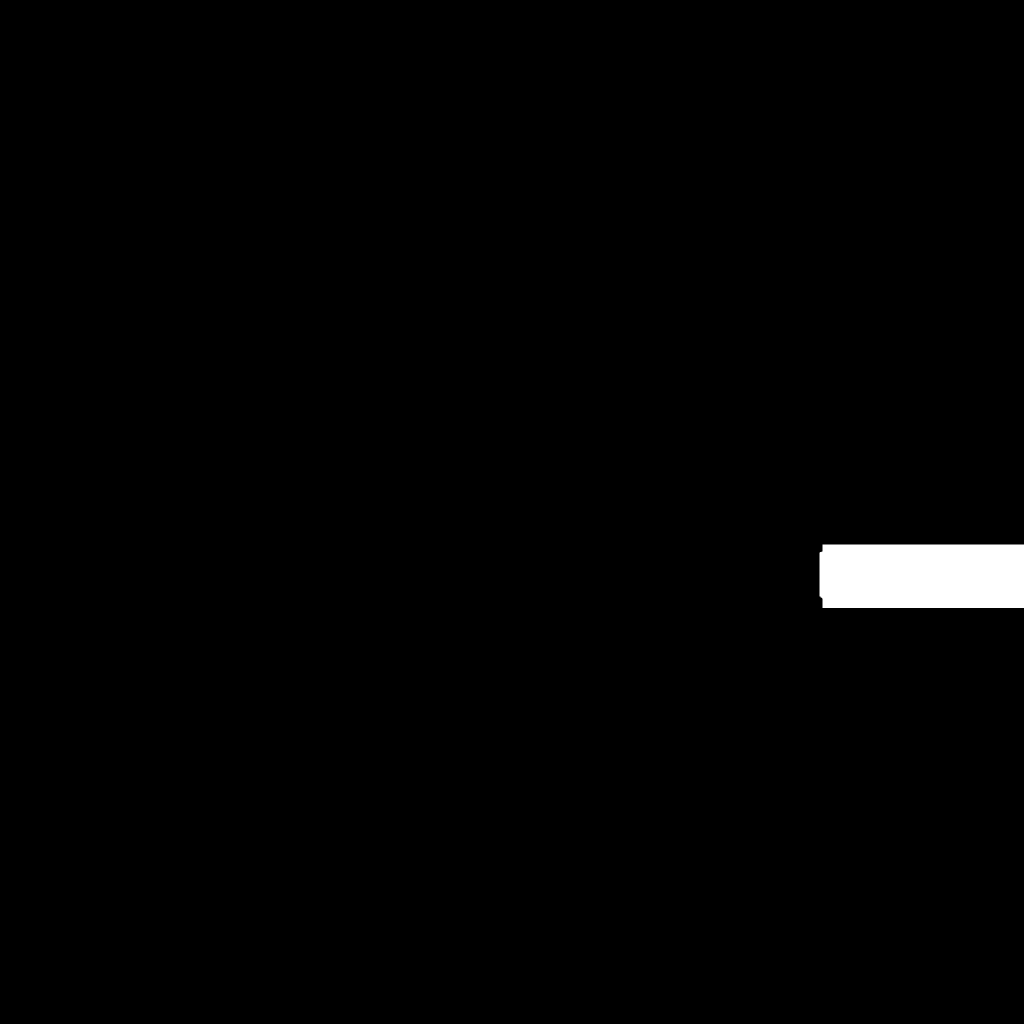
Finally the blue channel is used in the texturing process, it instructs the material to say that this area should be using a second blended material (specifically in the current case, this makes it a paved area, while the rest is sand, but this is set up in the material settings)
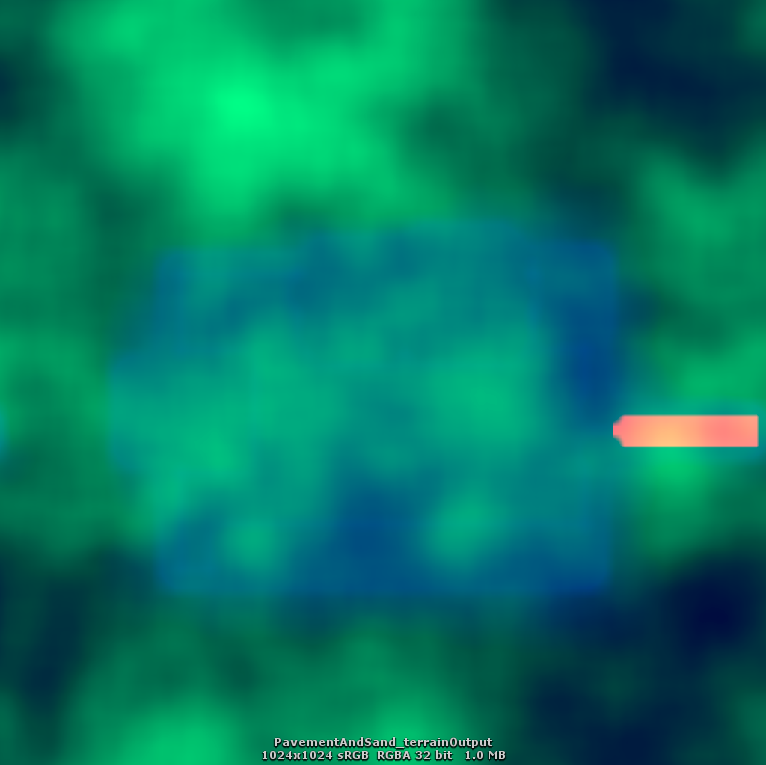
The image we had before is the final output of the 'design' image, All the modder/designer needs to define is there. This is then processed and combined in a procedural material from substance designer to output the image we see above. You can recognize some parts but others have come from procedural noise and various processes the image goes through to create a heightmap that is usable in the terrain generation in substance designer. The playable and building area is leveled out and raised, and a bit of height is added just around the buildings.
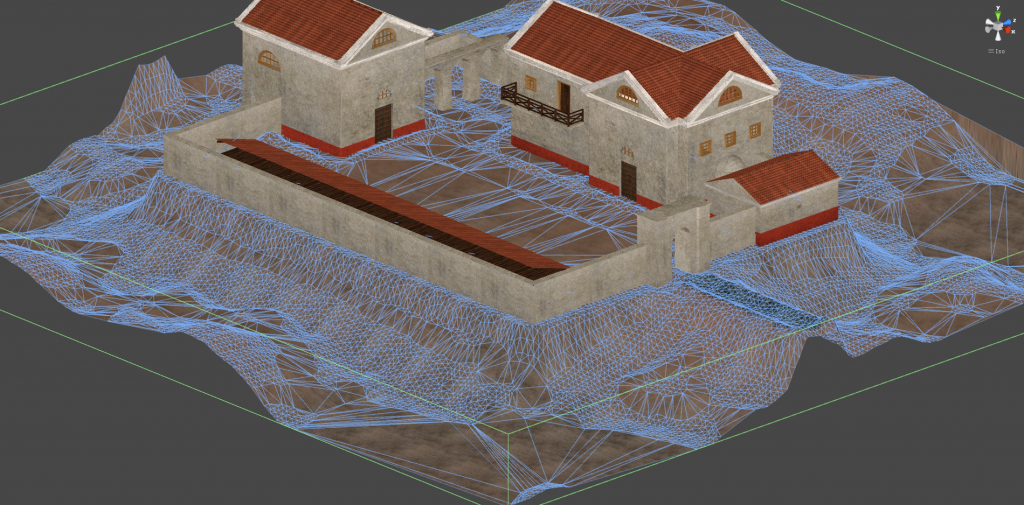
Each pixel in the procedural texture is scored by neighboring height difference and whether it's in the playable area, and we create a vertex on each 'important' pixel. This makes sure that the vertex budget we have for the terrain is used in an optimized way. In the image above you can see the resulting mesh. Note that it uses fewer vertices on the flat areas and that the area defined as non-playable has a natural in-accessibility because of the steep inclide.
Lastly, similar to the Mosaic effect, we use Delaunay triangulation of these vertices to combine it into a mesh.
Although the coding and procedural material process to achieve this takes more time than making one or two terrain models, the ease with which we can add new areas, using a very broad-strokes method, to the game means we can make a much more interesting and expansive world. We intend to take the system further and add set dressing like barrels etc automatically based on the original image input as well.
Read more about:
Featured BlogsAbout the Author(s)
You May Also Like
