Featured Blog | This community-written post highlights the best of what the game industry has to offer. Read more like it on the Game Developer Blogs.
Procedural mosaic using Voronoi diagrams
In this blogpost I walk though the thinking behind creating a procedural mosaic effect for my game-in-progress Ludus.

Keep up to date with Ludus development at gladiator.training
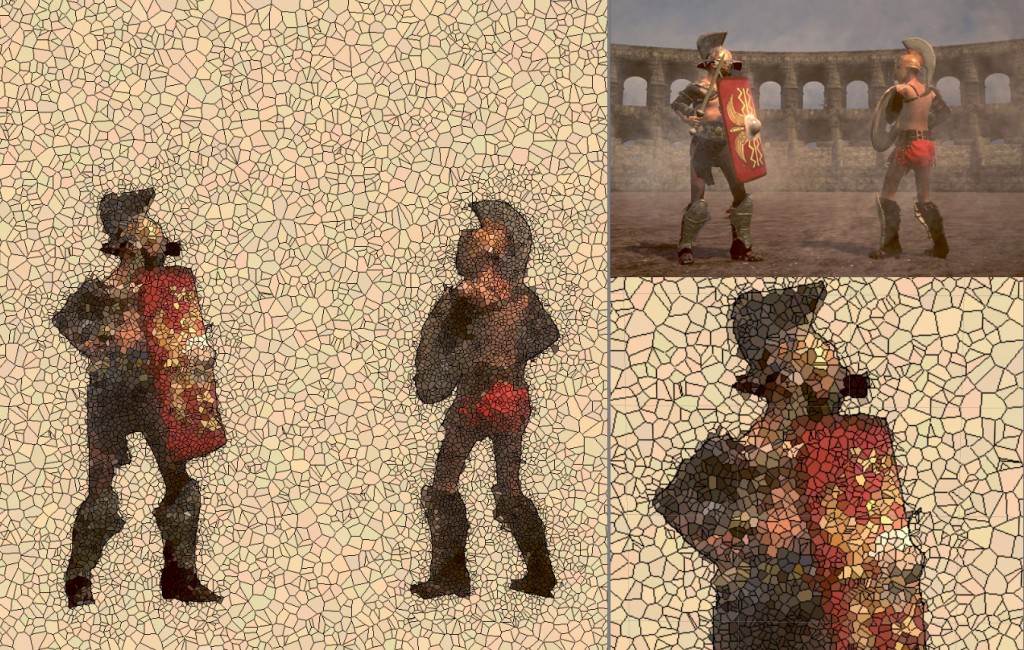
I'm a big fan of procedurally created or assisted artwork. It's something that's both kind of complicated to do and makes for some unique and interesting variations in a game. In Ludus I wanted to be able to produce a procedural mosaic and then link this to the Player's story. The idea was that after a particularly exciting match, a local artist NPC might come to the Player and ask if the Player would like to commission a special mosaic to commemorate the fight. This kind of decoration can then be used to impress people that come to visit the Ludus and is visible in game.
Now of course, this could have been just represented by some pre-made picture of two gladiators fighting, but I thought it would be much more interesting if it captured a real moment from the fight. So to do that, I decided the best way forward was to actually capture a frame from the 3d scene and see if I could get this to look like a mosaic.
First up, some inspiration: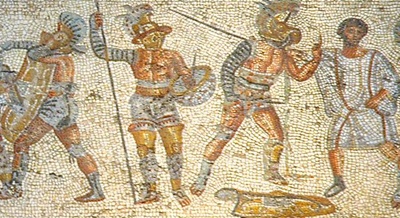
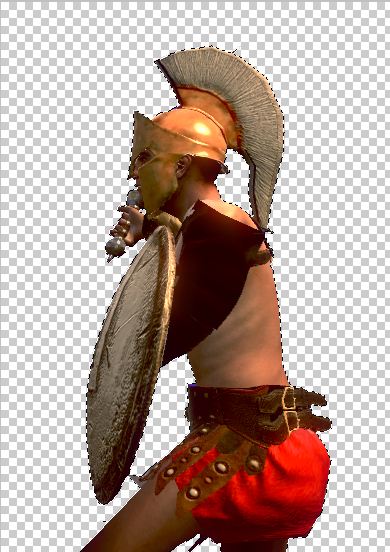
First I started by rendering just the characters and ignoring all the background layers with a special camera that is attached to the main camera into a texture. Since most of the mosaic backgrounds I found are just a single colour with some random variation, we don't need any of that information.
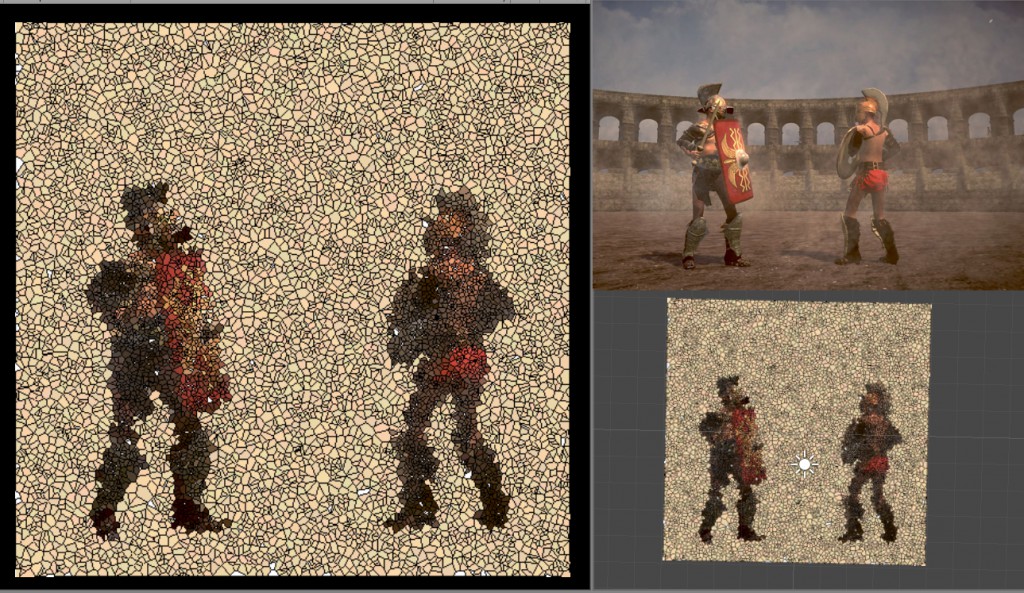
Then I tried doing a normal Voronoi diagram over this image. Just placing random points all over the size of the 2d texture, computing the Delaunay triangulation and drawing lines between each center point of the triangles.
After the lines were in place I sampled the rendered texture we had from earlier at the vertex where the random point in the voronoi diagram was, and performed a flood fill from there. If there was no alpha value in the rendered image, I instead picked a random colour.
 Flood fill algorithm
This left a few areas unfilled because they happened to overlap with a vertex that had also been shaded as a line, but otherwise gave the impression I was looking for, so I just pre-filled the computed pixels with one of the same colours as I was using for the background.
The effect wasn't quite good enough, in particular I felt that the shape of the outline was a bit too blotchy compared with the real mosaics which usually have quite a strong outline, often re-inforced by an extra black line. I decided that I needed to draw an outline of the characters, so this would always be clearer. To do this I sampled the alpha values of the rendered image, and whenever it changed from its neighbours, it would draw a black outline on this pixel.
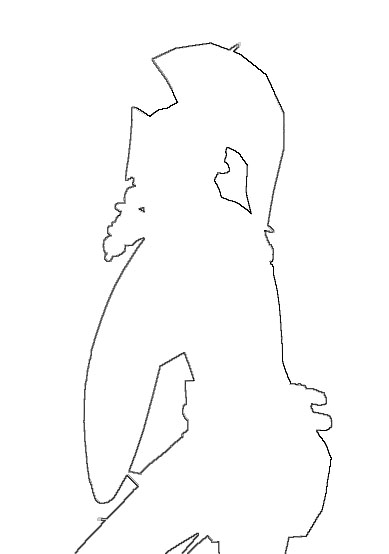
The second thing I noticed was that I needed more 'tiles' in the internal shape of the characters but this was wasted if distributed evenly everywhere on the image. I decided to change the algorithm for the initial random points of the Voronoi diagram so that instead of being completely random, each pixel was scored randomly but the score would increase if the alpha value was over 0.5, which meant that there would be more random points inside of the character, and thus more tiles used. 
So there you have it, prodecural mosaic, or at least as far as I got with it before having to move on to something else. One of the things I think is interesting here to link it further to gameplay, is that for example if you decide to commission the artist to make the mosaic, but give him less money than necessary, he can produce a mosaic with fewer tiles, giving less visual fidelity to the action.
Read more about:
Featured BlogsAbout the Author(s)
You May Also Like
