Daily news, dev blogs, and stories from Game Developer straight to your inbox
Sponsored By
Unity Shader Graph Quick Tutorial - Dissolve Shader
Unity Shader Graph Tutorial. I show how to make a dissolve shader (and inverse dissolve shader) using Unity's Shader Graph in HDRP.
8 Min Read

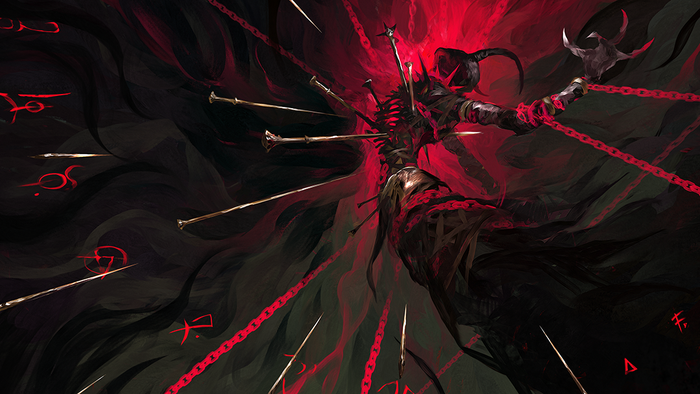
The clip below was put together pretty quickly using Unity’s built in timeline editor along with a custom Unity Shader Graph download. This editor is much quicker than manually stringing together a bunch of animations and making sure the timing is all lined up.
For efficiency, the timeline is the best way to go.
The shader used in this short clip is a Shader Graph dissolve shader. You can download it for free here.
If you have yet to dig into the inner workings of a dissolve shader, the overall concept is relatively simple. The easiest way is to use simple noise and iterate over the full transition through an alpha clip threshold. In this example, we are going to change that value through a script. I prefer this approach because then we can easily add tweens to the timing with a single line, vs creating it in the shader.
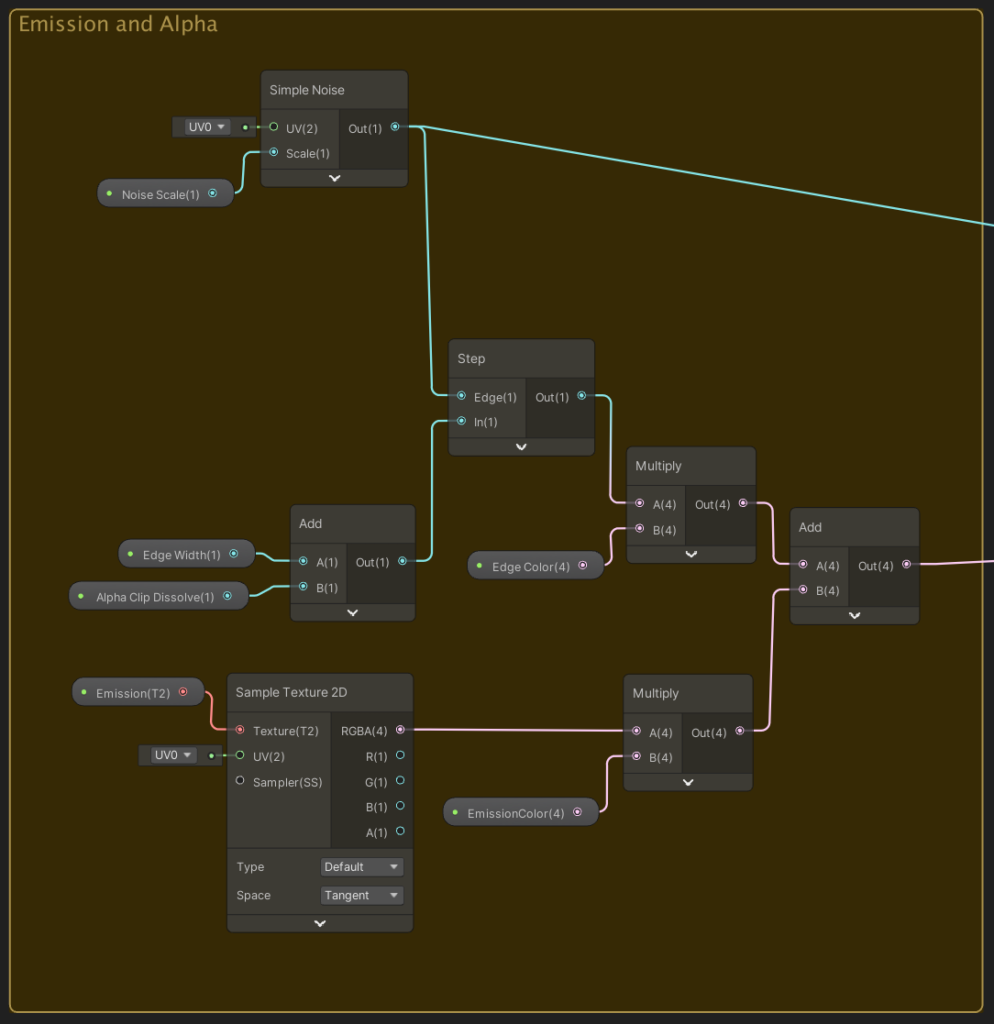
The noise will be applied to the alpha channel, and an alpha clip threshold will be used (controlled via script) so that portions of the mesh will be visible and some will not. This depends on the value that is given by the noise.
As you step up through the noise, more and more of the texture will become above (or below, depending on if dissolving in vs dissolving out) the alpha clip threshold. This allows more of the mesh to become visible over the period you are changing the alpha clip value.
Here is the portion that is used for the alpha calculation:
A quick overview of how to use the shader:
Alpha Clip Dissolve: I am using a simple script to control the amount of dissolve. The Alpha Clip Dissolve is the variable that controls how much of the mesh is visible. This changes the location of the edge. To dissolve in (become visible), this value should start at 1 and end at 0. Or in other words, 1 means the object is dissolved completely, and 0 means there is no dissolve that is applied to the material.
To update the dissolve, I tween the value in the update function. The flag dissolvePlayed will be used to execute the one-time-only portion that runs when the dissolve starts. And the mats variable is a list of materials. I am using an amazing (and also free) tween plugin called DOTween.
Copy to Clipboard
1
void Update()2
{3
if (mats == null || mats.Count == 0) return;4
​5
if (active)6
{7
if (!dissolvePlayed)8
{9
dissolvePlayed = true;10
foreach (ParticleSystem ps in gameObject.GetComponentsInChildren<ParticleSystem>())11
{12
ps.Play();13
}14
DOTween.To( ()=> dissolveFloat, x=> dissolveFloat = x, 0, dissolveTime);15
}16
if(dissolveFloat <= 0)17
{18
dissolveFloat = 1;19
active = false;20
}21
}22
else if (dissolvePlayed)23
{24
dissolvePlayed = false;25
}26
}Copy to Clipboard
1
void Update()2
{3
if (mats == null || mats.Count == 0) return;4
​5
if (active)6
{7
if (!dissolvePlayed)8
{9
dissolvePlayed = true;10
foreach (ParticleSystem ps in gameObject.GetComponentsInChildren<ParticleSystem>())11
{12
ps.Play();13
}14
DOTween.To( ()=> dissolveFloat, x=> dissolveFloat = x, 0, dissolveTime);15
}16
if(dissolveFloat <= 0)17
{18
dissolveFloat = 1;19
active = false;20
}21
}22
else if (dissolvePlayed)23
{24
dissolvePlayed = false;25
}26
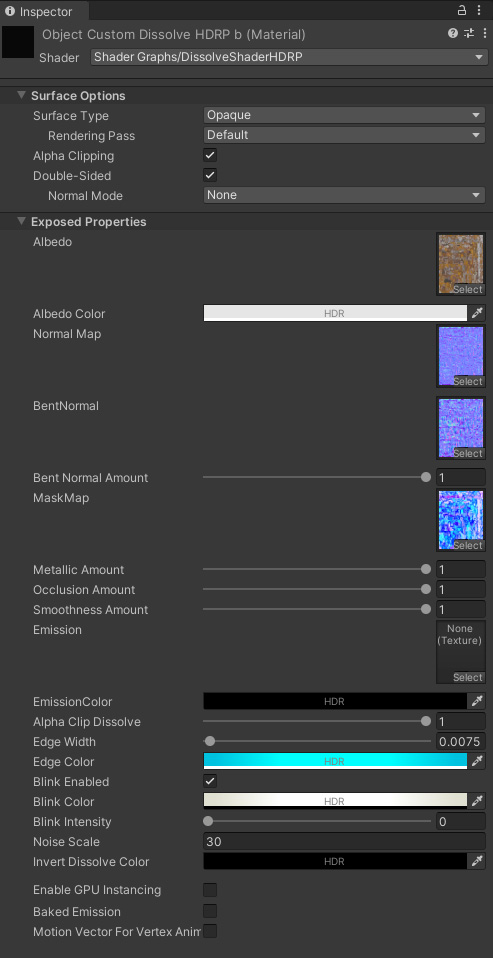
}You will find the following variables in the inspector for the shader:
Edge Width: The width of the emissive edge that animates across the mesh.
Edge Color: Change this to have a different color or more/less emissive edge.
Blink Intensity: The intensity of the blink that occurs, which covers the entire mesh. 1 is full intensity and 0 is off.
Blink Active: Toggle to turn on or off Blink. The blink is an emissive property that can make the material appear to be radiating energy. It’s literally just mixing the emissive color with the albedo that is visible. This allows for the blink to be used during the dissolve.
Active: Allows the dissolve to play operate in the controller script, and allows the blink to be used in the material.
The noise scale is the scale applied to the noise that is used to determine what parts are visible and what isn’t during the dissolve.
If you are familiar with Shader Graph already, you will probably find the other sections of the shader easy to follow.
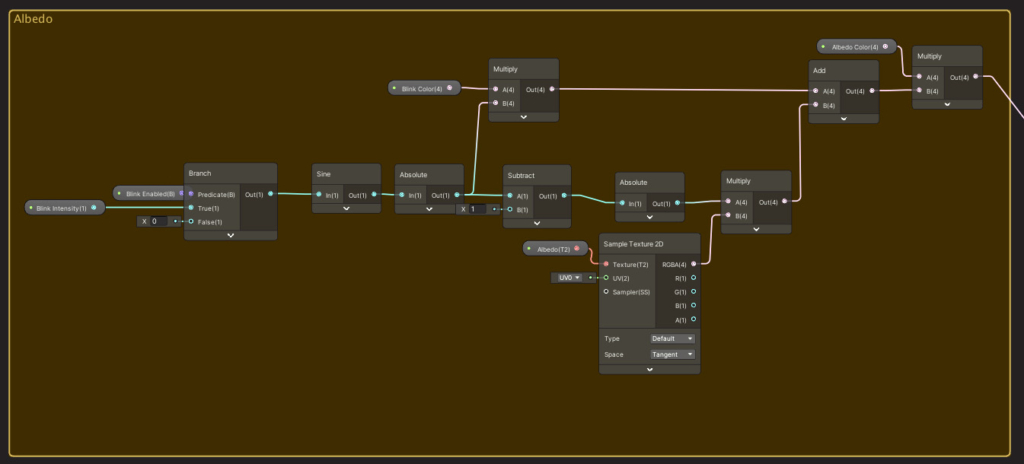
The Blink and Albedo is shown below. It is simply multiplying the blink intensity through a sine wave to the blink color and albedo. The Branch block is effectively just an if(blink enabled) return blink intensity, else return 0. Making the Blink Enabled bool a on/off switch for the blink intensity.
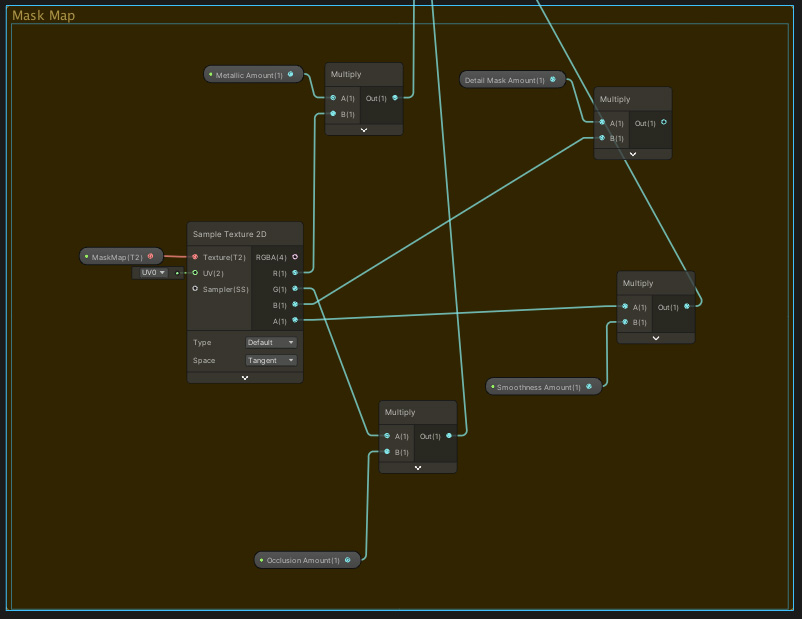
Another portion was added so that it could accept a mask map into the Shader Graph the same way a generic HDRP lit shader does. It splits up the different channels and puts them into the appropriate inputs.
And of course, the normal. I added the bent normal because the models I am using use a bent normal, and It adds a lot to the final look.

normal Unity Dissolve Shader Tutorial
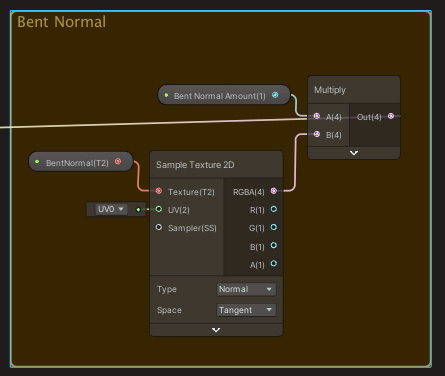
Unity Dissolve Tutorial Shader Graph
And that’s all there is to it. If you missed the download link for the shader, here it is again.
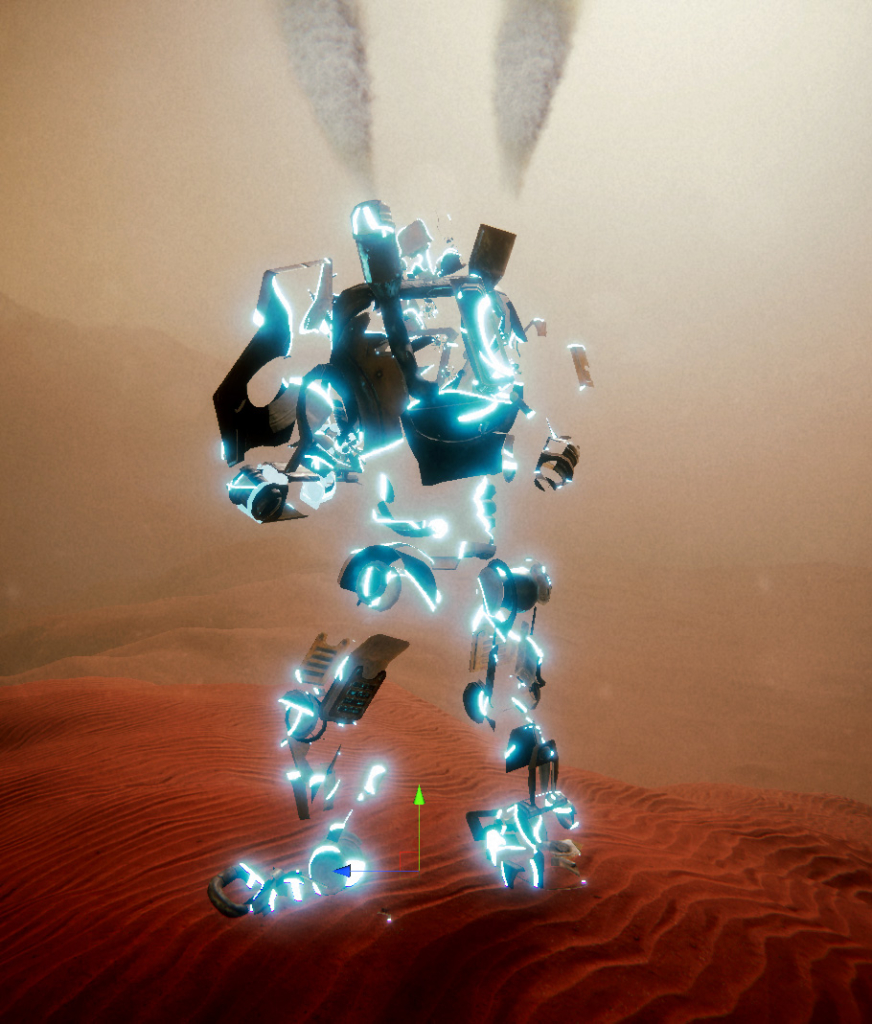
In the clip I also used what I call an Inverse Dissolve shader due to it just being an inverse of what we do with the above shader. This allows us to fill in the area that isn’t being shown due to the dissolve with a transparent color. It could be used in such a way that makes it look like the model is mostly invisible, until the dissolve happens and then they are returning from invisibility.
I also use it because when using a dissolve shader on 3d models, it tends to make the model look hollow. This is probably because the model IS hollow. So it helps remove any weird looking hollow portions of the mesh.
If you are trying to learn shader graph and get better with shaders, I would suggest trying to figure out how to do this without just a download button. Hint: just inverse the alpha map. Also, if you don’t feel like messing with it, I will send it out in the newsletter, so sign up for that by clicking the yellow box at the bottom.
If you do use this, share the picture on twitter (@bigrookgames)! Or if you have your own dissolve shader I always find it fun to see other people’s work.
I was thinking about doing a tutorial on some cool tricks with Unity’s Timeline editor, what I used to make this clip. Let me know if that would be interesting to you, if I get any interest I will do it next week.
Thanks for checking out this week’s Unity Shader Graph tutorial.
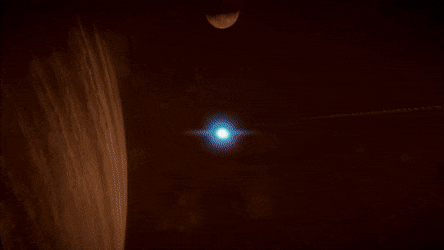
Here is the final version of the clip I made with the dissolve shader and inverse dissolve shader:
Read more about:
BlogsAbout the Author(s)
You May Also Like