

Daily news, dev blogs, and stories from Game Developer straight to your inbox
Sponsored By
Featured Blog | This community-written post highlights the best of what the game industry has to offer. Read more like it on the Game Developer Blogs.
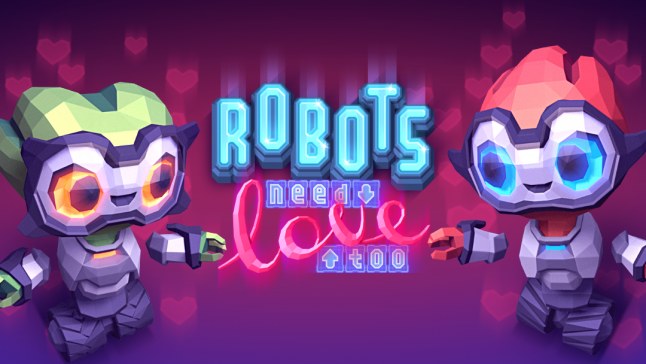
Robots Need Prototyping Too
This article discusses the prototyping process we went through to create the robot characters for Robots Need Love Too.
10 Min Read

Introduction
Elephant Mouse is a mobile game development studio proudly located in the Research Triangle of Raleigh, North Carolina, a hotbed of tech innovation, wicked-good hockey, and tasty BBQ. EM veterans hail from the likes of Zynga, Playdom, Red Storm Entertainment, Activision, and other industry giants. We've released several highly rated mobile titles including Star Trek Rivals, The Godfather Slots, Lil' Birds, and Archetype.
Robots Need Love Too is our new game that is available now on the App Store (appstore.com/robotsneedlovetoo).
In July I wrote about our process for prototyping the core mechanic of Robots Need Love Too (http://www.gamasutra.com/blogs/HeatherChandler/20140731/222312/How_Prototyping_Saved_Our_Game.php). Now I want to discuss how we iterated on our robots.
The Set-up
The original pitch for Robots Need Love Too specified that the robots "should be almost obnoxiously cute." The team worked together to define what "obnoxiously cute" looked like. We all had different ideas, but agreed that we wanted something charming, colorful, and memorable. From the beginning, our designer Matt pushed for "one thing" that would make the robots stand out as iconic to our game. He wanted players to immediately recognize the Robots from our game, even if they were seen outside of the game. As an added bonus, he was also hoping for a simple silhouette that would be easy for people to draw if they wanted to create fan art. We all agreed this sounded like a good way to go.
Another goal was to create robots that were gender neutral, since there is a love story that unfolds between them during the course of the game, and we wanted people to experience the love story they preferred. In addition, we supported this preference by letting the player customize both the robot name and personal pronoun (choosing from she, he, they, zie, ey, and xie)
A third goal was to make robots distinct enough so that the player could tell them apart, but also look consistent and part of the same game world. We discussed an option to make the robots more customizable early on – allowing the player the ability to swap heads and bodies – but this would've been too much additional work with our production schedule. We also wanted to save our texture budget so that we could keep the download size as close to 50MB as possible.
Version 0 The inspiration

As you can imagine, doodles of robots started showing up on the whiteboards. This was a fun sketch that Rhys, our Art Director, created during an initial meeting. The "<3" symbol was an obvious choice to show the Robot's love for each other. This is still on our whiteboard, because it serves as a nice reminder of the core concept of the game.
Version 1 Three Quarter View vs Top Down View
Because this was the first time we were working in Unity, Rhys wanted to test out a few different things in the art asset pipeline. These tests doubled as a way for him to do some initial experiments with the look and feel.
Both of the scene renders below were just shots in the dark with regard to the style. He wasn't anticipating that either one of these would end up being our "bot", but these tests gave him a good starting point. At this point, he wasn't spending a lot of time pulling reference material or iterating with the robot design process.
This is Rhys' initial concept piece. He decided to utilize a ¾ view so that we could show off the 3D world. At this time we were still in discussion on whether the game would be 2D or 3D. The robot and world have a polygonal style to make it more distinctive. Hardware was included on the robot's head in order to create a unique silhouette.
This is his second concept piece. This features a 2D top down view and an iteration on the robot style. "Headphones" were added to make the hardware more distinct. The robot also has a different eye shape and larger mouth. Experiments were done with adding a visor or goggles to create a more interesting profile. The transparent visor didn't have the desired effect, especially when viewed on an iPhone; it looked more like some kind of compression artifact and interfered with the facial expression.
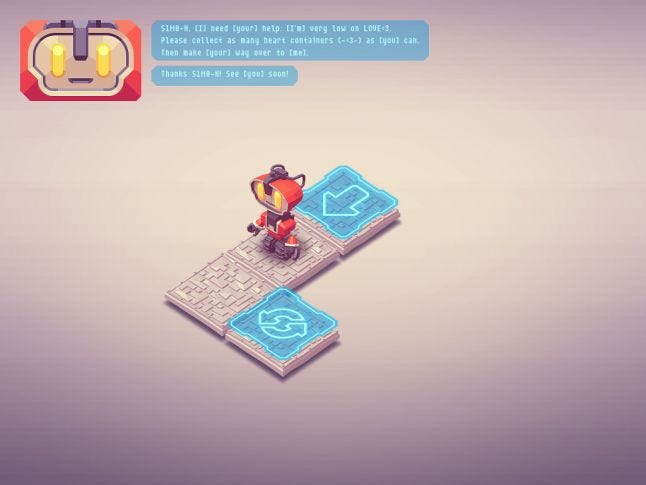
Engineering was able to put together some playable prototypes in ¾ and top down view. After much discussion of the style and playing the prototypes, we decided that the top down view was better for gameplay reasons. The ¾ view distorted the shapes of the tiles and it was more work for the player to process which way the tile would move. We'd also be able to pack our sprites more efficiently with square assets.
Note that both robots have wheels instead of legs. This was a decision made early on so that Rhys would spend less time on animation, and would also be able to create one set of wheel animations that could be shared with all the robot variants.
Pinterest Board
Now that the team settled on the 2D view, the next challenge was figuring out how to make the robots even cuter. Rhys took a day and put together a Pinterest board of all kinds of cute creatures (robots, animals, bugs, aliens). This allowed him to examine what made something "obnoxiously cute" and determine some common characteristics. He found that large eyes were critical in achieving the level of cuteness required. In addition, a large head, small mouth, and small body enhanced the cuteness. Kawaii!
Version 2
The next phase in the cute quest involved doing a lot of pen and paper sketches. Rhys probably did 100 different sketches of robot heads and bodies. He tried out various head and eye shapes. In order to generate as many sketches as possible, he'd pick a category and try to come up with as many variants as he could. For example, he did a series of sketches of cute robots inspired by bugs. He also did a series based around different glasses and eye shapes. He still wanted to keep the silhouette very clean, so there weren't a lot of small intricate details.
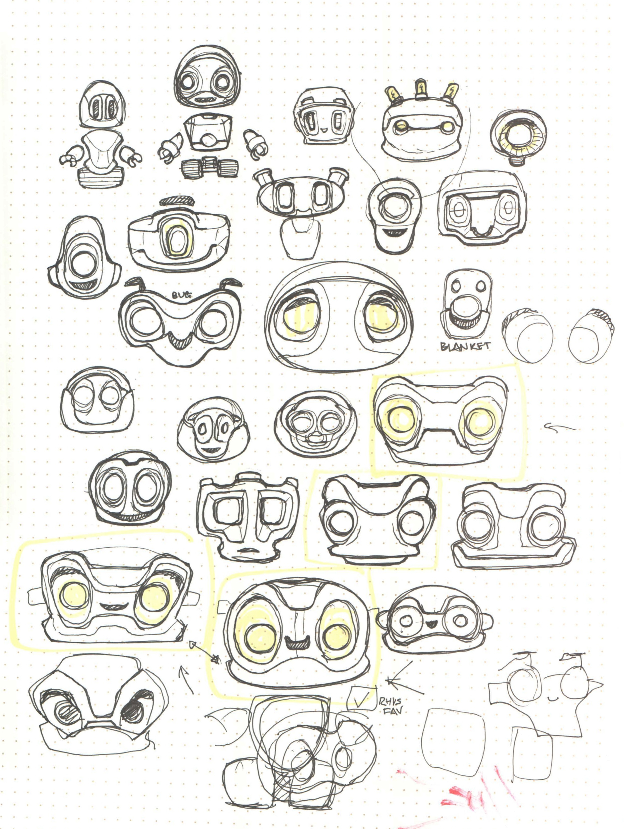
While he was making the sketches, he hit upon the secret for making the robots as cute as possible – pupils, sclera, and a bit of eyelash on the eyes. Previously he had been experimenting with eyes that were based on the idea of flashing or glowing lights. While these looked cool and would've translated well to the game with some special effects, they didn't give the robots much personality.
Having a more traditional eye also opened up the option of animating the pupil and eye movement. This animation was the key to breathing life into the robot! This involved a lot of extra work on his part with the modeling and animation, but the end result is definitely worth it.
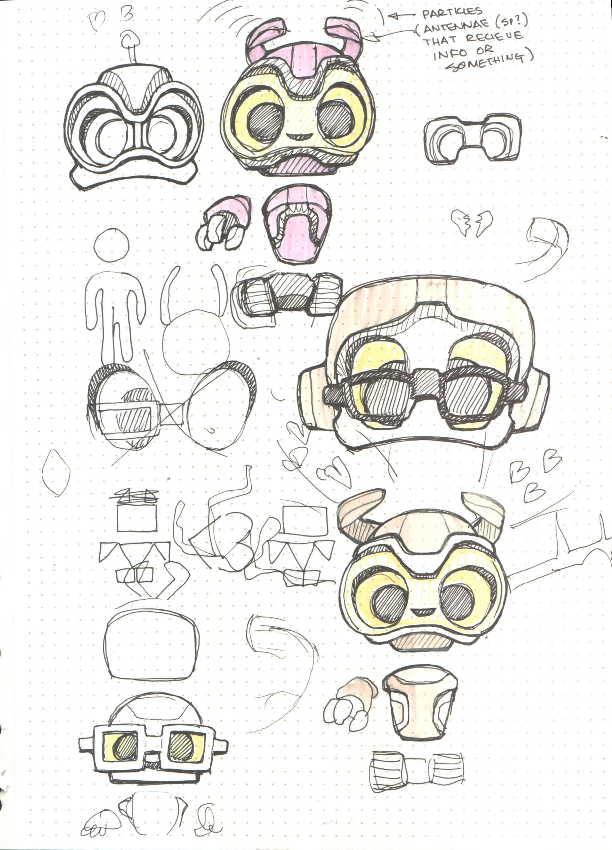
The team reviewed all of the sketches and offered feedback on what they liked and didn't like. Eventually, Rhys was able to hone in on one particular face that we all liked and use this as the basis for his first character model.
Version 3
The first robot model he made fulfilled the basic cuteness guidelines – charming, colorful, and somewhat memorable. Everyone agreed it was cuter than the robots done in the initial scene renders. The base and body worked, but the antennas made it look like a bug.

Rhys did a few mock-ups of various antennas, to see if he could find something that worked better. At this point, he felt that the antennas would be the best way to make the robot unique and memorable, but it just didn't work out in the end. It seemed that all the variants either made the robot look like a bug or a Teletubby. It also didn't enhance the cuteness to the desired levels. Back to the drawing board.
Version 4
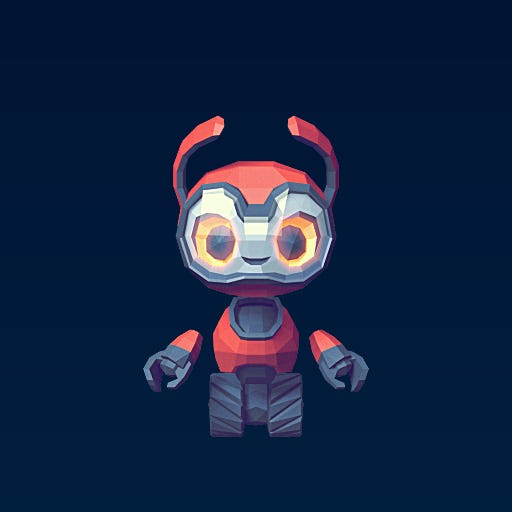
Our designer Matt suggested focusing on the head shape. His idea was to model the head so that it had a more organic feel and looked like a hairstyle. This made the robots seem more alive and less robotic. It also provided the distinct and memorable look we wanted for the character. The silhouette was also very clean - if you just saw a shadow or an outline of the robot, you'd recognize it. We finally had a robot that achieved maximum cuteness!
Version 5
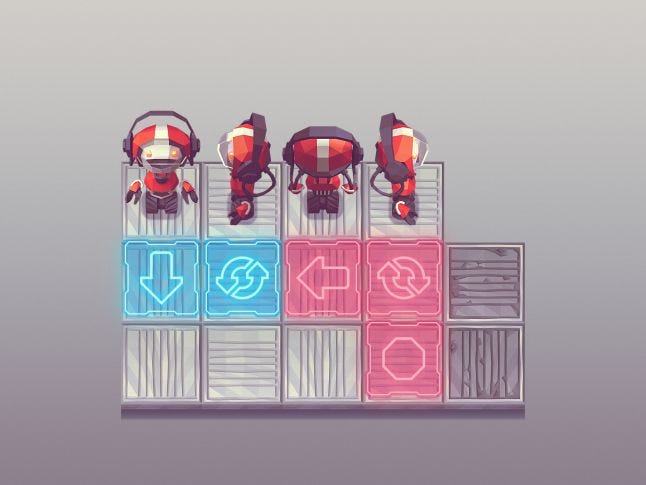
Now that the base robot was established, Rhys was able to create the second robot pretty quickly. This robot also had to be memorable since it was the player's second character. Rhys wanted the second robot to be consistent with the first one, so he focused on making smaller but significant changes to:
Hair
Facial tabs
Color
Wrists
Wheels
Notice how he basically doubled the details on the second robot. For example, the head is divided into 2 distinct sections, there are 2 facial tabs on each side, and 2 tabs on each wrist (which you can't see from this view). This was a nice way to keep the robots different but consistent.
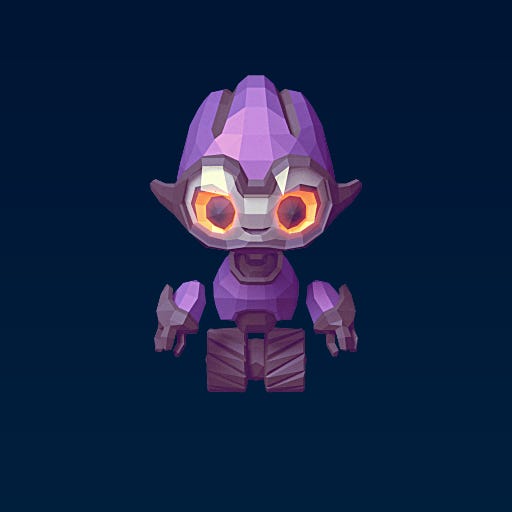
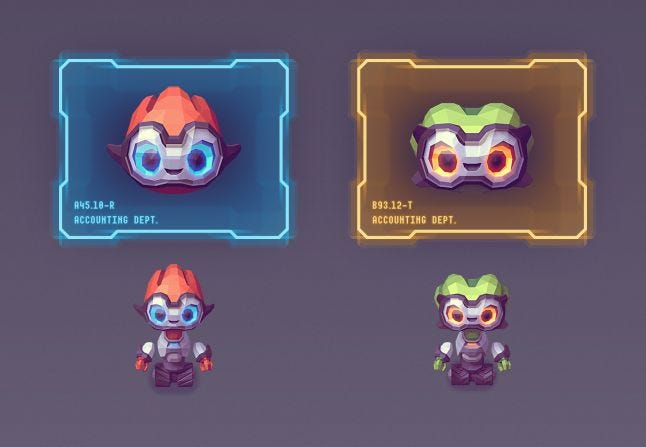
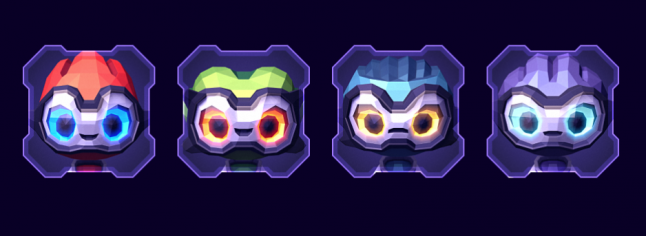 He also made a few other variants for the NPC robots in the game. All of the robots had minor adjustments to the body and face, but were consistent in proportion. This was done so that the robots could share a single set of animations.
Lessons Learned
The process can be frustrating at times, but the end result is worth it.
As with our previous prototyping experience, we had our ups and downs. In the end, prototyping and iterating on something is a better way to reach the goal. Just when it seems like you’ve hit a wall, take a step back and pick another direction to go.
Look to unexpected places for inspiration.
Even though we were creating robotic characters, we still wanted them to have personality and feel like they were alive. Looking to other living things, like bugs, was a good way to get some inspiration.
Define a goal for the end result - this lets you know when you have "found" what you need.
In order to have the most successful results with prototyping, you need to define what the end goal is. Establish some parameters that indicate when the goal is completed. This allows you to find a good stopping point for the prototyping process. If you are on a tight schedule, you can also pick a hard deadline for the end of the prototype phase. This is not ideal, but still gives you a target for getting a usable prototype.
Read more about:
Featured BlogsAbout the Author(s)
You May Also Like
Latest News


Trending


Featured Blogs


