Daily news, dev blogs, and stories from Game Developer straight to your inbox
Sponsored By
This tutorial covers the basics of pixel art and showcases the key tools you need in GIMP to achieve pixel perfect art.
32 Min Read

This is part 1 of a three-part series on how to do pixel art. In part 2, we create Red from the game Transistor in a style inspired by Super Time Force Ultra. In part 3, we create a vibrant scene in a style inspired by Hyper Light Drifter. Part 2 and Part 3 are currently in progress.
Pixel art is a lot of fun. I picked it up just last week for Itch.io’s Loading Screen Jam, and it turned out to not be too difficult once I got the hang of it. In this tutorial I’m going to use the image manipulation program GIMP, which is similar to Photoshop but free and open source. Part 1 of this series will cover the basics and showcase the key tools you need to achieve pixel perfect art.
Image Size
Nearly all monitors nowadays have an aspect ratio of 16:9 (width to height ratio), which means that for every 16 pixels in the width, there are 9 pixels in the height. The current standard resolution is 1080p (1080 pixels in the height). To achieve a pixel perfect look, you need a resolution with a 16:9 aspect ratio that scales up to 1080p.
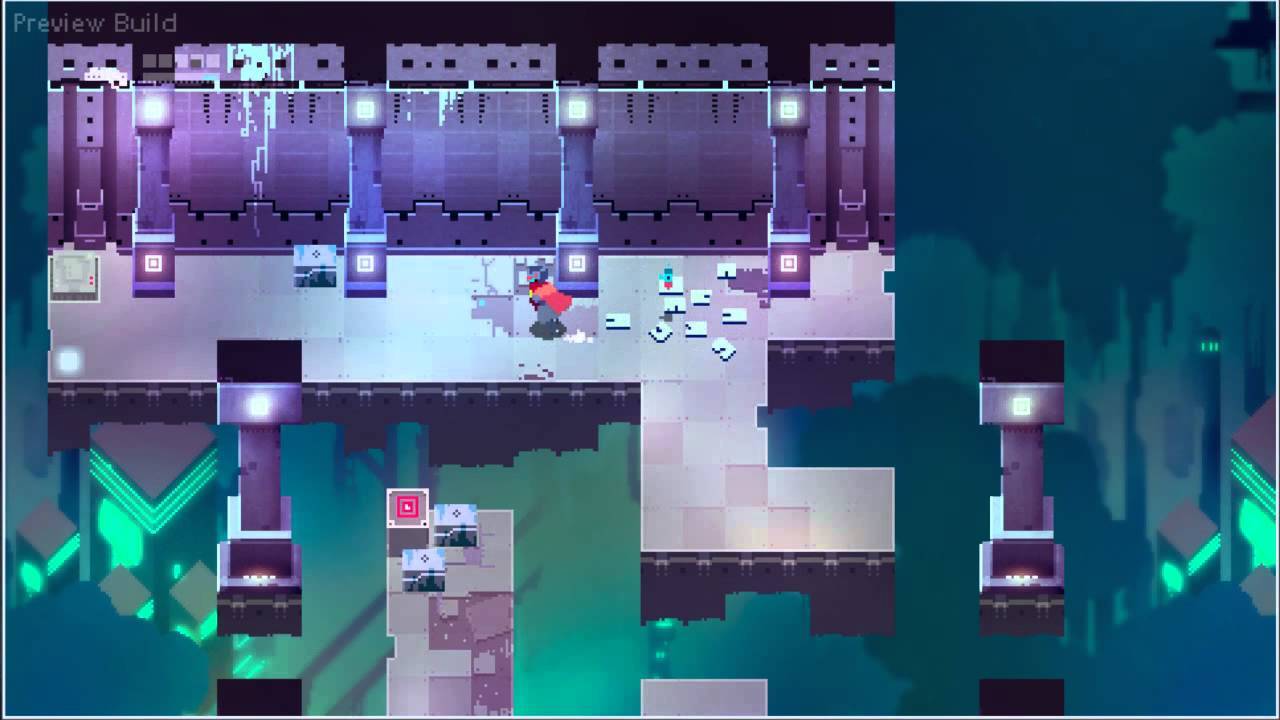
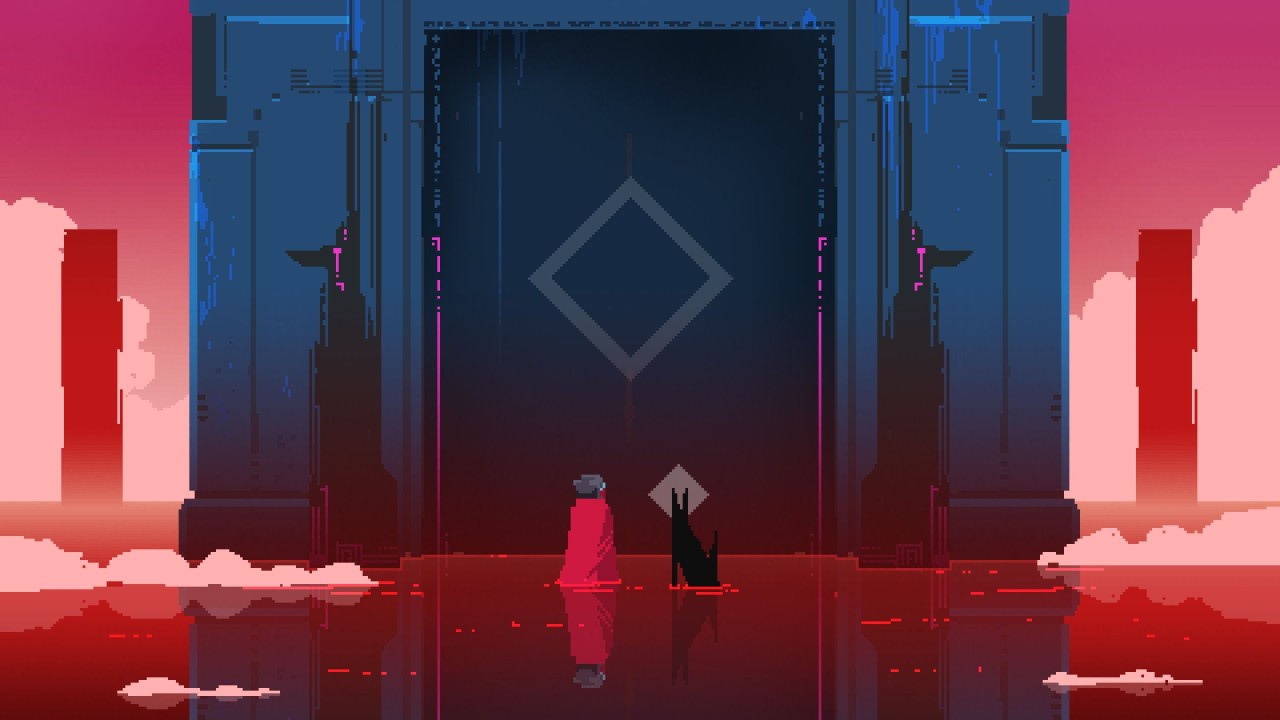
For example, Hyper Light Drifter has a resolution of 480x270 (270p with an aspect ration of 16:9). 270p is 4 times smaller than 1080p. This is how it looks in-game:
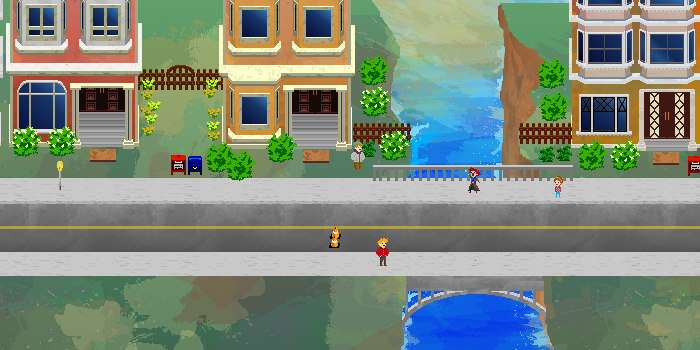
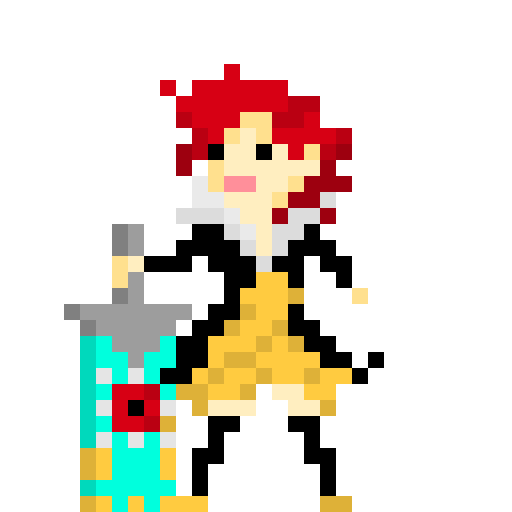
Character sprites are treated differently and are generally of the size 16x16, 24x24, 32x32, and 64x64. For a size reference, the character above is a 32x32 sprite.
Layers
Like most art programs, GIMP works in layers, which helps organize your drawing into parts and allows you to edit each part without affecting the others. It’s good practice to have each asset or very similar assets in their own layer. If you’re drawing a scene for a town, for example, each building and prop would be in its own layer. A character sprite could have one layer for the head, one for the clothes, and one for the weapons.
Pencil (N)
The Pencil is your primary drawing tool because it colors each pixel without any anti-aliasing. The Paintbrush, on the other hand, has anti-aliasing and will attempt to smooth over the pixels wherever you draw. This results in “dirty” pixels. The following GIF shows how they look (Pencil on the left, Paintbrush on the right).
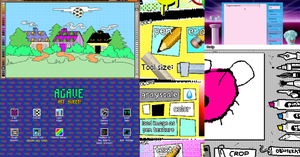
Remember to set the “Size” to 1 under the Tool Options to draw a single pixel. Hold “Shift” on the keyboard to draw a line.

Eraser (Shift + E)
The Eraser is the opposite of the Pencil tool: it will remove the pixel on the current layer. Remember to put a check on the option “Hard edge:” under the Tool Options; otherwise, it will enable anti-aliasing. The following GIF shows what happens when you have “Hard edge:” unchecked (left) and checked (right).
You can also hold "Shift” on the keyboard to erase in a straight line. Set the “Size” to 1 under the Tool Options to erase one pixel at a time.
Select
The Select tool comes in many forms. Shown on the left side in the Toolbox window, there are three options to Rectangle Select (R), Ellipse Select (E), and Free Select (F). Shown on the right side in the menu is the option to select By Color (Shift + O).
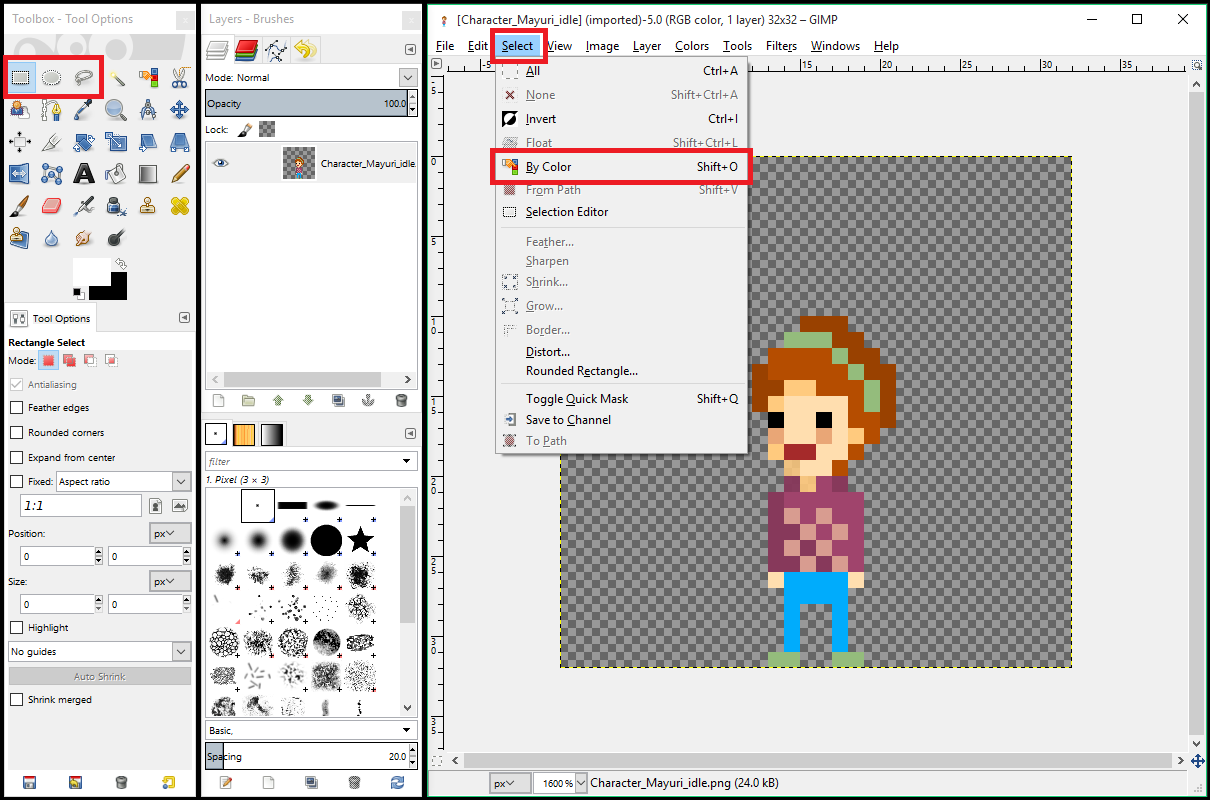
You can select an area and restrict any edits you make to just that area in the current layer. For example, here I use the Rectangle Select to color only the body of her shirt.
And then I use the select By Color option to lighten up her hair color.

To deselect, right click on your selection, hover over to Select, and then click on None.
Move (M)
The Move tool allows you to move layers on a pixel by pixel basis. This is good when you want to shift assets, such as the character’s head or certain props in your scene. Remember to have the “Layer” option chosen in the Tool Options.
The dotted line around the layer is called the Layer Boundary, which like the Selection tool prohibits any edits on the layer outside the boundary. When you move the layer, the Layer Boundary moves along with it. You can customize the Layer Boundary by right-clicking on the layer and choosing “Layer Boundary Size.” Or, you can automatically adjust the Layer Boundary to fit the canvas by right-clicking on the layer and choosing “Layer to Image Size.”
The Move tool can also work in conjunction with Cut & Paste and Select to move a selection of a layer. In the following GIF, I use the Free Select tool to cut the head and then paste it back into the current layer. When the selection is pasted, it is placed in a temporary layer called a Floating Selection, which you can move around and edit. Once you’re done moving the Floating Selection into the desired position, you must right-click on the Floating Selection layer and choose “Anchor layer” to place it into the current layer.
You can also put the Floating Selection into its own layer by right-clicking on the Floating Selection layer and choosing “To New Layer”.

Bucket Fill (Shift + B)
The good ol’ fill tool from Microsoft paint. Use the Pencil tool to draw an enclosed shape. With the Bucket Fill tool chosen, click anywhere inside the shape and it will automatically fill the area with the primary color.
Color Picker (O)
The Color Picker tool sets the primary color to the color of the pixel that you click on. Because pixels are quite noticeable, it’s good to use the same color and subtle variations of it as much as possible for a particular asset; otherwise, you’ll get a “dirty” mesh of colors that doesn’t look nice.
Zoom In (+), Zoom Out (-)
Pixel art requires you to zoom in to draw in each pixel (one pixel off makes a huge difference!) but to zoom out to see if your drawing looks good at a macro level. This is especially true when you’re working on a large canvas with a lot of detail.
In the following image of Red from the game Transistor, notice how jagged her her legs and arms are when I’m zoomed in. It’s unclear to me whether her pose looks good or not, but once I zoom out I get a better feel for the overall look of the picture.
Blend (L)
The Blend tool applies a gradient over a layer or over a selection. GIMP provides a nice list of pre-made gradients to choose from in the “Layers” window.
Traditional pixel art uses dithering to make a transition between two colors, but an example below from Hyper Light Drifter shows that applying a gradient can give a really vibrant flavor to the scene.
Patterns
GIMP offers the capability to add patterns. I haven’t used it personally but I imagine it can be quite useful for assets that use a repeating texture, such as the ground in Spelunky.

Final Words
In the next part (will be published soon!), I draw Red from the game Transistor using a majority of the tools described here.
About the Author(s)
You May Also Like